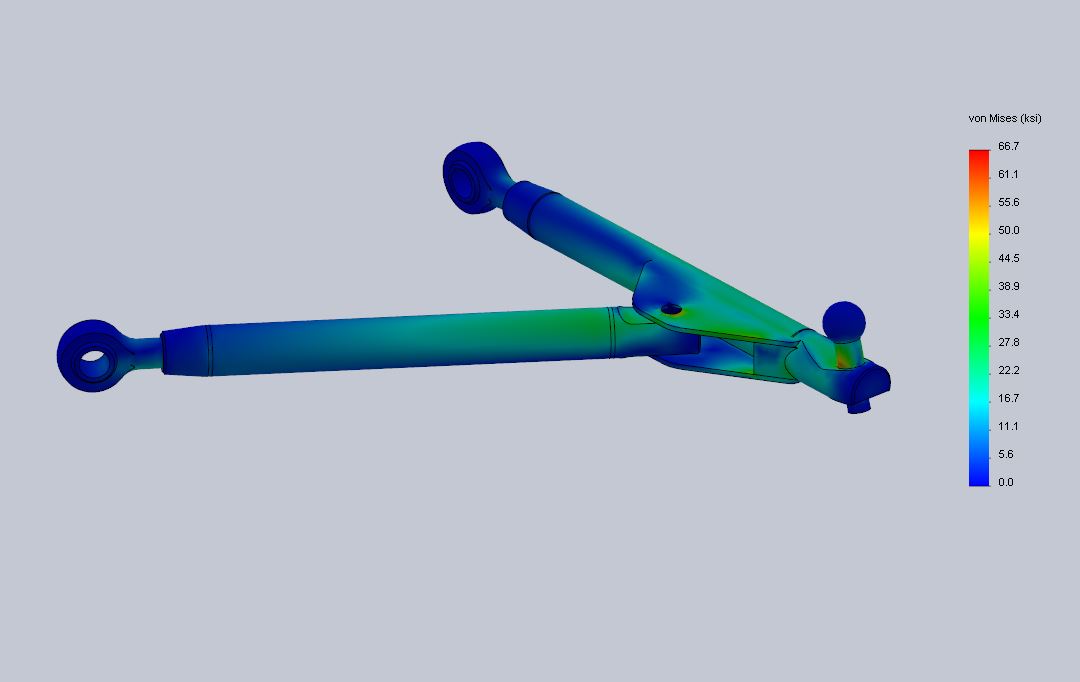
For quite some time now I have been wanting to build my own control arms for my car, and I finally did. I had three main goals here. Add some adjustability, improve the suspension geometry by lengthening the control arms, and hopefully drop some weight. Spoiler alert: two out of three isn't too bad! It all started with a design in SolidWorks (well several designs actually), and extensive stress analysis.
Due to the somewhat odd "inverted" ball joint that the MR2 uses, the stresses are actually quite complicated. Because the ball joint pivot is raised more than an inch above the axis of the control arm, significant bending stresses are introduced in both the control arm and the strut rod. I considered a number of options for switching to a different ball joint or even a "monoball" style spherical bearing, but in the end chose to keep the stock ball joints. At least for now.
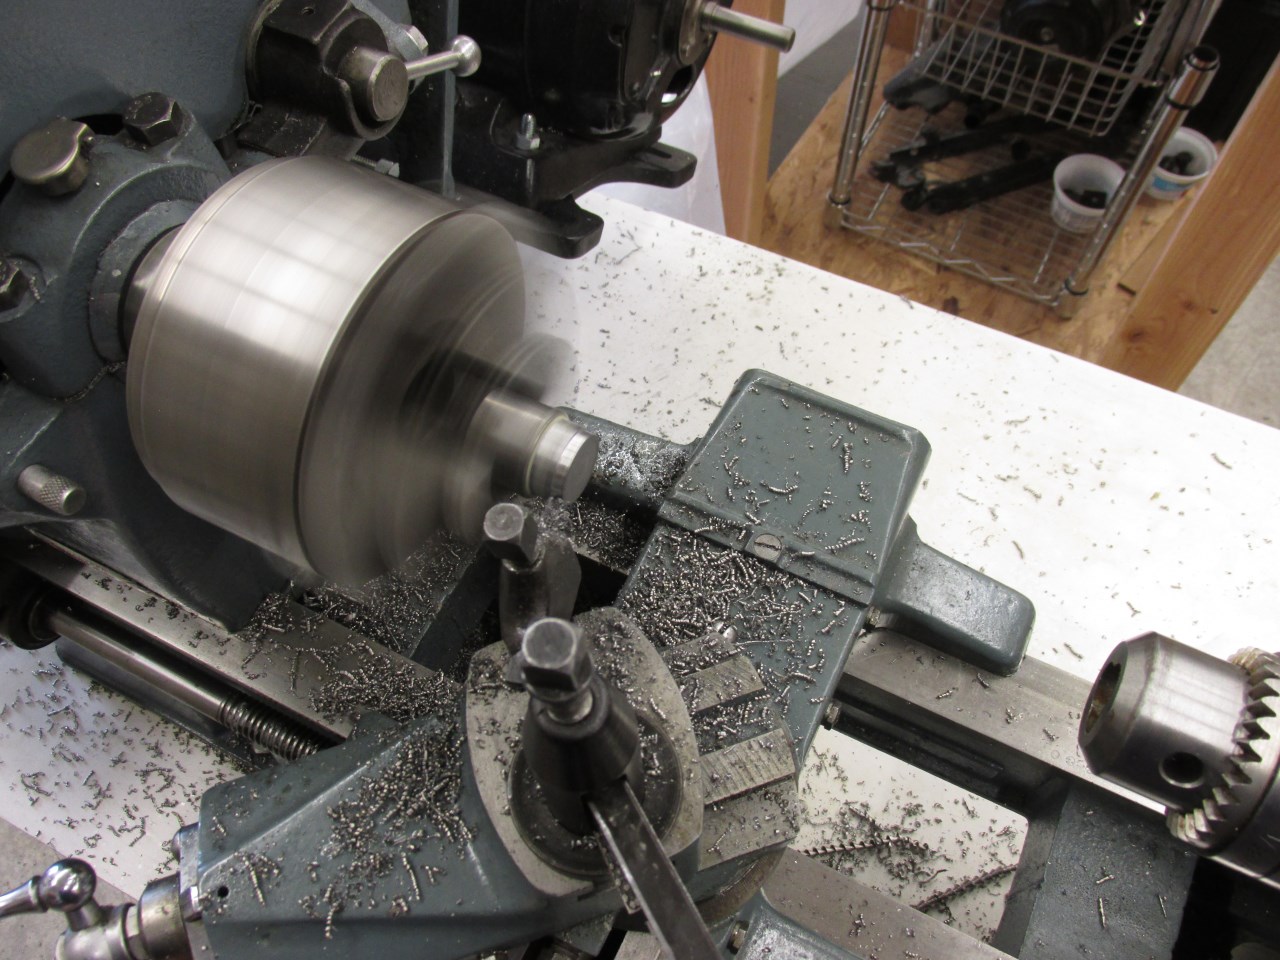
With the design finished, it was time to start cutting metal! Here, cutting a bushing on the lathe to adapt the rod ends to the bolts / pivot locations on the chassis. Starting with the simple parts here!
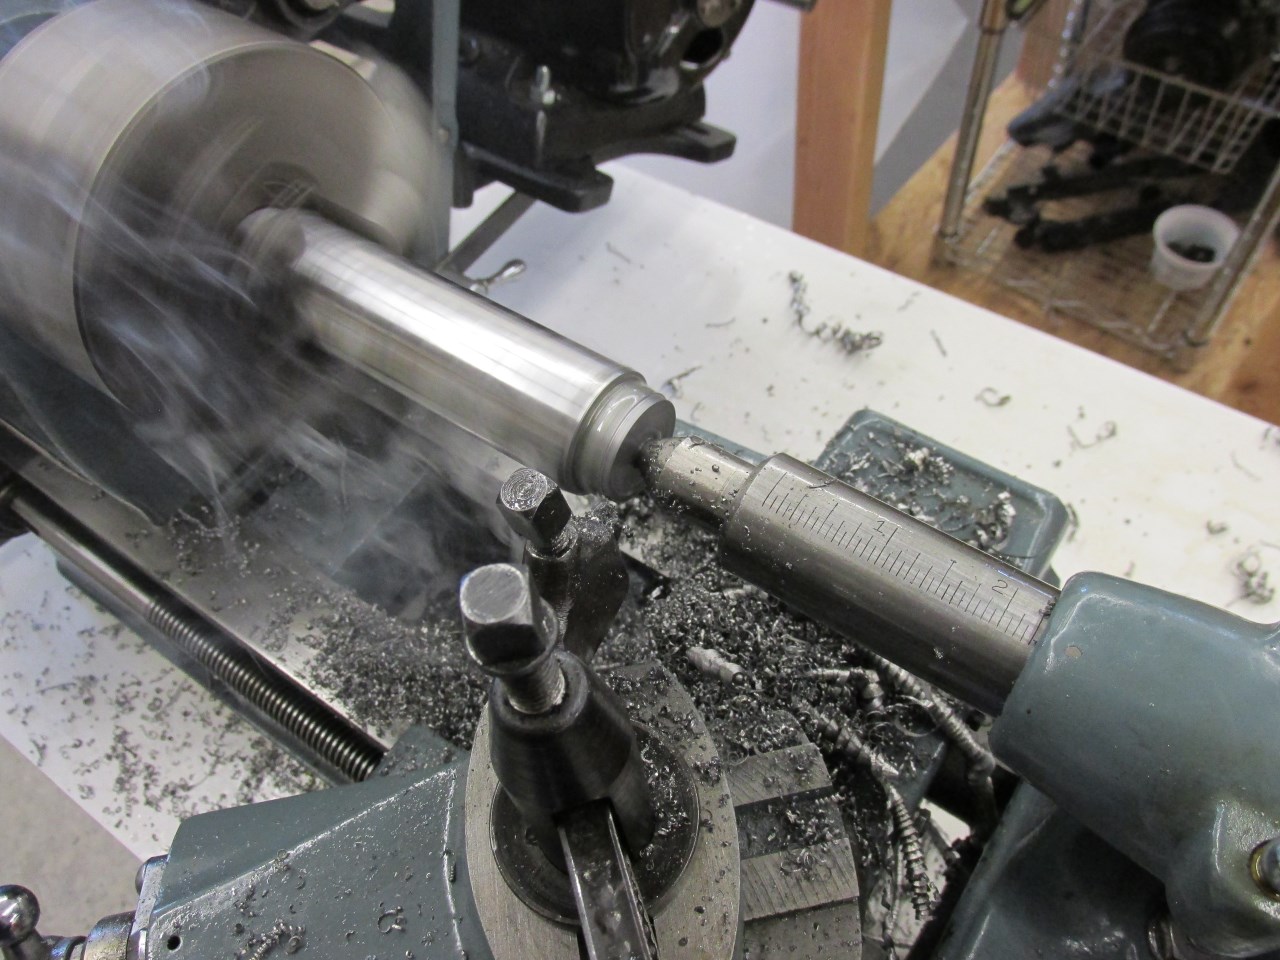
Next, 4130 chromoly bar stock that will become the interface between the end fittings of both the control arm and the strut rod. First, the bar was cut to length on the band saw, and then the ends were turned on the lathe to fit inside the chromoly tubing that will form the rest of the arms.
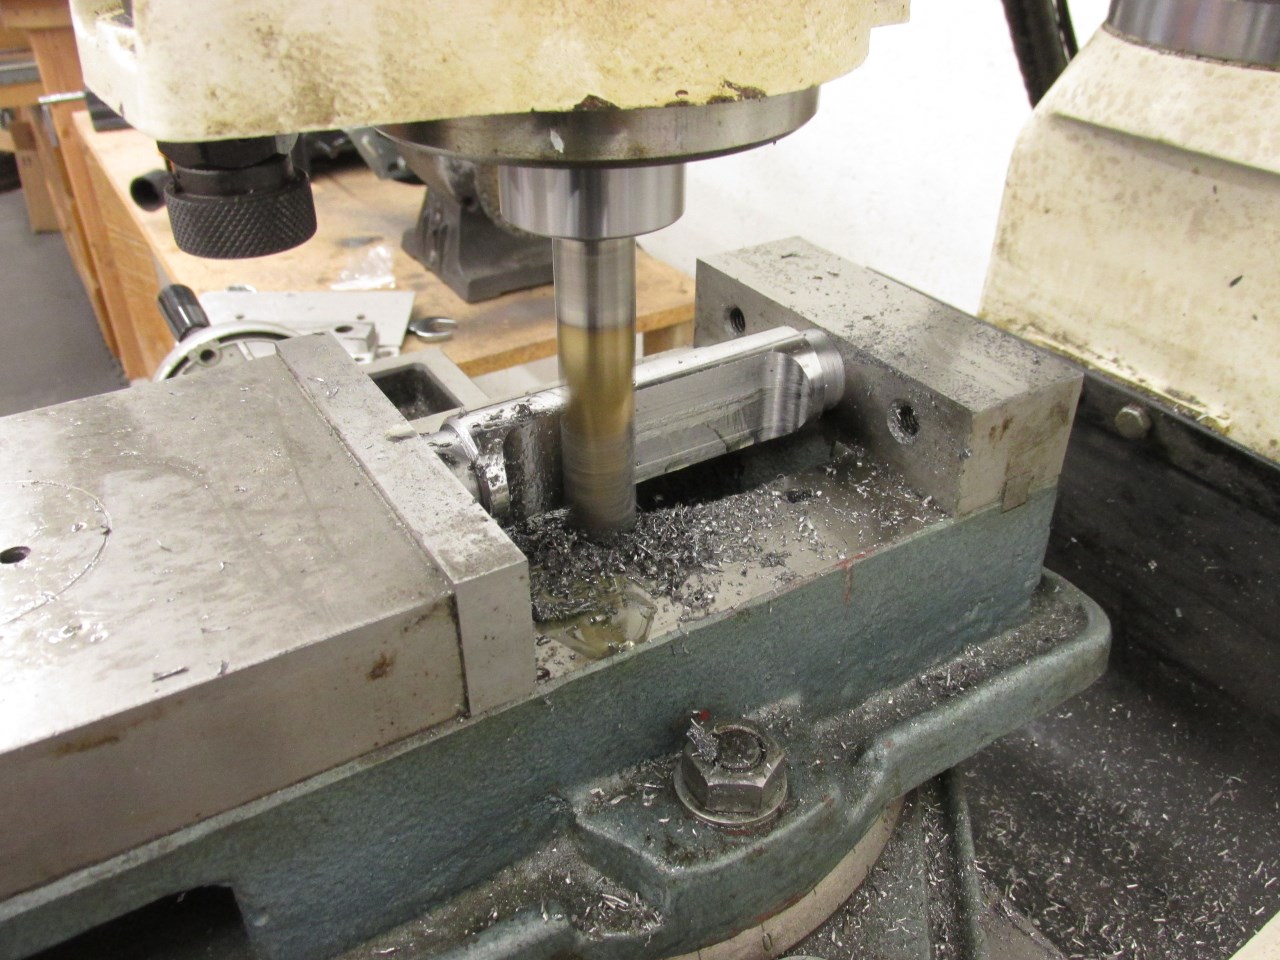
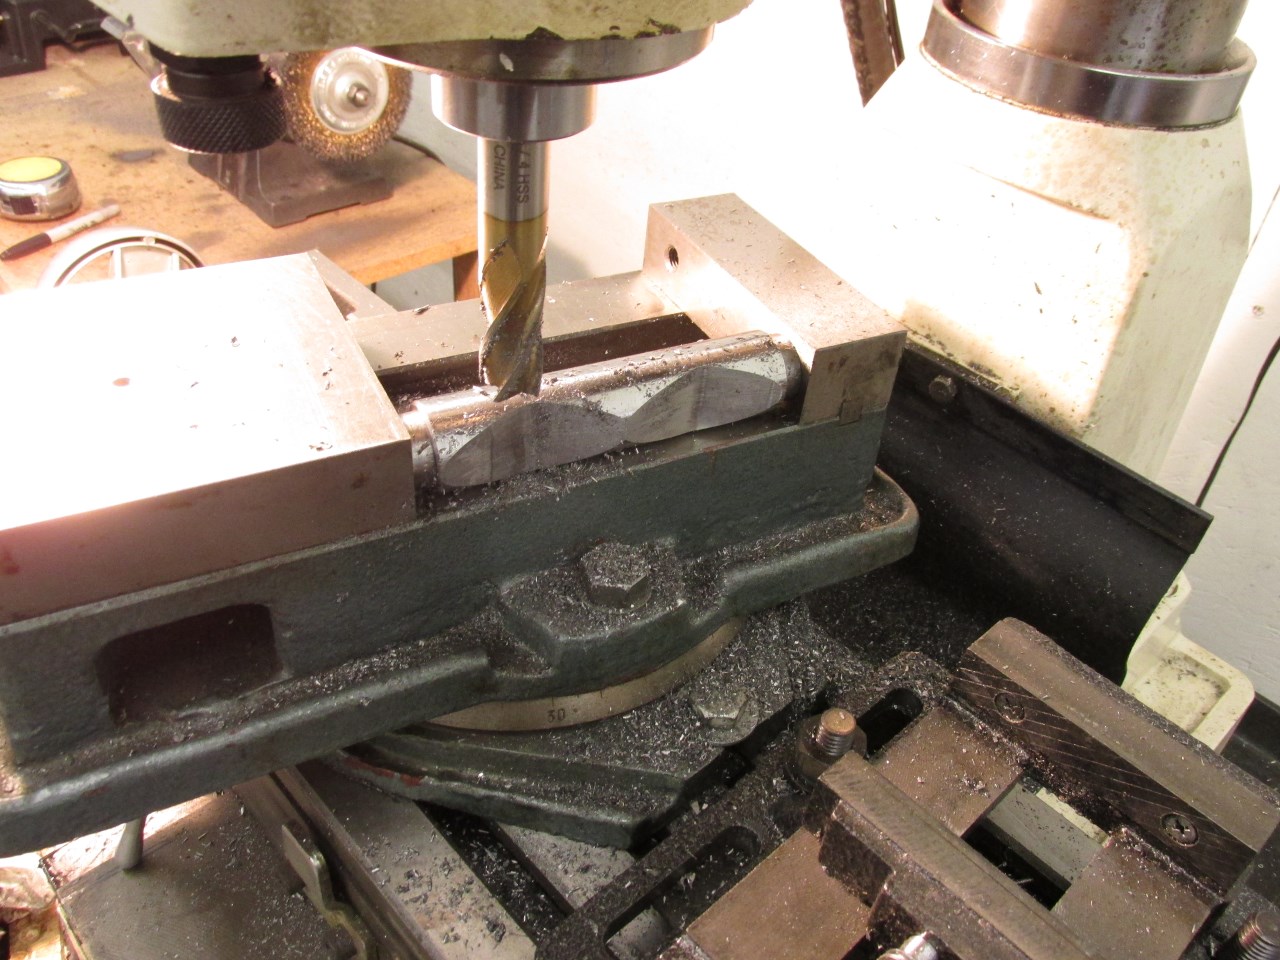
From there, the bars went to the mill where the sides were machined flat. In order to leave a generous radius for stress relief purposes they were machined "sideways", rather than flat. A little more complicated doing it this way, but sharp corners are BAD!
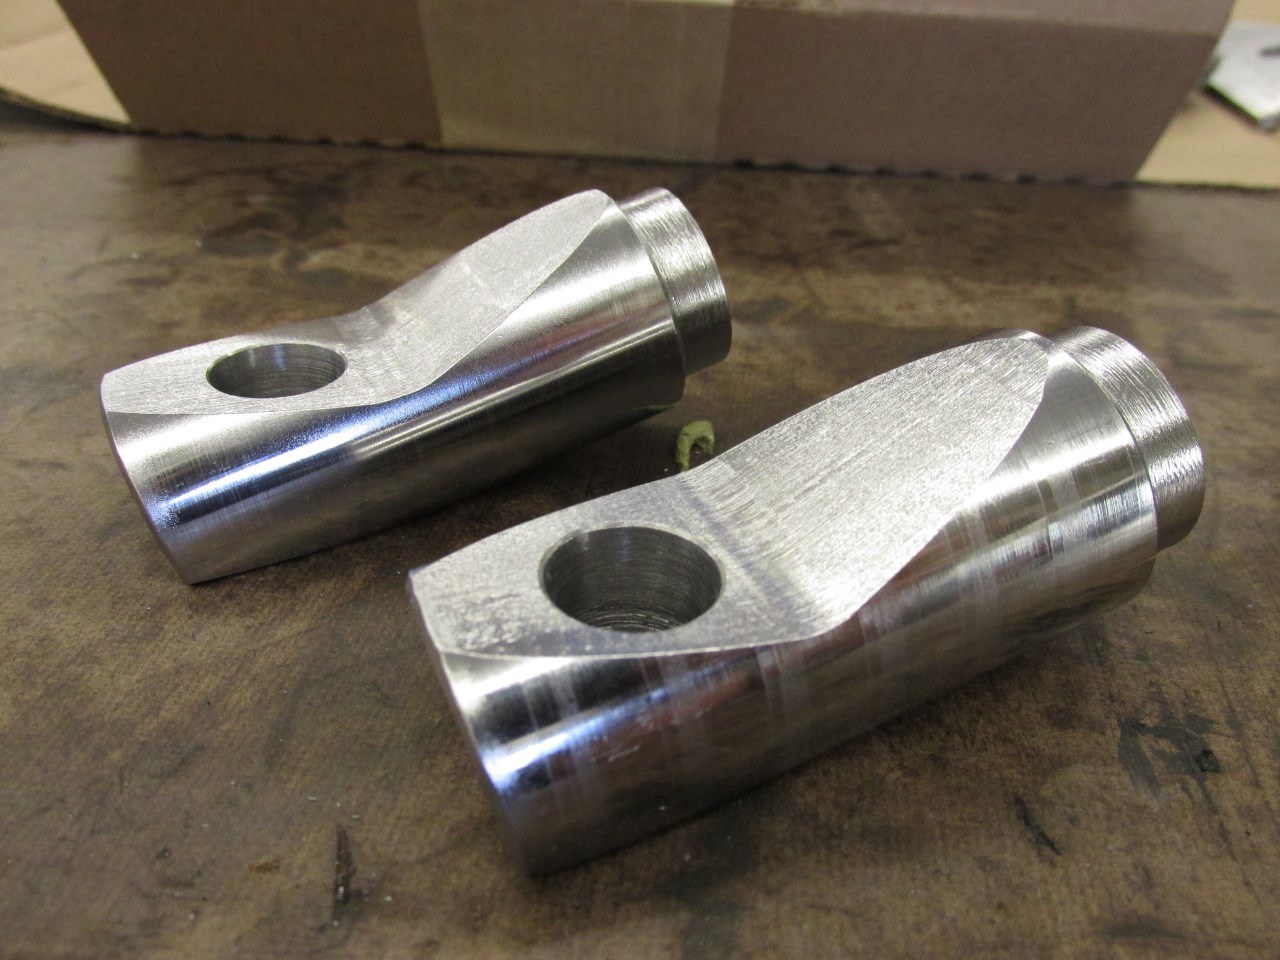
At this point, the tube end fittings looked like this. These "double ended" pieces would then be cut in half on the band saw to form two pieces each, and then the holes drilled and the ball joint holes reamed with a 1-1/2" per foot tapered reamer to match the stock ball joints.
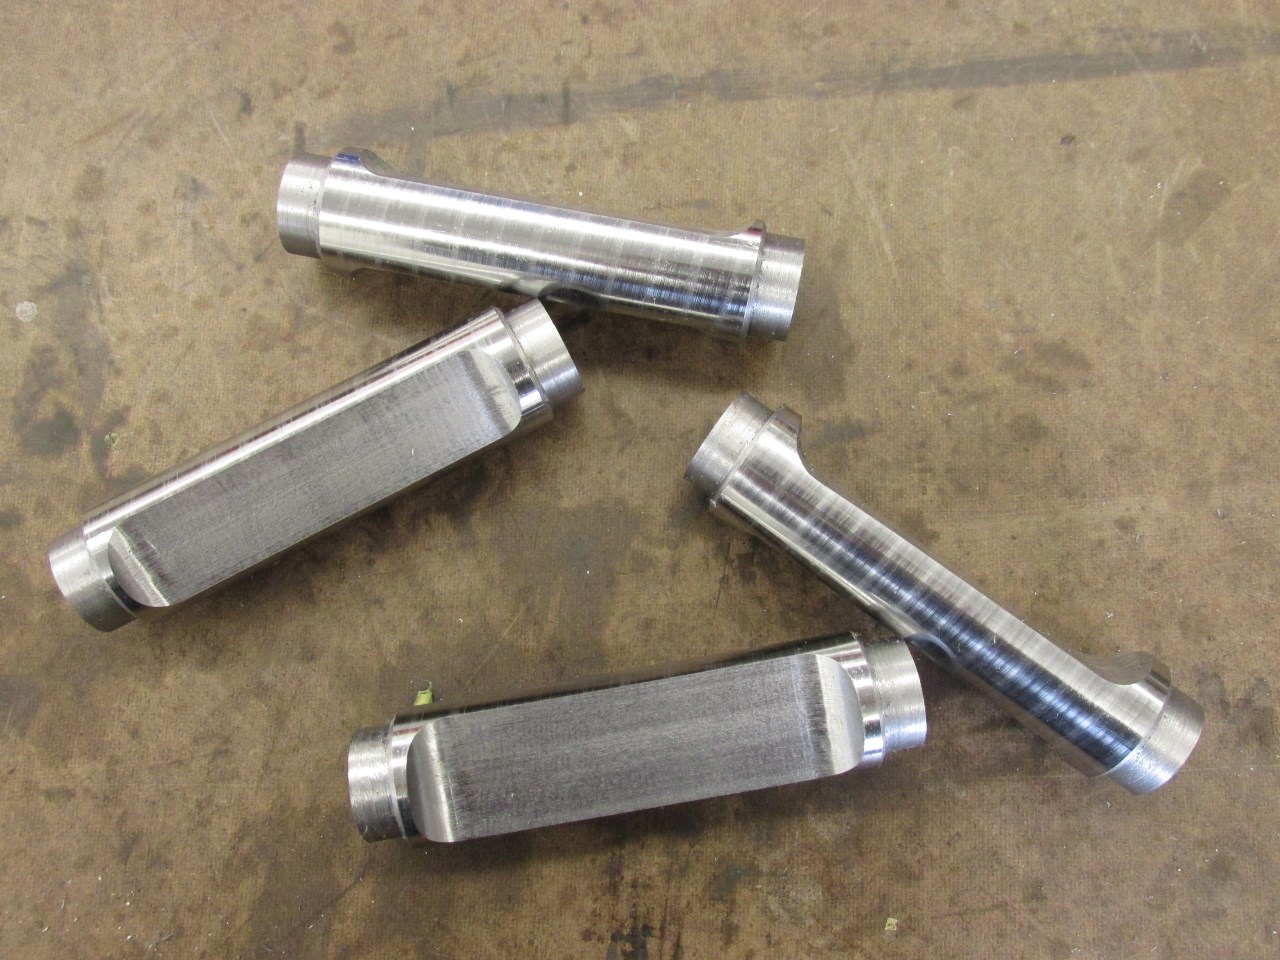
Finally, all of the spacers and tube ends machined, plus the control arm tabs cut on the band saw from steel bar stock.
Next, the chromoly tubes were cut to length, and one each front and rear control arm were tack welded together to check the fit. It was at this point that a flaw in my design became obvious. If one looks at a stock MR2 control arm you can see that the ball joint axis is not perpendicular to the axis of the control arm. My ball joint fittings did not replicate this, and when installed with large roll center adjusters the ball joint ran out of angular travel well before the front suspension reached full droop. The rear was OK, but only just barely. Binding any kind of pivoting joint like that is never a good thing! I can't say for sure if it would ever have caused a problem, but I wasn't happy with it. So, back to the drawing board!
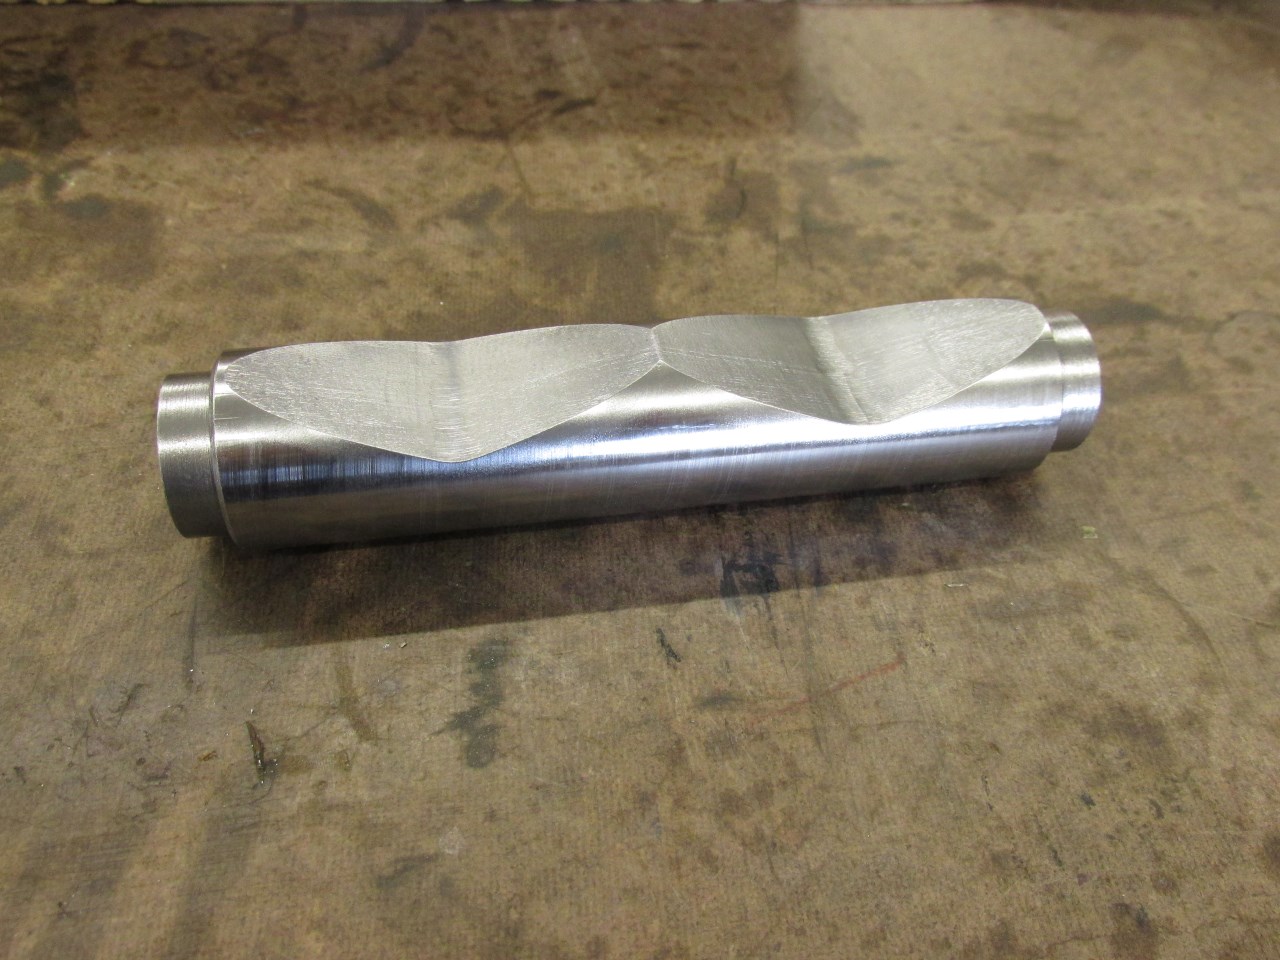
What I came up with was a way to angle the ball joint, while still designing a part that I could make myself on my manual equipment. The first step on the lathe was the same as before, but rather than cutting the flat parallel to the axis of the part, the vice on the mill was rotated, first one way and then the other.
The finished piece caused a machinist friend of mine to say "how the heck did you do that?" (he figured it out a few seconds later).
As before, this was cut in half on the band saw, and then back into the mill to have the back sides faced off.
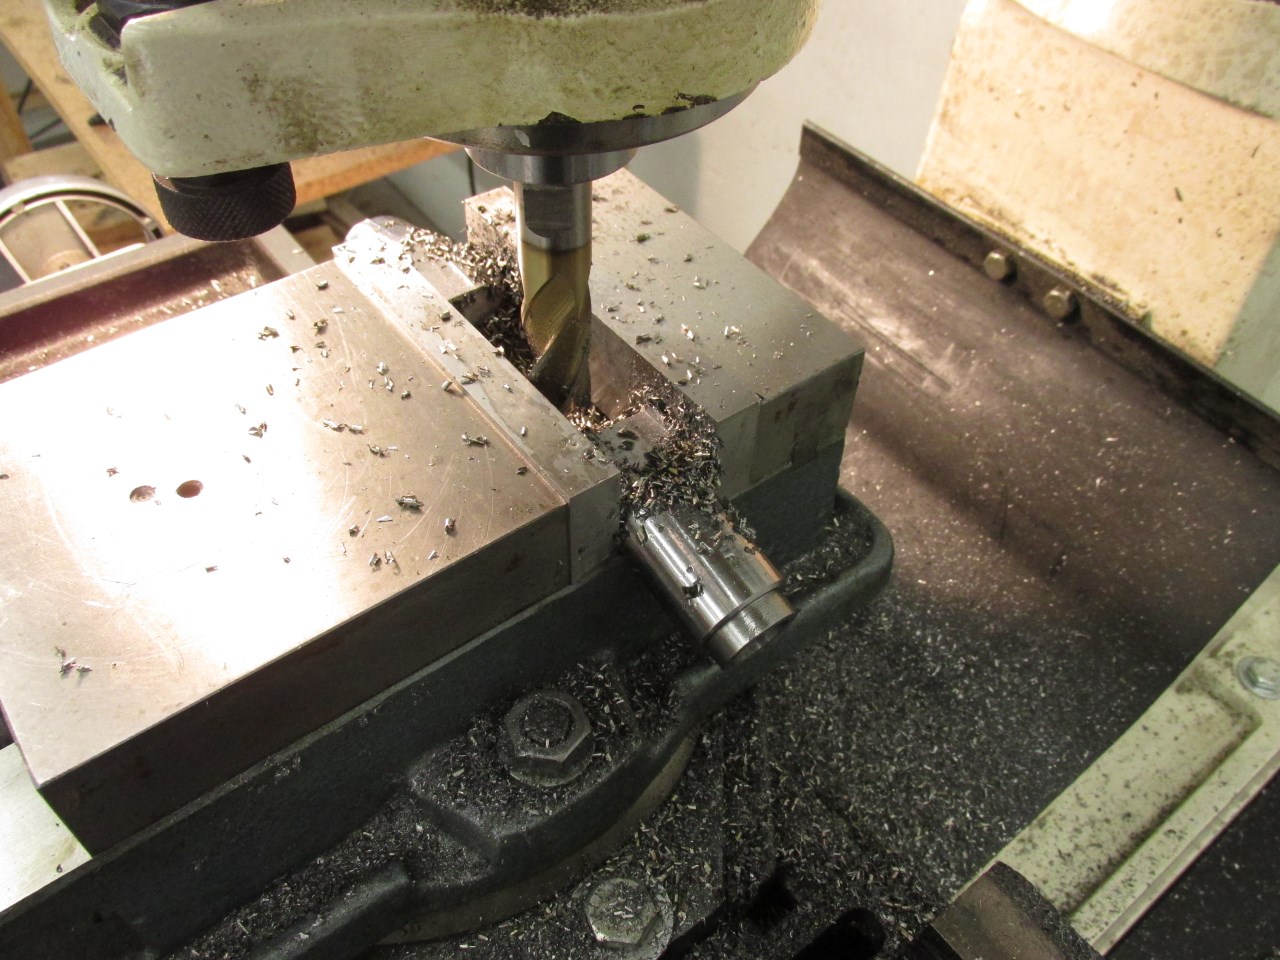
Finally, the holes were drilled and tapered, and the finished parts looked like this.
With all of the machining done, back to the welding. Here is one of each (front/rear) arm tack welded together with the new tube ends.

And then, everything was fully TIG welded. Each piece was wrapped in a blanket after welding to slow the cooling rate as much as possible, to reduce weld related stresses in the chromoly.

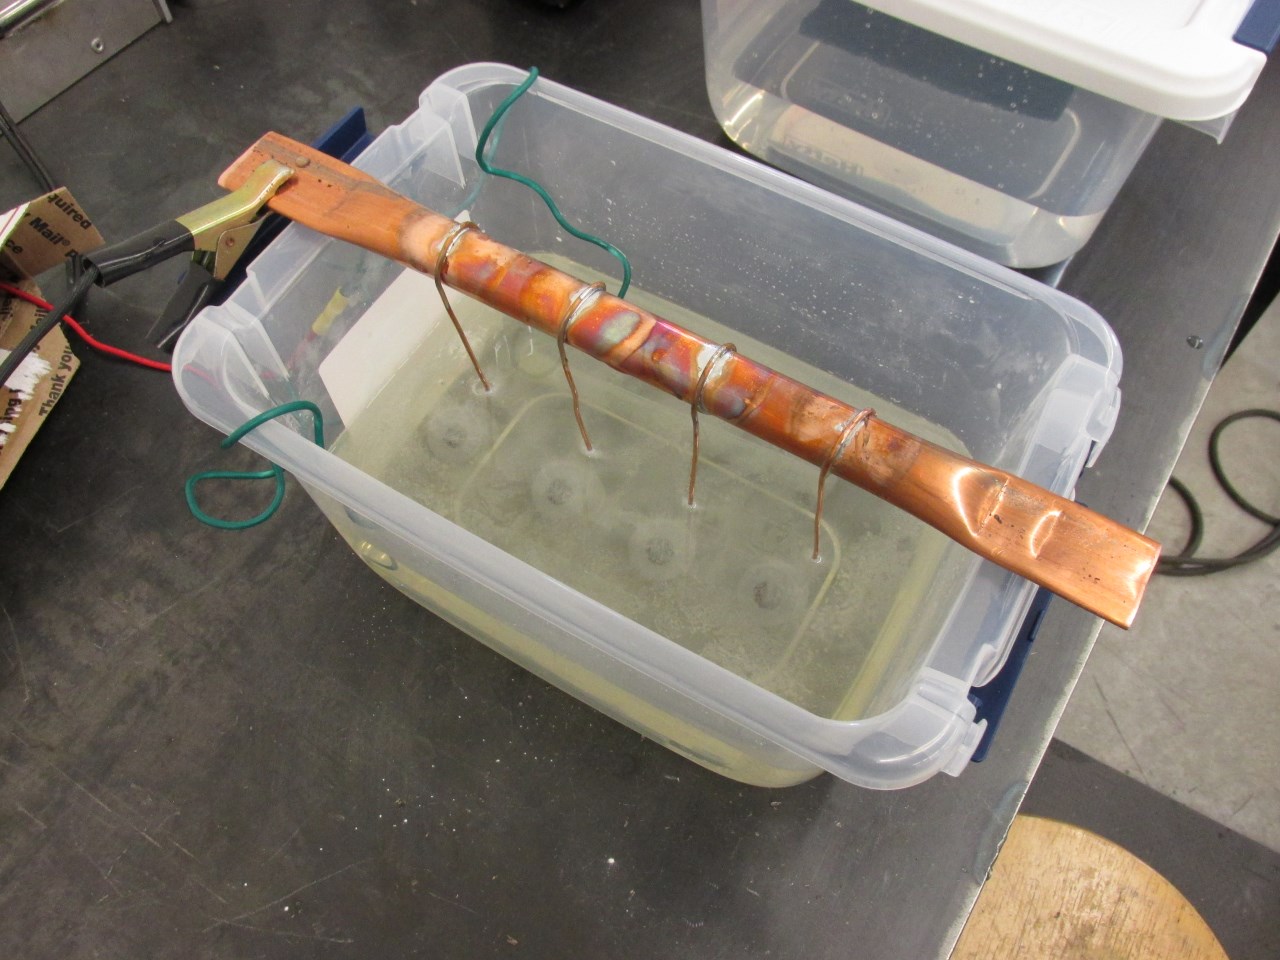
With the arms done, my attention returned to the rod end spacers. Currently they were raw 1045 steel. I could have painted them, but that isn't really an ideal treatment for this sort of part. Plus, it was a great chance to try something I had been wanting to mess with for some time... DIY zinc plating. There are a number of how-to guides on this on the web, so I won't bore you with the details. But suffice to say, dissolve some zinc phosphate and Epsom salt in a solution of vinegar and water, add some zinc anodes meant for a swamp cooler, hang your parts in the solution, and pass some current through the whole thing, and you have a zinc plating tank. I am SURE this will be useful in the future as well...
Finally, the finished control arms painted and assembled!

Overall, I'm pretty happy with how the project turned out. There are a few little things I would do differently if I were doing it again, but nothing dramatic. Could I have bought them, sure! But I like making things, and I definitely learned a lot by doing it myself.
I ended up lengthening the front control arm by about 1/2", and the rear by about 1/4". This enabled me to eliminate the front (6mm) wheel spacer that I was previously running with my race wheels, while still gaining a little camber over what I had before. The extra 1/4" in rear had the unexpected side effect of eliminating the last of the dynamic toe from the rear suspension (in combination with my geometry kit of course). Now my rear wheels experience virtually zero toe change over their entire range of motion. I am very interested to see how this effects the handling. When I first reduced the toe change it had huge positive effects, I am hoping that eliminating it will be even better!
At the beginning of this I said I succeeded on two out of three goals. Well, it turns out they actually aren't any lighter. Slightly lighter than completely stock arms, but actually slightly heavier than the stock control arms with aluminum strut rods that I had been running. Oh well, the geometry adjustment I think will be worth it.