I wanted to build this car from the ground up to be primarily a track car. Given that, and given how my previous car met it's end, that meant starting with a roll bar. The big "hope I never need it" mod. And of course to go with that, good 6-point harnesses and bucket seats.
I don't really like any of the "bolt-in" roll bar options. For one thing, making a roll bar bolt-in on these cars requires a couple of compromises to the angles of the bars. First, the main hoop ends up installed at an angle instead of vertical, and the support bars that brace the main hoop end up at a very acute angle to the hoop. The rule books specify that there should be a minimum 30° angle between the main hoop and the rear supports, and while I don't know that the bolt in bars violate this rule, I suspect they are right on the edge. They would almost certainly violate the rule if the main hoop was installed vertically instead of angled backwards.
So, with those limitations in mind on the bolt-in roll bars, the solution is to weld the bar in place. This enables the main hoop to be mounted to the top of the frame rails instead of being bolted to the floor pan. I feel that this is a much stronger attachment point. Also, welding in allows the rear braces to be installed at a greater angle vs the main hoop, by running them back into the area by the back windows instead of to the firewall. Of course, all of these mounting points will first get 1/8" thick steel plates welded to the chassis, and then the bars welded to those plates.
I chose to start with an Autopower weld-it-yourself roll bar kit, mostly because it saved me having to do the bending. In hind site, all that I really used from the kit was the main hoop, and a few other pieces that I was able to re-purpose into other parts. But every piece was extensively modified. It was still cheaper than buying a good bender and all the material, but not by much.
They say a pictures worth a thousand words, and unfortunately I didn't take many pictures of this particular phase of the project. But here is one of the bar tack-welded together and test-fit in the car.

Notice the X style cross braces. The one from the passenger floor to the drivers head is required, the other was my own addition. Partially I just like the symmetry of it, but it also makes for a stronger bar. You can also see the reinforcing plate welded to the top of the frame rail.

Here is a test fit of one of the rear braces, and the corner of the reinforcing plate welded to the top of the firewall area. This area is visible in the background of some of the photos in my previous blog post: Bodywork Phase 1, though unfortunately I don't have any good close-ups.
Once everything was fit properly (lots of adjusting fish-mouths and grinding angles), the bar was fully TIG welded and painted (except for the ends) outside the car. Then put back in the car, welded in place, and the ends of the bar and the plats were painted as well. This stage is visible in my Bodywork Phase 2 post. I pulled a lot of inspiration for my roll bar from this thread on MR2OC.com: My Road Course Worthy Roll Bar Build - DIY in my garage. Fortunately, Mark actually remembers to take pictures of his projects, so you can see there a lot of the details that I wasn't able to show you. The mounting plates in particular are very similar.
With the roll bar complete the next item to consider was the seats. In my old car I had a set of Corbeau CR1 reclining seats, and I found them to be at best "OK". I had a lot of trouble getting the seating position low enough for my 6'1" self to fit comfortably with a helmet. This led to some significant "trimming" of the bottom cushion, which made them not all that comfortable, AND still too tall. Plus I had bought them used and, though I had purchased new covers for them, the internal foam was a little beat up. I also was trying to drop weight in as many places as possible on this car, and a pair of 18lb fiberglass bucket seats was an affordable way to do that. Enter the Corbeau FX1 Pro. Overall, I am pretty impressed with them. Quite affordable, and overall very comfortable, as long as you are skinny enough to fit them. And I don't just mean comfortable "for a racing seat". Personally I find them to be plenty comfortable for my 7 hour drive to the track as well. They are a bit tricky to get in and out of though!
In the interest of further weight savings, plus wanting to get the seats as low as possible I chose to make my own fixed (no sliders) side mount brackets as well. I had initially built a bracket setup by welding side mount tabs onto stock sliders, but found that I needed that extra 1/2" of head room. The side-mount portion of the brackets was a cheap set of mounts purchased off of eBay, and then proceeded to heavily modify. To attach to the stock seat mounting points, pieces of bent and drilled 1/8x2" steel bar stock form the rest of the bracket. A production version of this seat bracket is available for purchase.
 Completed brackets on the bench.
 Brackets mounted in the car.
 Seats mounted to the brackets.
With seats and roll bar done, the next item on the list is a 6-point harness. Finding the right solution here took a while. I had a 5-point G-Force harness in my old car, but I knew that the pull down lap belt was going to be nearly impossible to tighten with the new seats. It had been difficult enough with the much less enclosed reclining seats. I also wanted 6-point harnesses. I purchased a pair of Pyrotect pull-up harness, but found that the lap belt adjusters were so far from the main buckle that they would have ended up between my hips and the side of the seat. Very uncomfortable. Unfortunate most harnesses don't seem to be designed for people who weight 145lb, especially in a very small car, so I returned them.
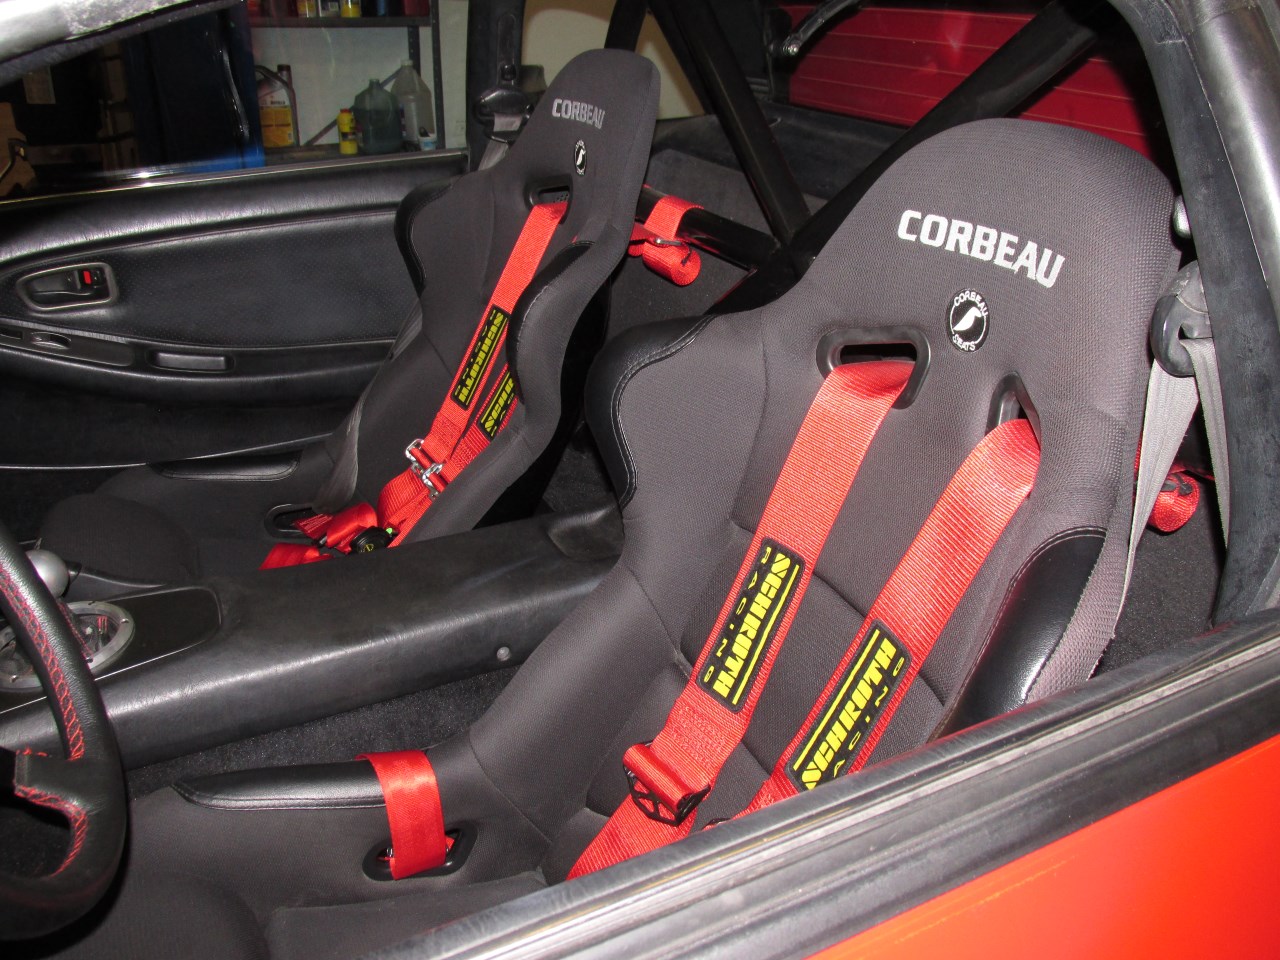
Ultimately I ended up buying a pair of Schroth harnesses, and while they are expensive, they are well worth it in my opinion. I got a Profi II-6 for myself, and a slightly cheaper Clubman II-6 for the passenger seat. The "II" in both of those indicates the 2" wide lap belt, rather than the 3" belt that many racing harnesses use. The short version here is that the 2" belt is both more comfortable AND also safer, because you can get it much tighter.
The shoulder belts wrap around the harness bars built into the roll bar as shown below. A couple of zip ties to hold the excess strap in a nice neat roll, and they are done. You can also see here how the roll bar fits with the interior installed / trimmed to fit around it.

Finally, one more shot of the finished roll bar, showing the rear braces with the rear trim panel trimmed and re-installed. There was a bit of trial and error involved in getting this right, but I am very pleased with how it all turned out.

One last piece of "hope I never need it" equipment, a fire extinguisher mounted in front of the drivers seat. I doubt it would be enough to do much to a BIG fire, but with a little luck it might prevent a small fire from turning into a big one!

And that's about it for safety gear at this point, although I am thinking I will add a HANS device to my personal equipment before next season. There is a REASON most racing organizations require one at this point...
Behind the drivers seat, my Race Capture Pro data logger. This is where the accelerometer and GPS data that I overlay on my videos comes from, and how I log lap times. It also has a built in yaw sensor, and the ability to log an additional 8 channels of data which I have not even begun to utilize yet.

And finally, a couple overall shots of the interior. The NRG steering wheel has a bout 2" of dish to bring the wheel a little closer to the driver. With my long legs and slightly reclined seating position this makes the reach to the steering wheel much more comfortable. The gauges in the ash-tray location are oil temperature and oil pressure, mounted in a gauge pod that I bought many years ago, probably about 2007, and molded into the center console. Above them, my DIY wideband display, showing the output from an LC1 wideband controller. Details on how I built that can be found on the forum: DIY $13 Wideband Display. To finish it off, a few "looks only" mods, the custom round shifter bezel and aluminum gauge bezels.