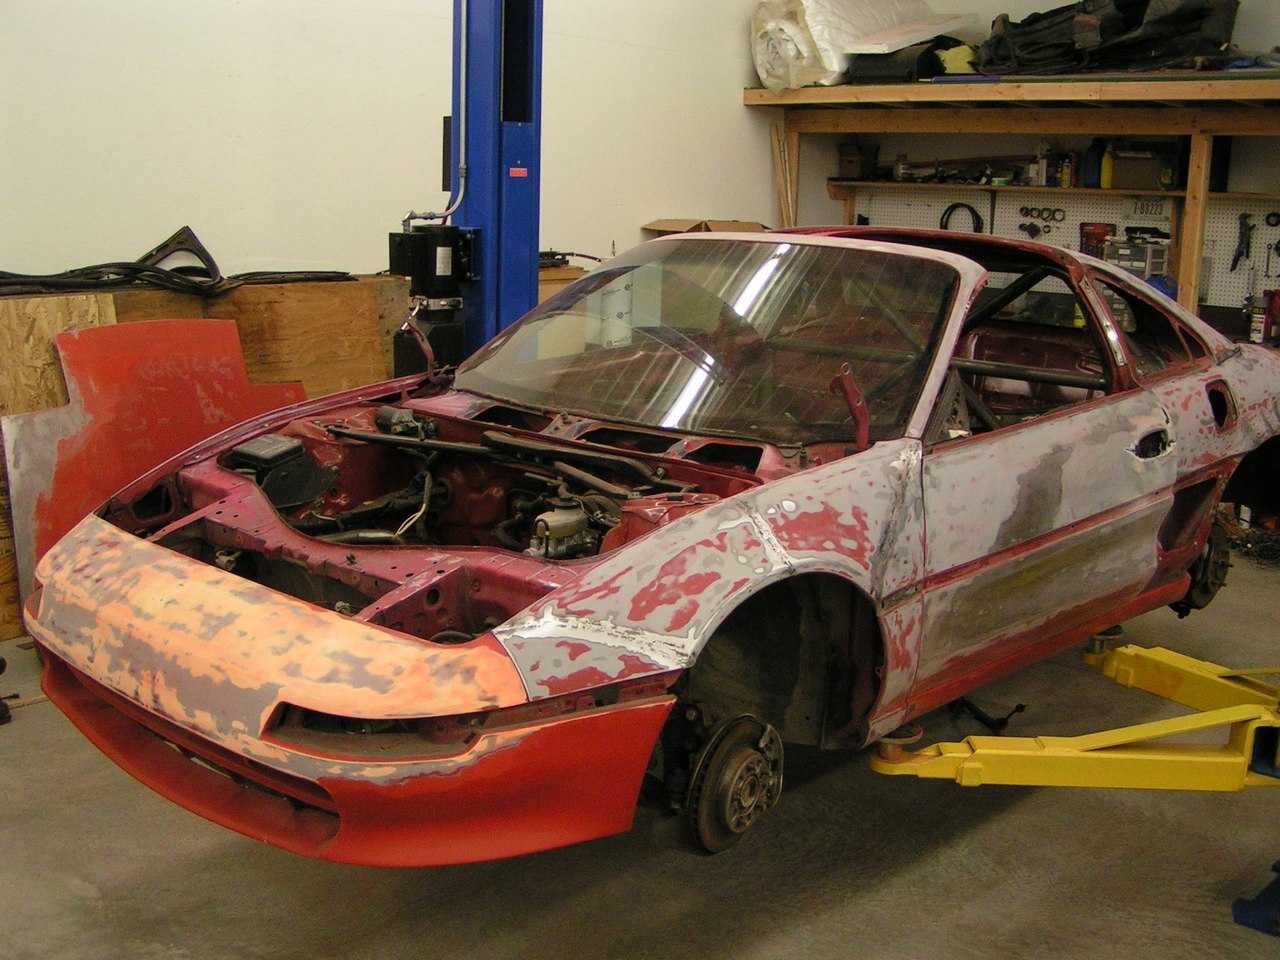
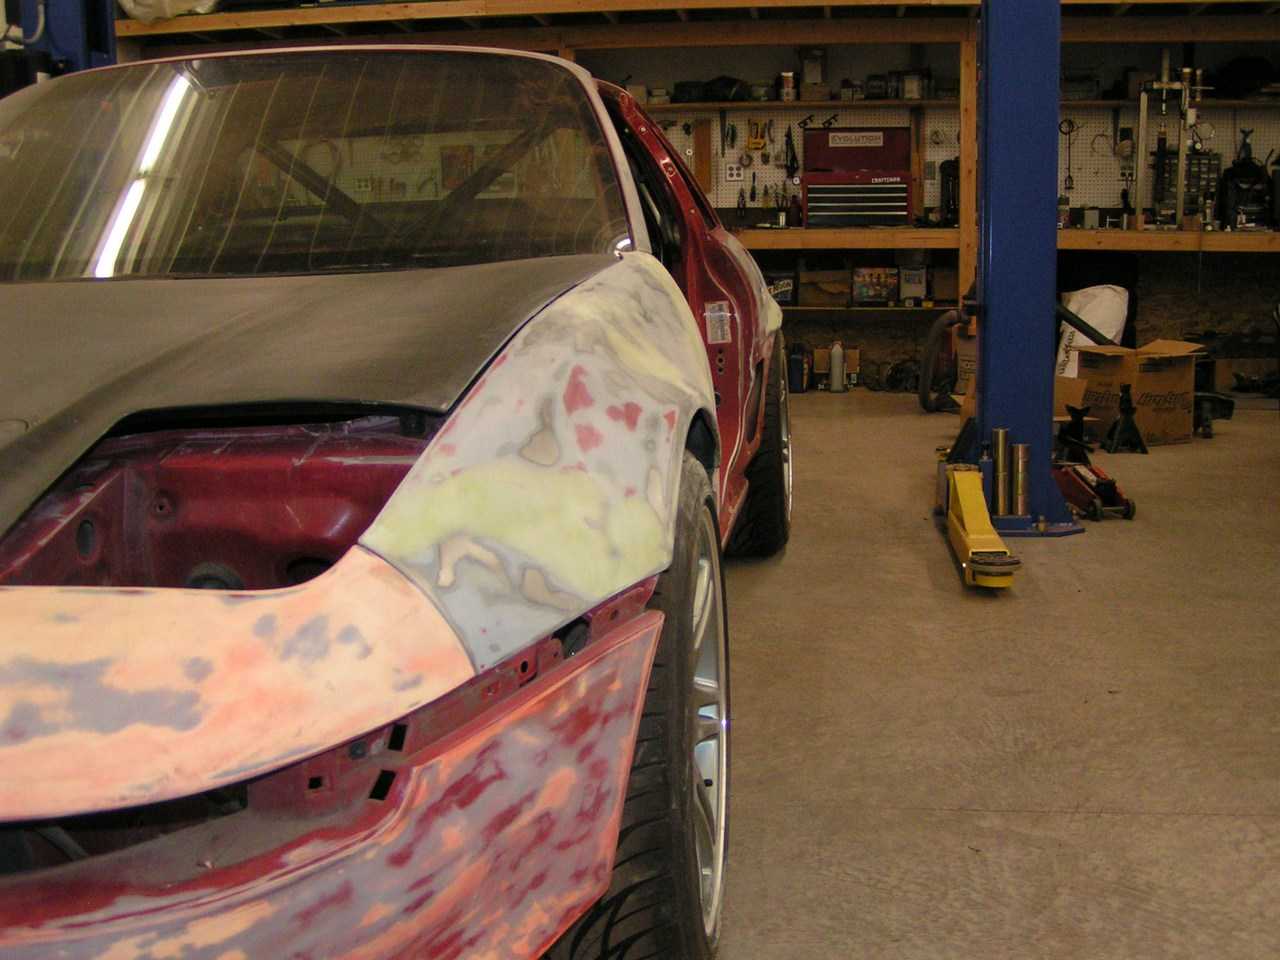
Where we left off I had mostly finished cutting the fenders, pulling them, and welding them back together. Quite a milestone, but a long ways to go.
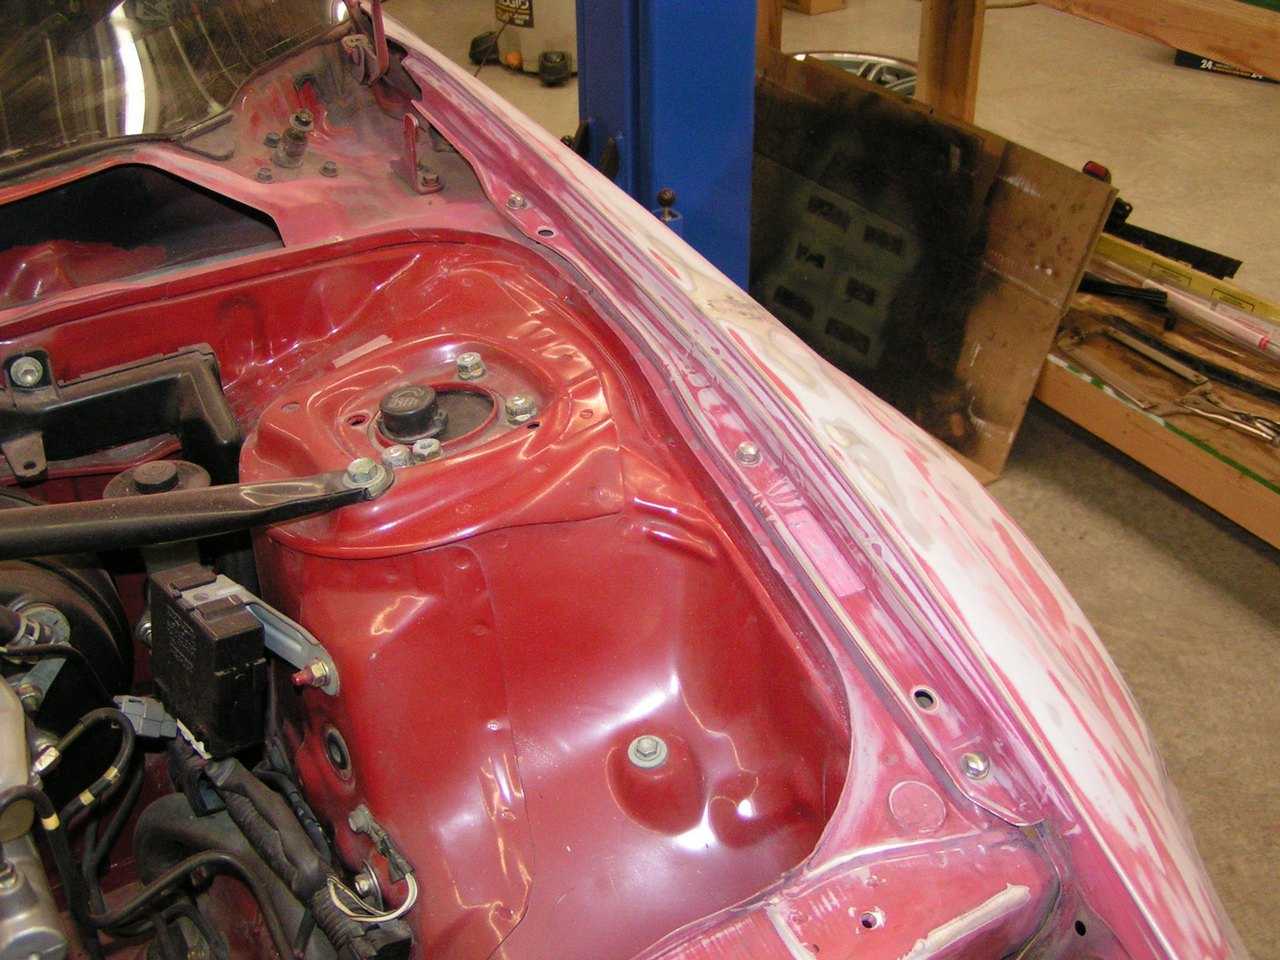
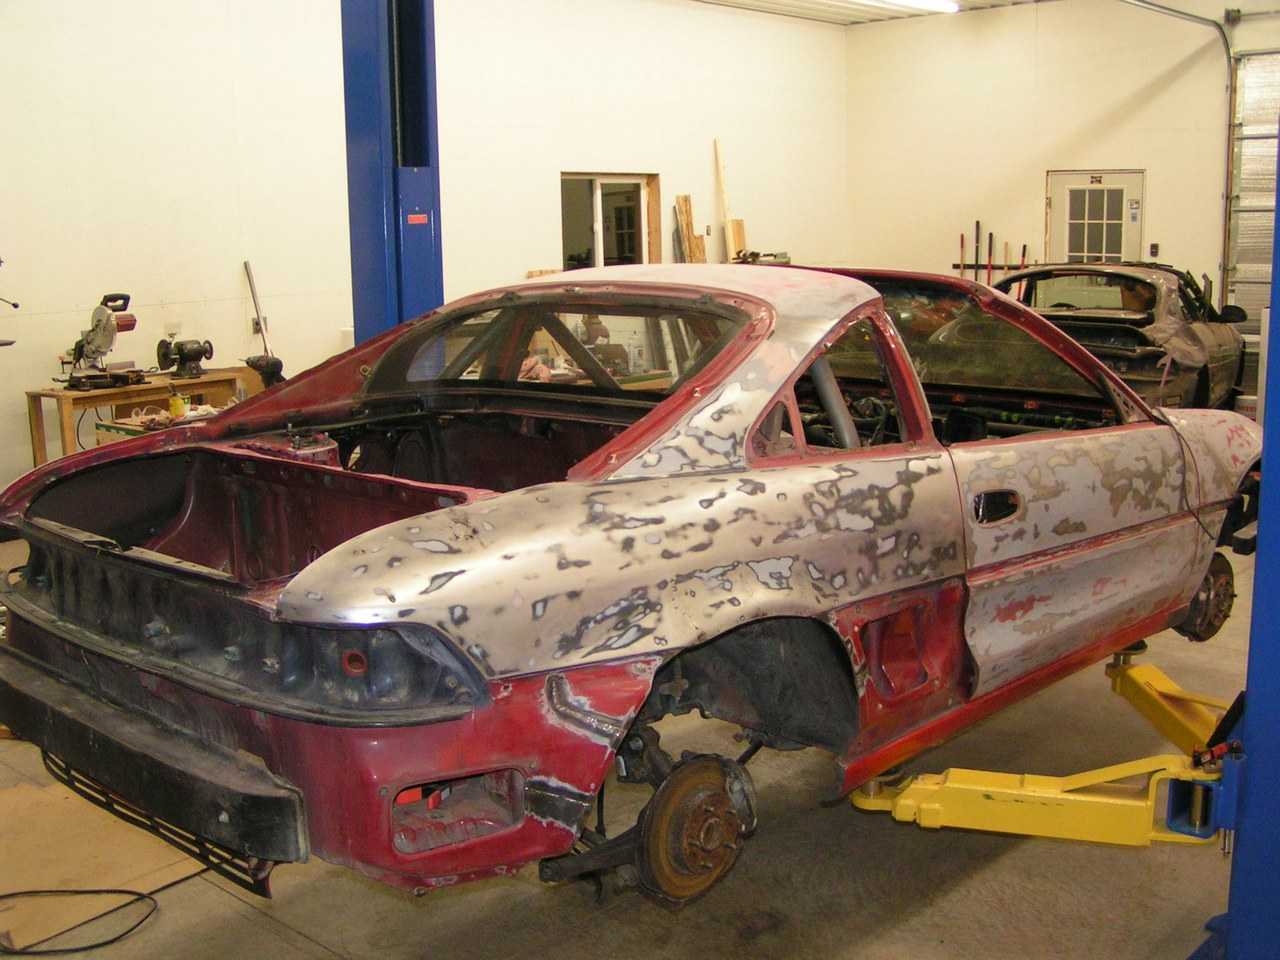
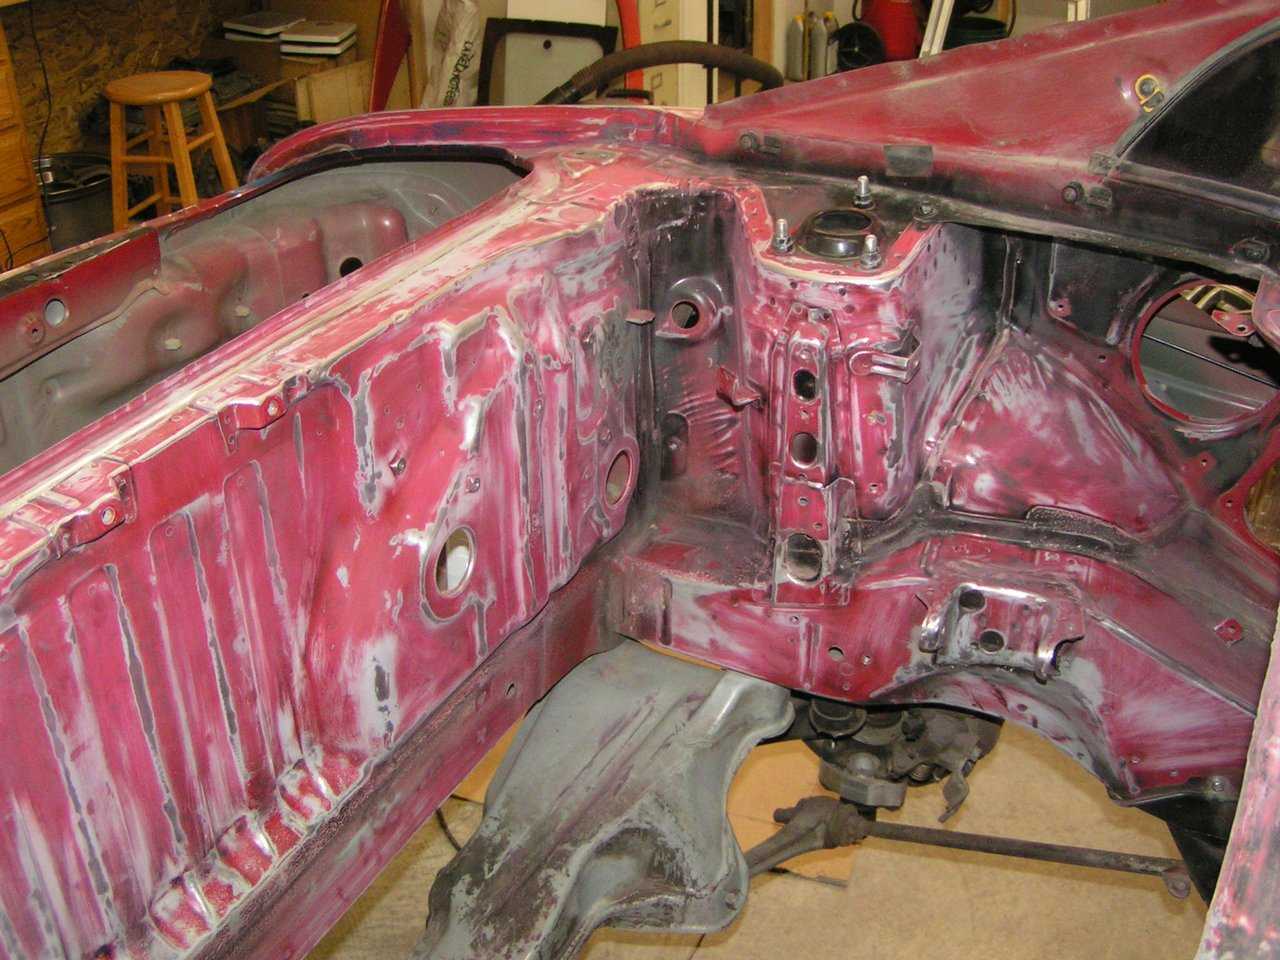
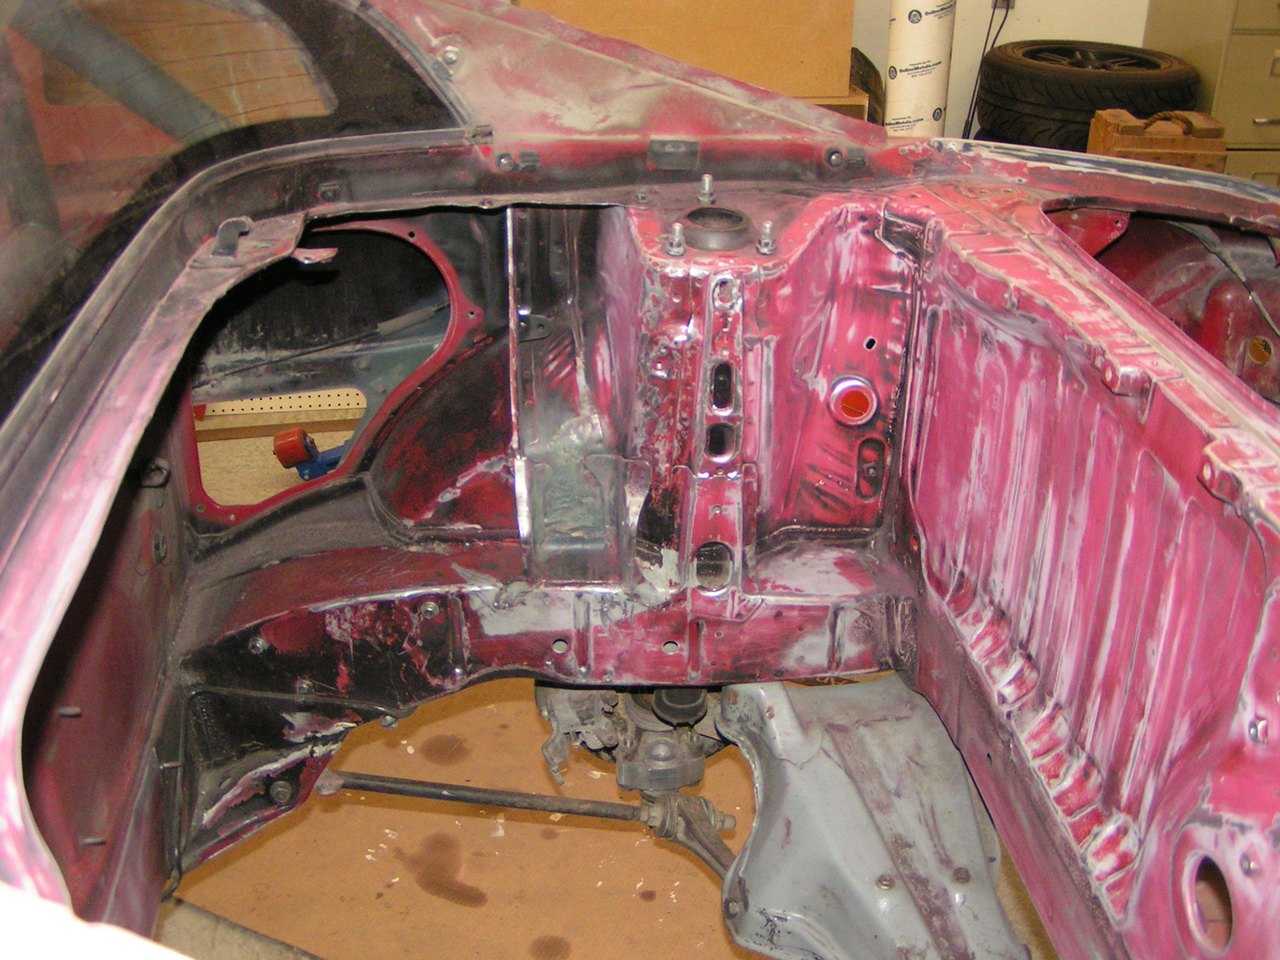
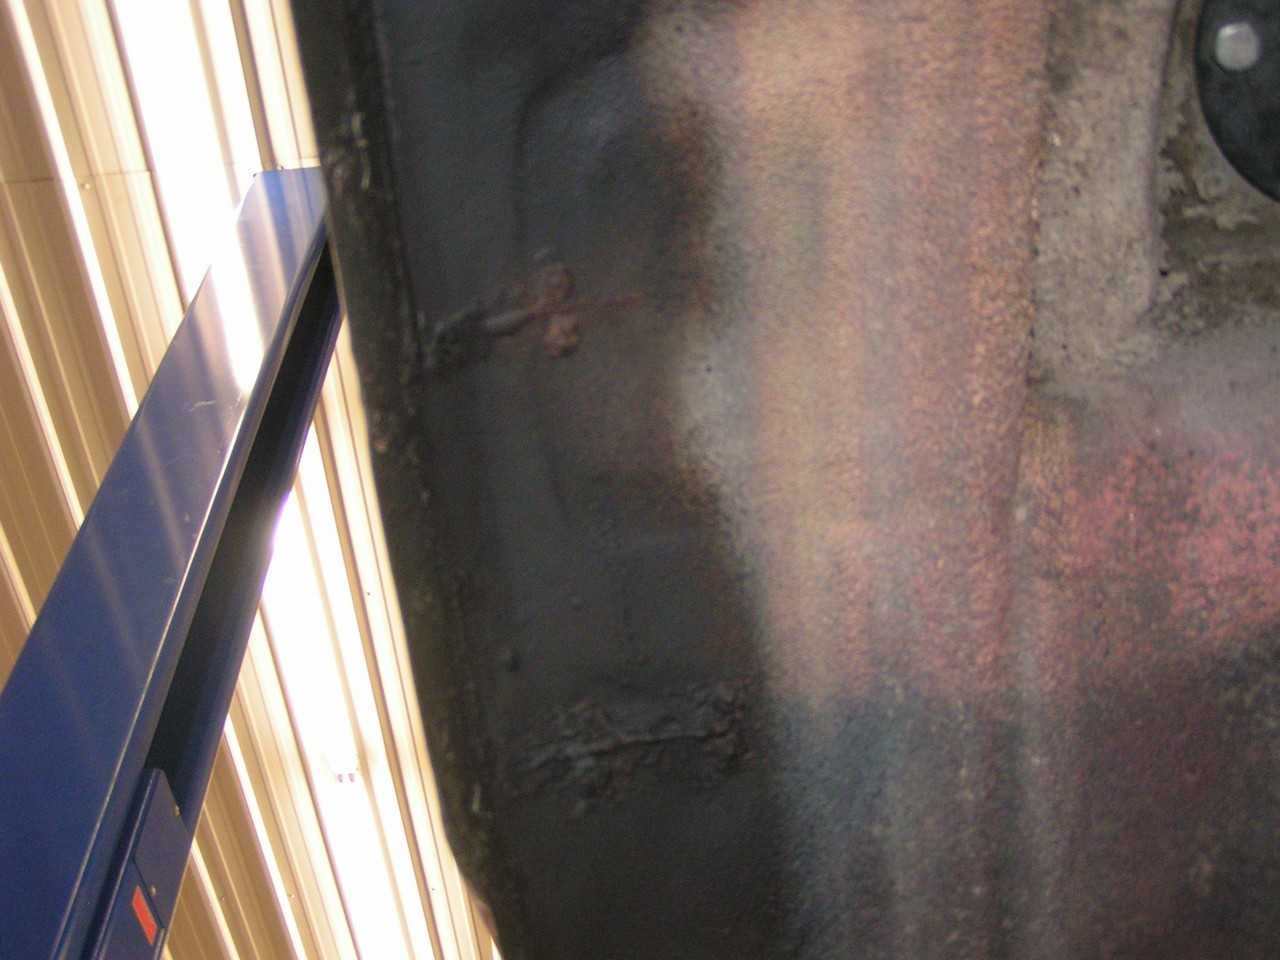
As I mentioned previously, the paint on the car was terrible, and not only that it was the second of two terrible paint jobs that previous owners had done. There was over spray everywhere, and it was obvious that the idea of paint prep had been completely ignored before either of those spray jobs. Oh, and the engine bay had been rattle canned black with a similar amount of preparation, so of course that was flaking off pretty much everywhere. This of course meant hours and hours of sanding, with a random orbital for the body and by hand for the hard to reach areas. Fun fun!
As with Bodywork Phase 1, more detail on the process can be found here:
MR2oc.com: Cutting, Flaring, and Welding Stock Fenders
MR2.com: Cutting, Flaring, and Welding Stock Fenders
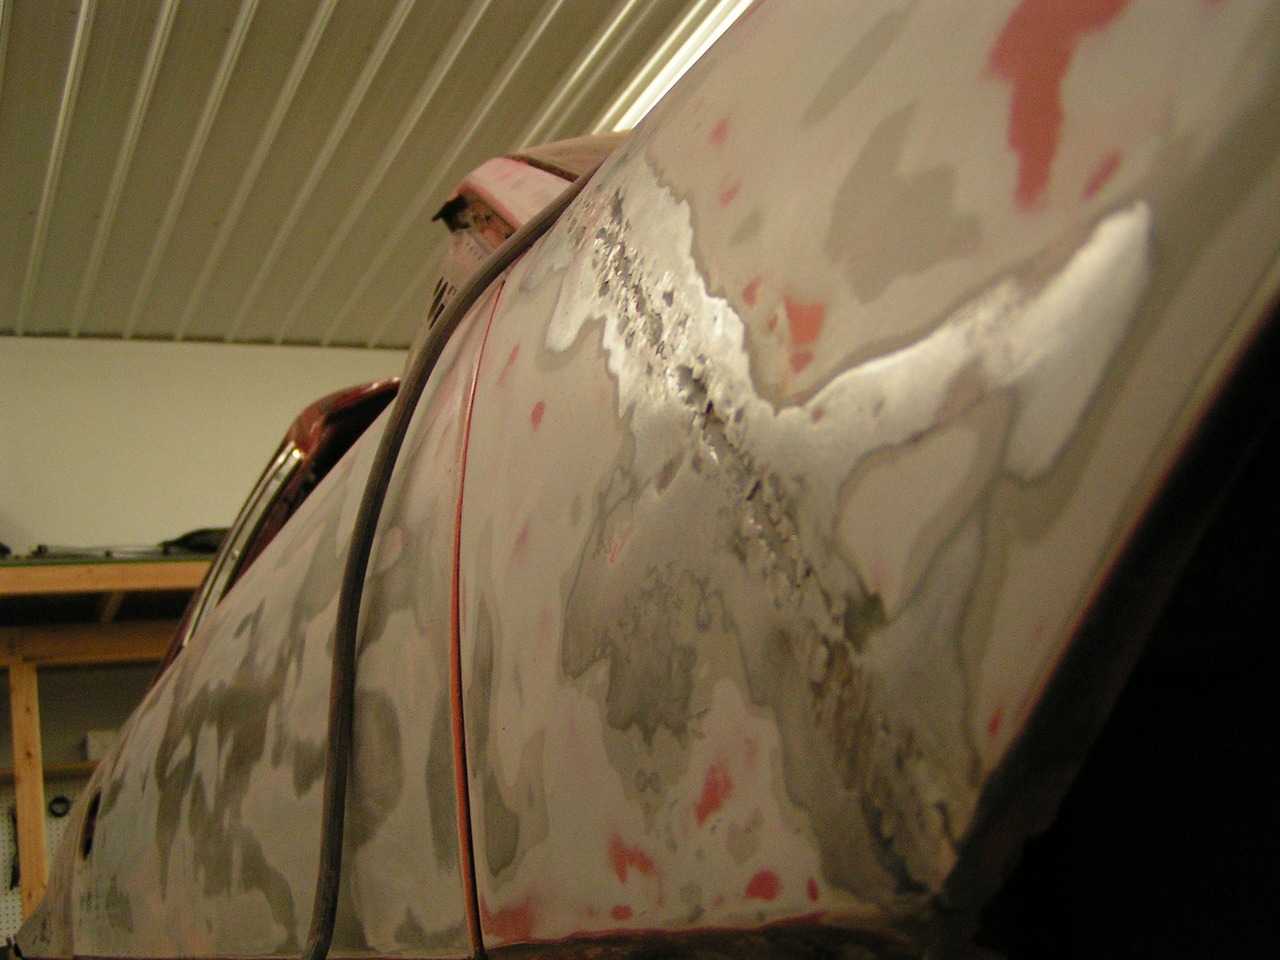
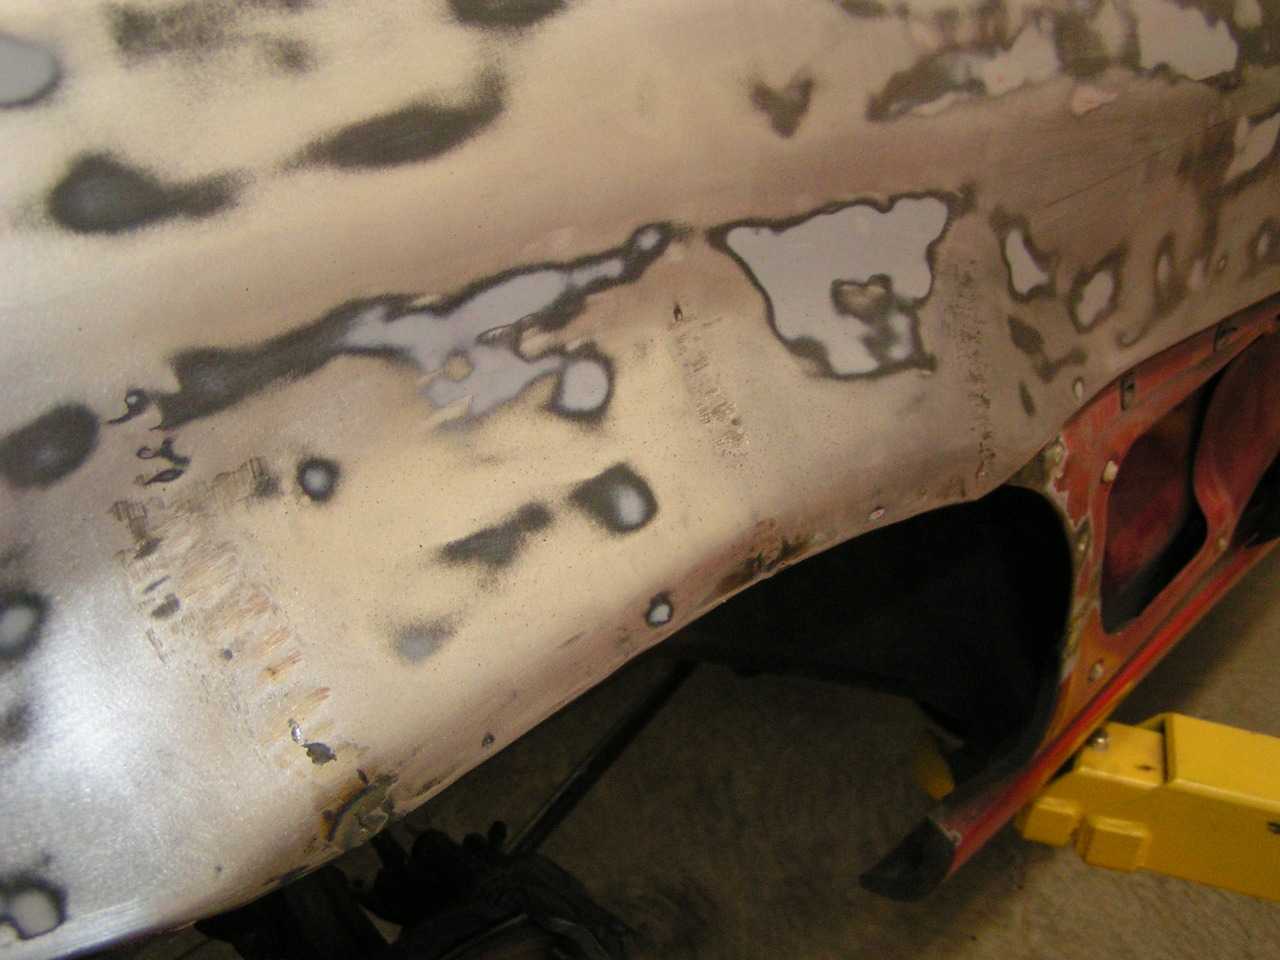
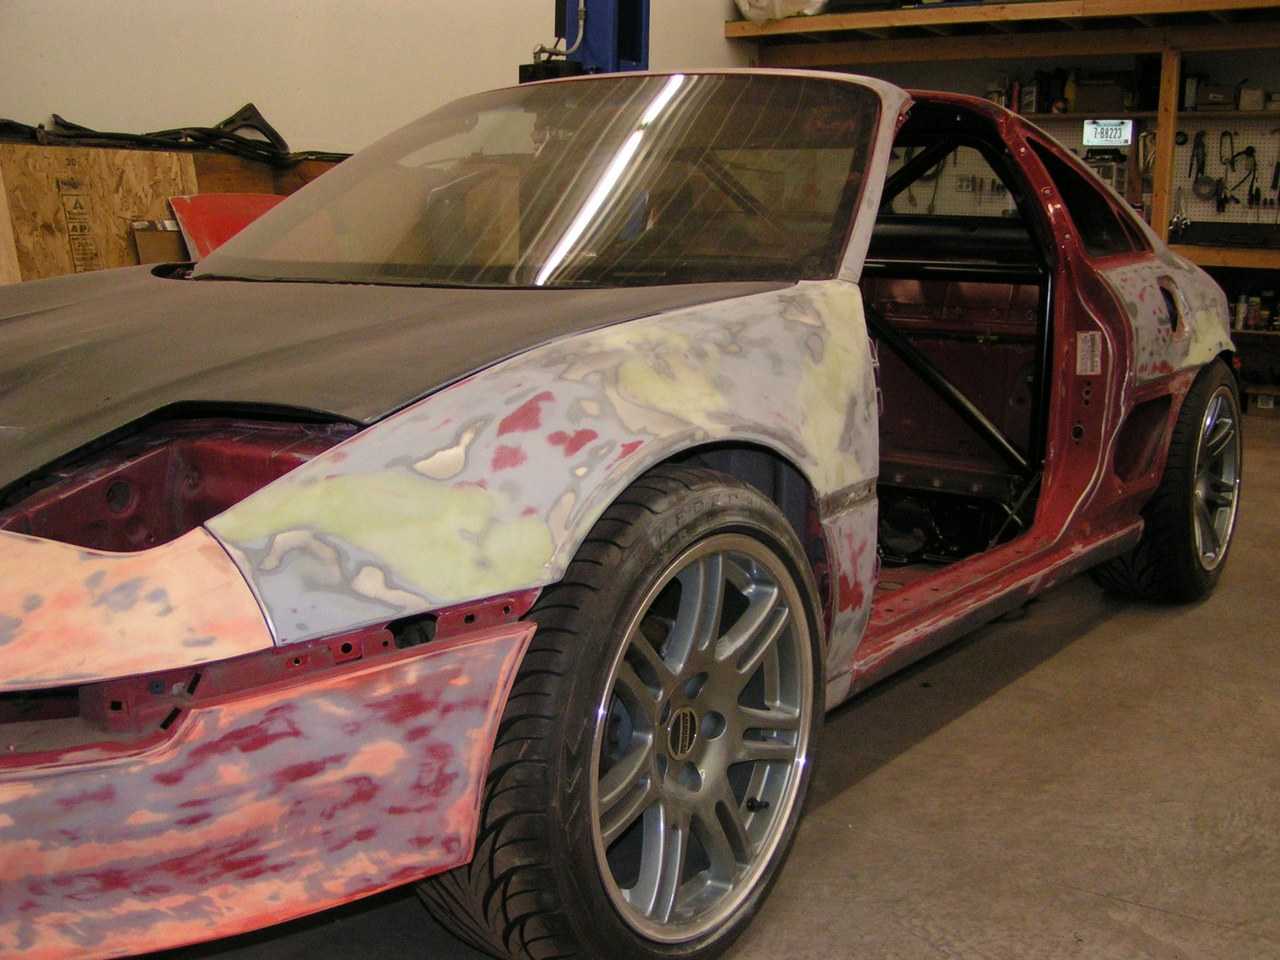
Let the sanding commence!
Finishing up the inner fenders with sheet metal, polyurethane adhesive, and a few rivets.

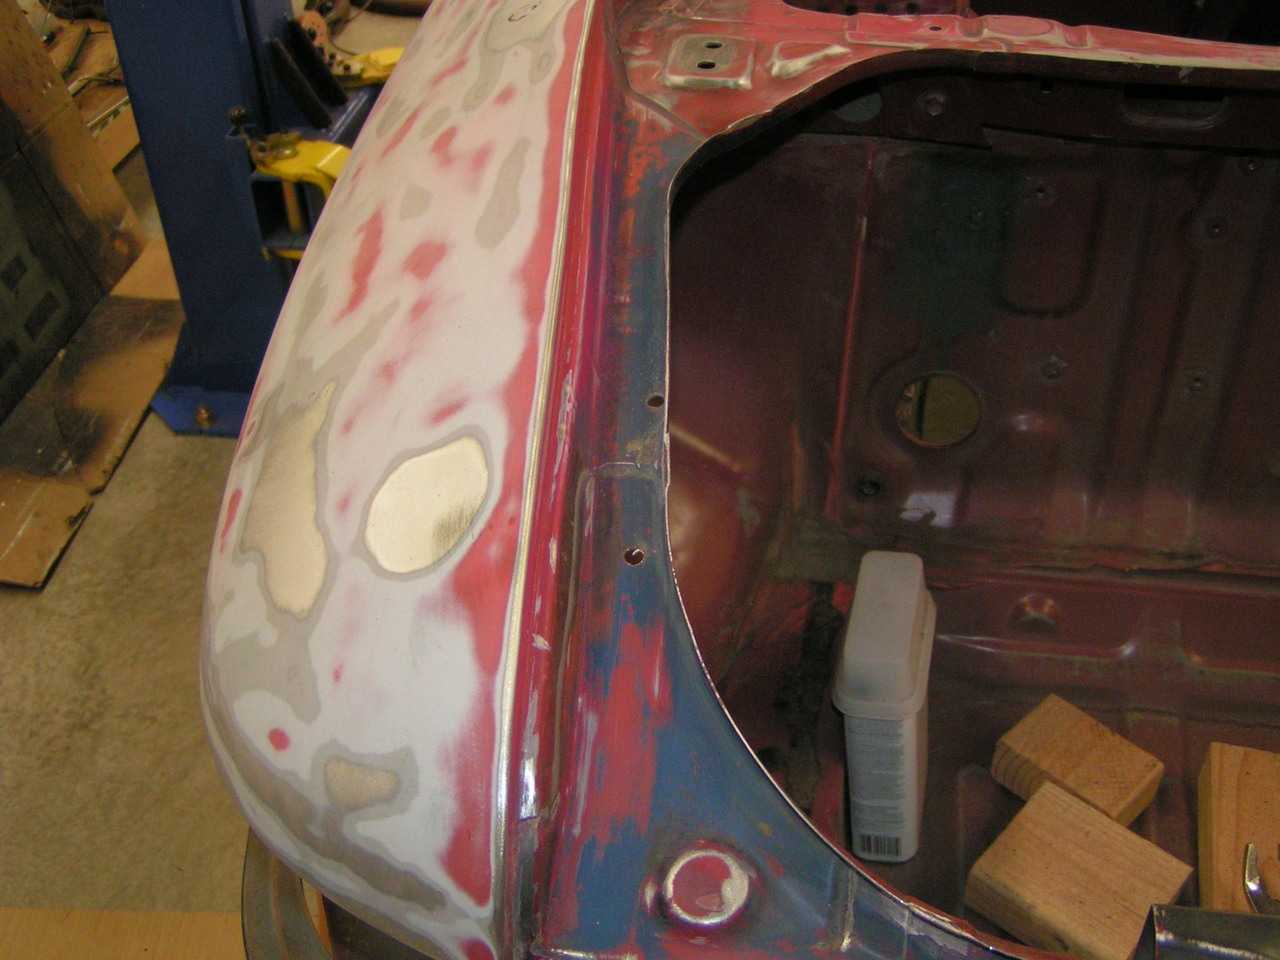
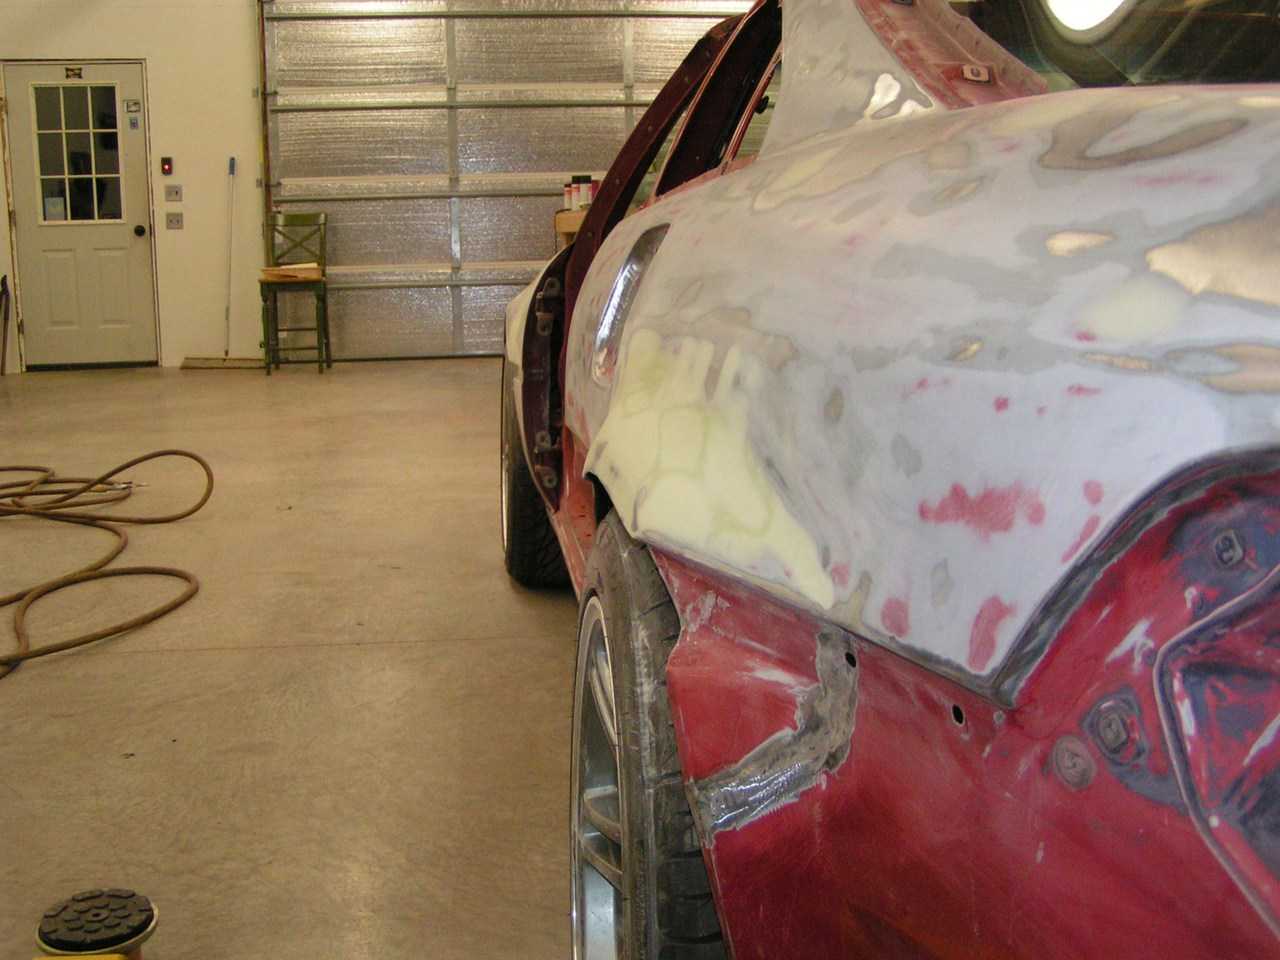
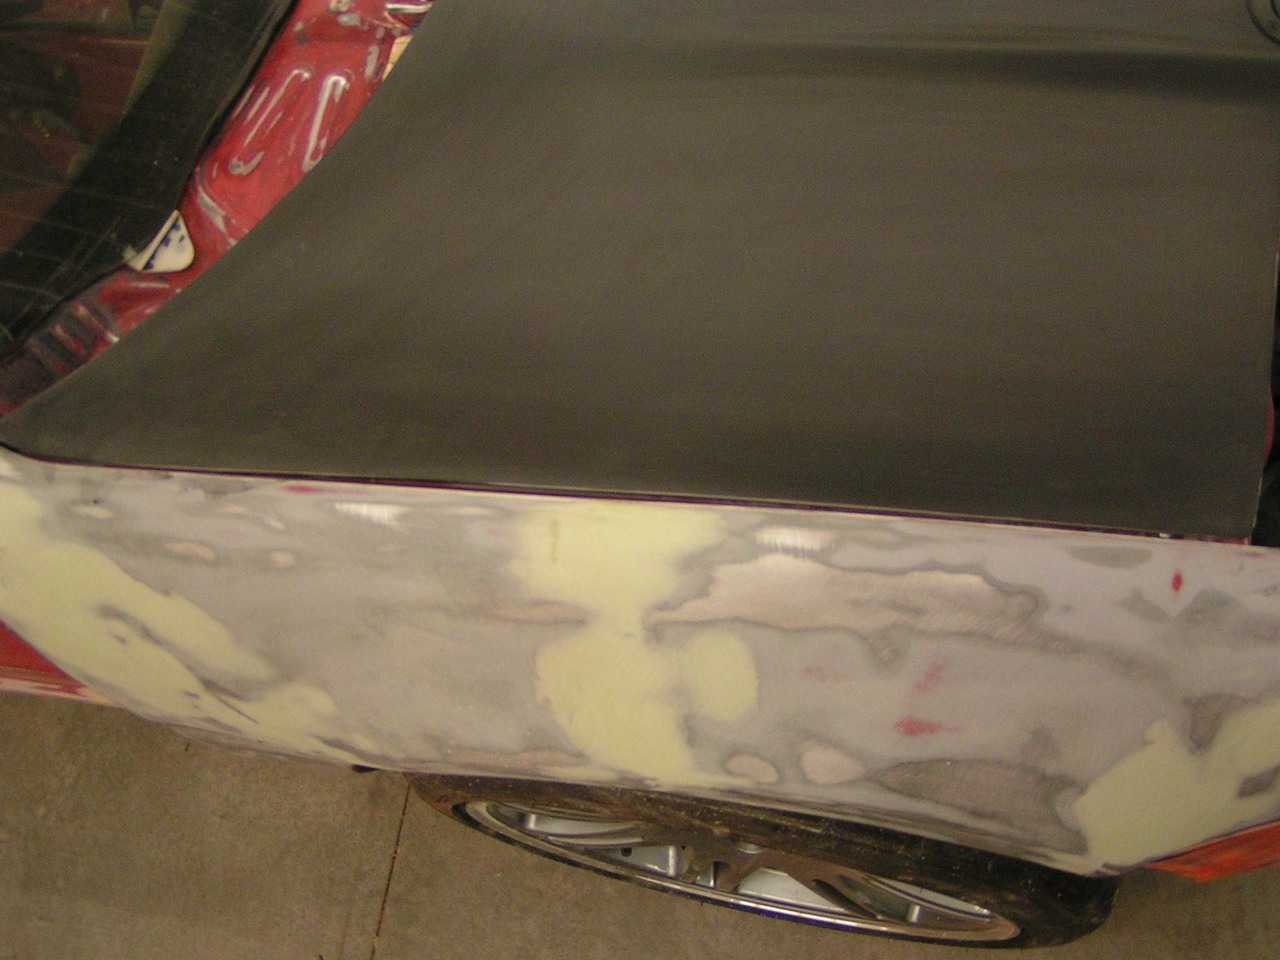
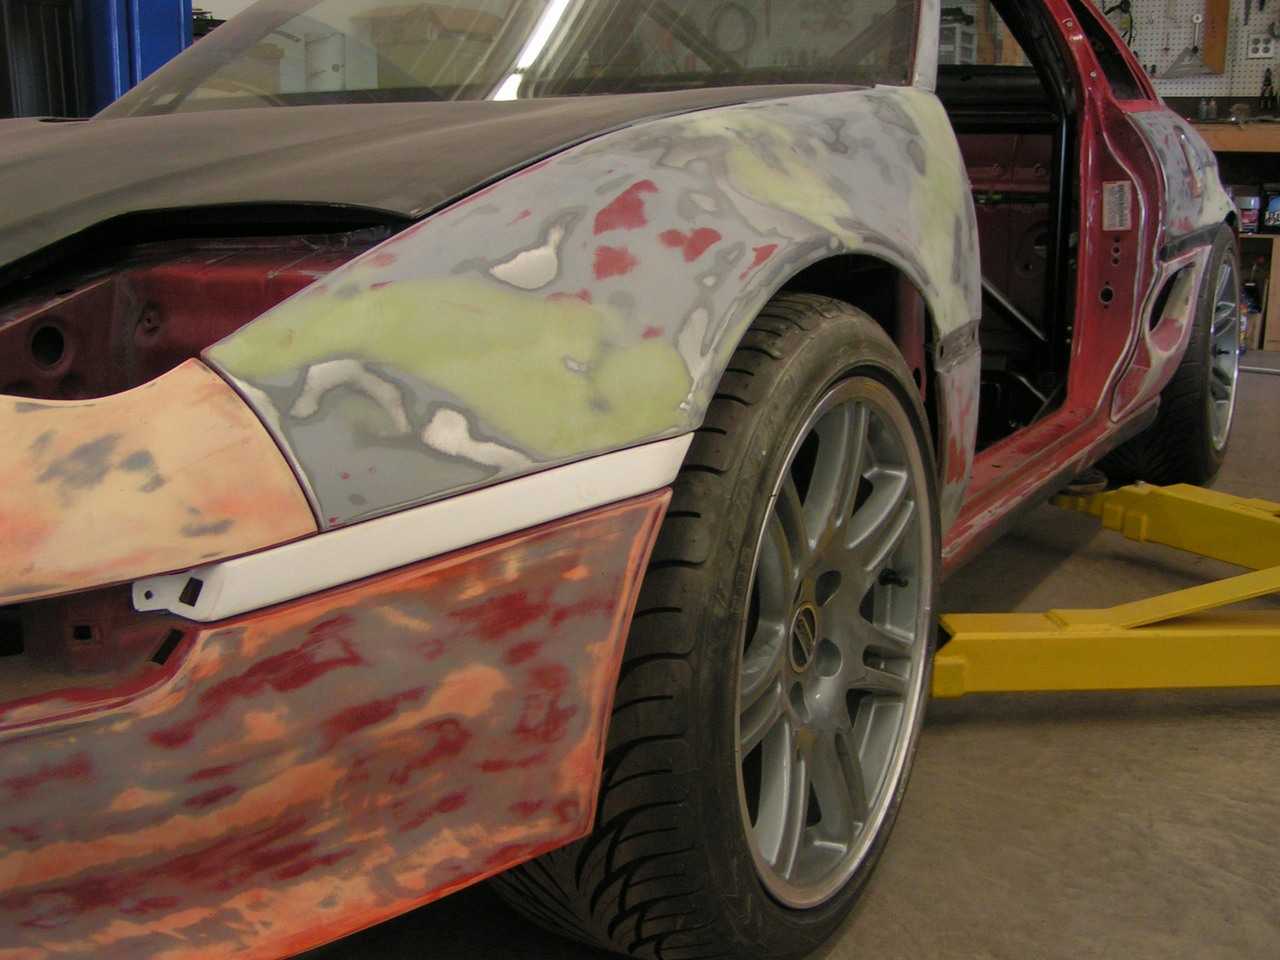
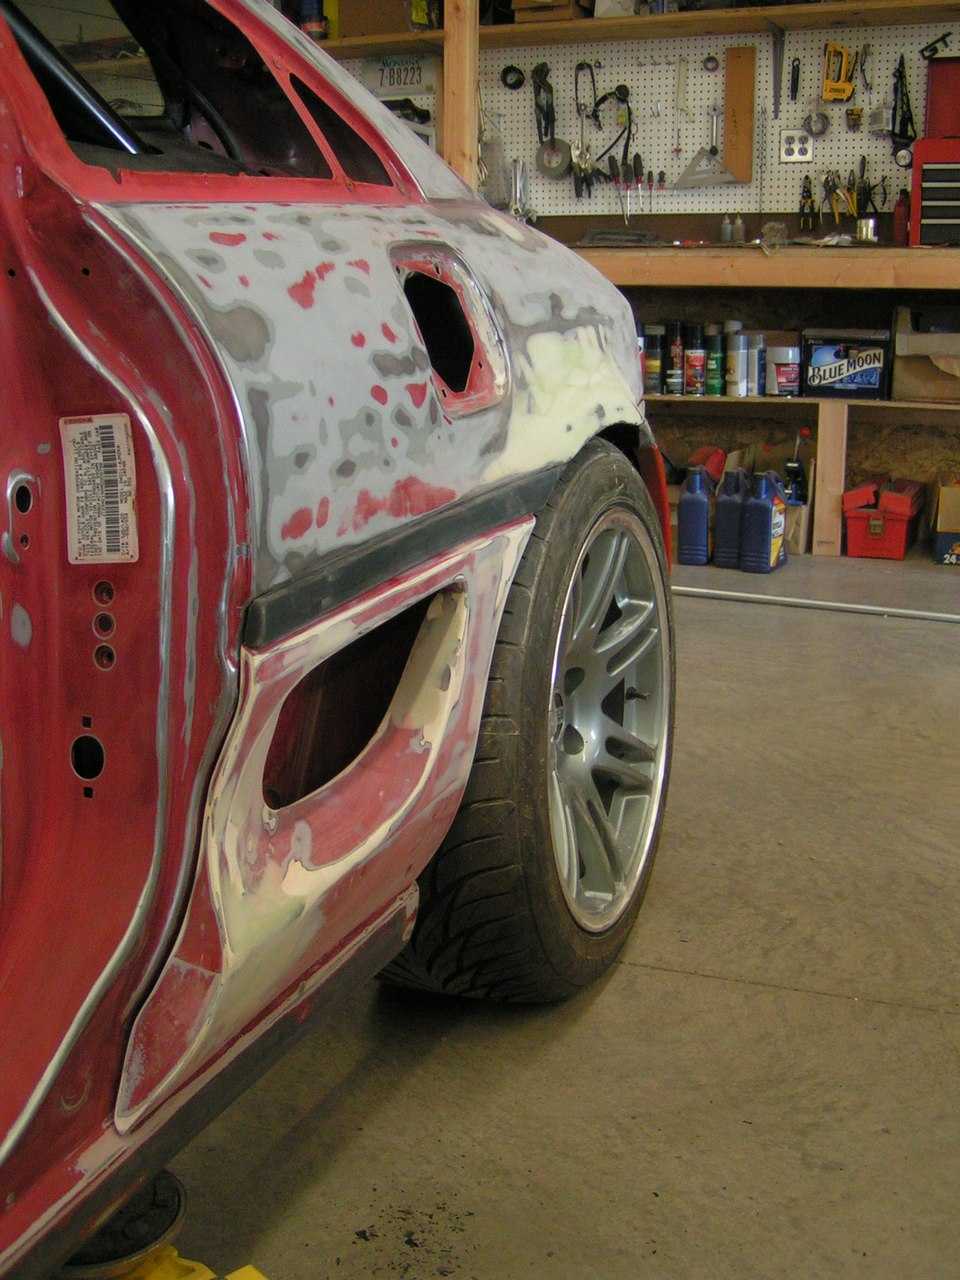
A little body filler to smooth things out. Many more hours of sanding!
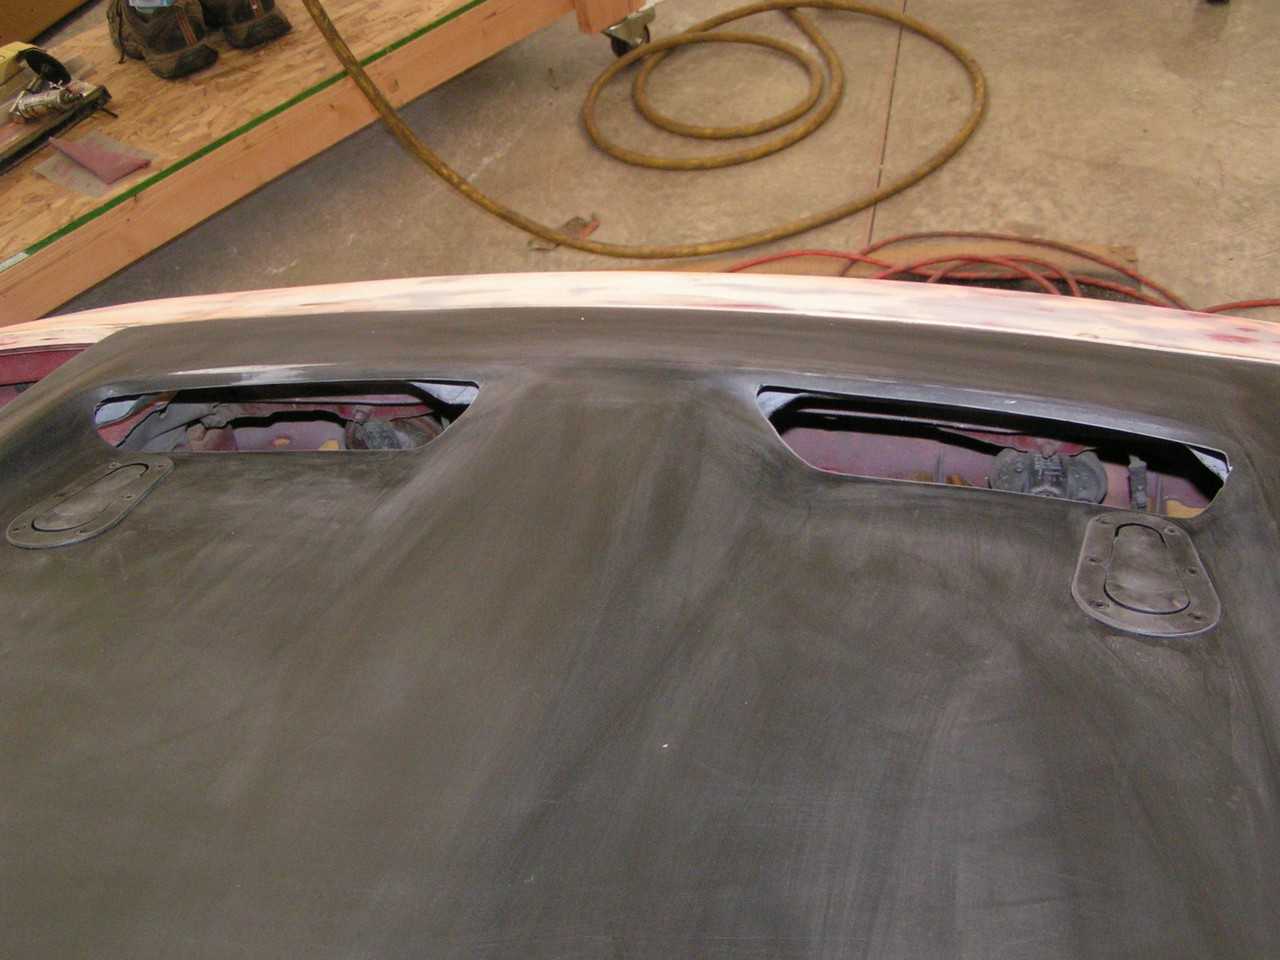
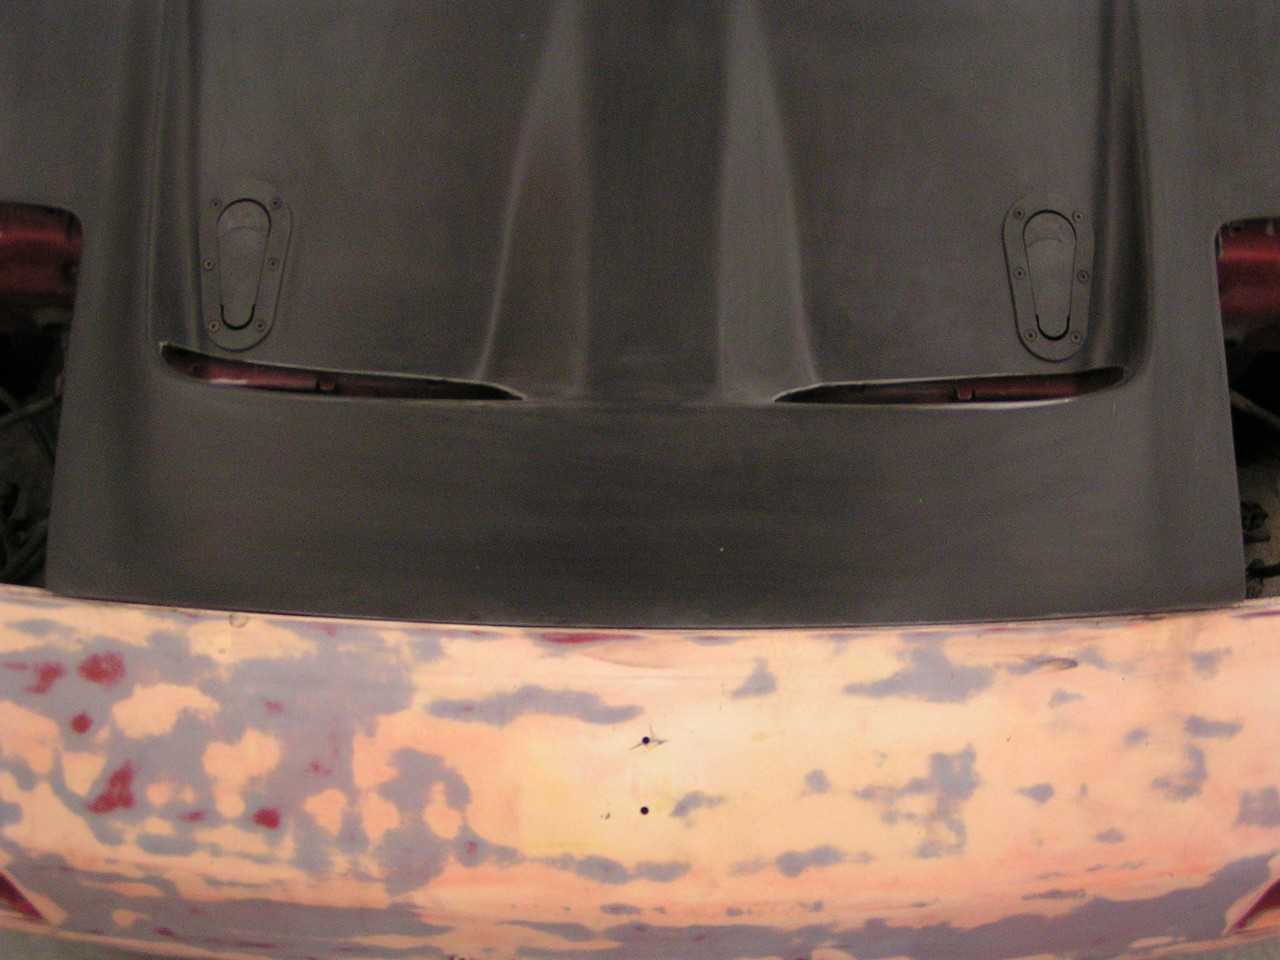
I always liked the look of the Border style vented hood.
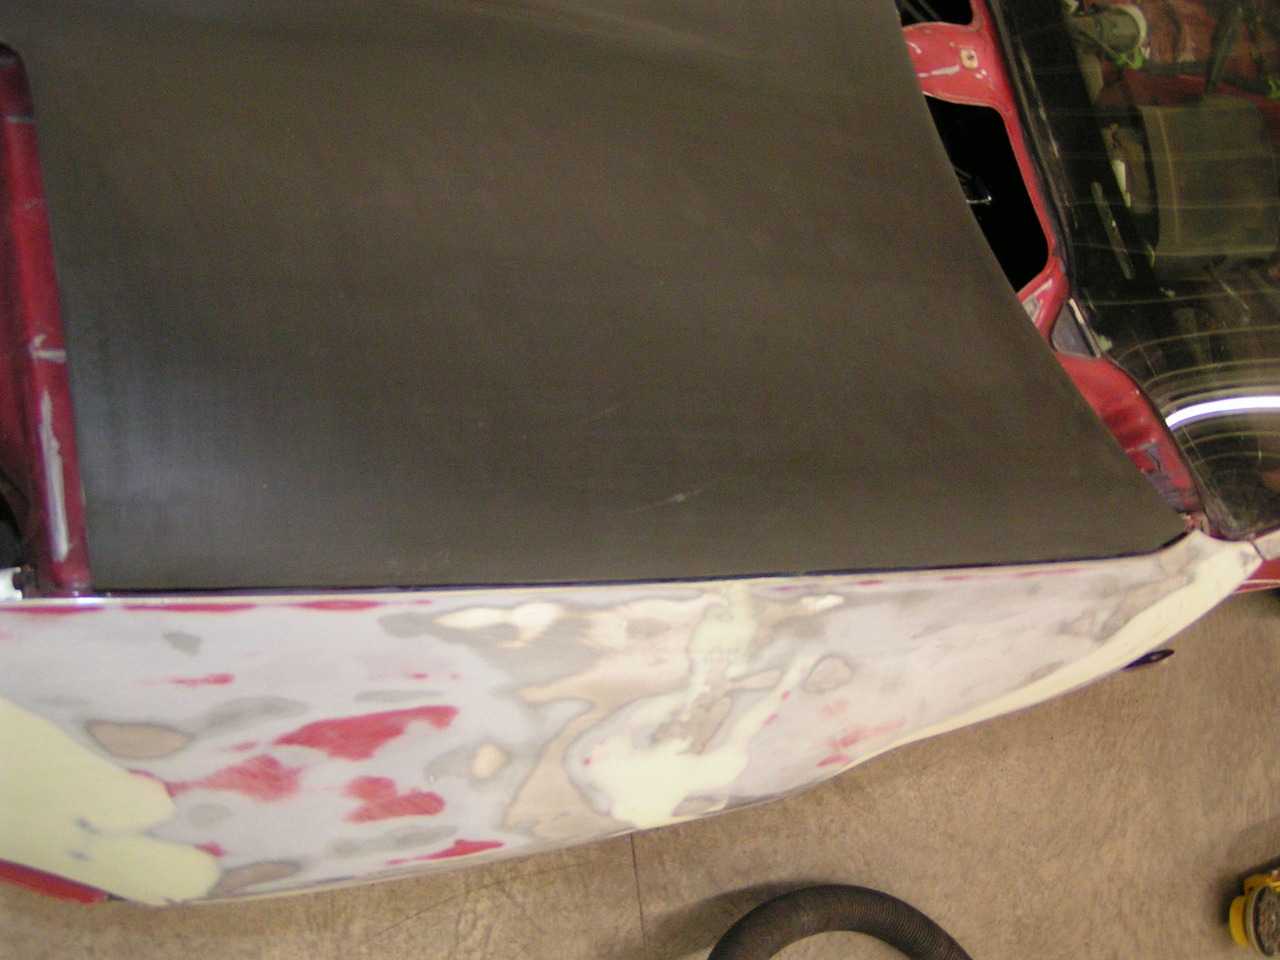
This was the perfect opportunity, plus it saved me hours of sanding to prep the stock hood! I opened the vents up as much as possible, and added a pair of Aerocatch hood latches. The fit and finish on this relatively cheap Duraflex brand hood wasn't perfect, but fortunately the modifications I had done to the fenders had actually tightened the gaps on the sides a bit, so it ended up not too bad. Not perfect, but I was never going for perfect. This car is going to get driven so it wouldn't have stayed perfect for long anyway.

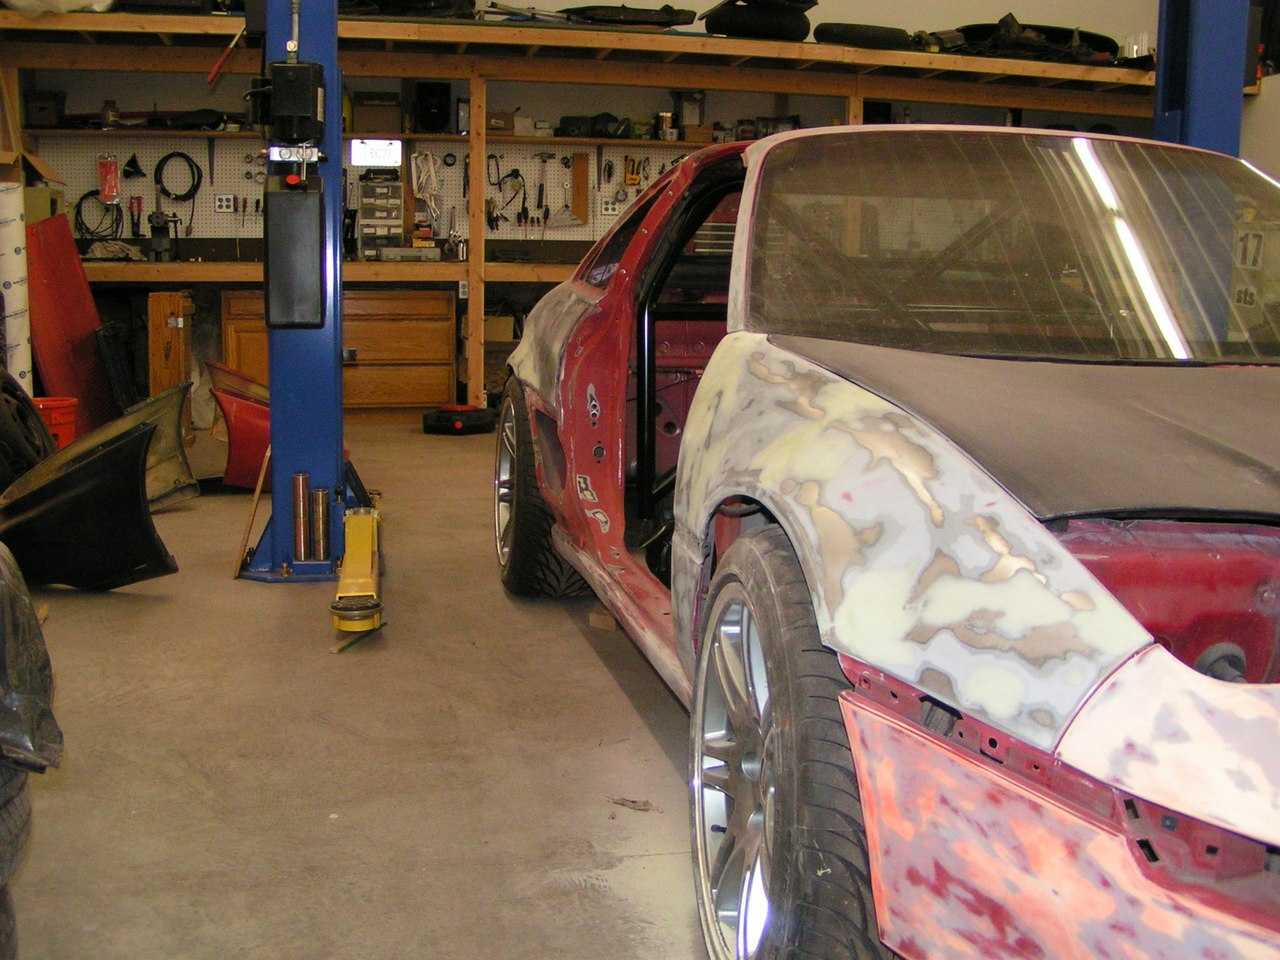
Skipping over many more tedious hours of sanding and prep...
Final test fit and some trimming on the side moldings. It took a little work to get these to fit and look good with the new fender shape, but overall the bumpers, vents, and moldings followed along with the new shape pretty nicely.

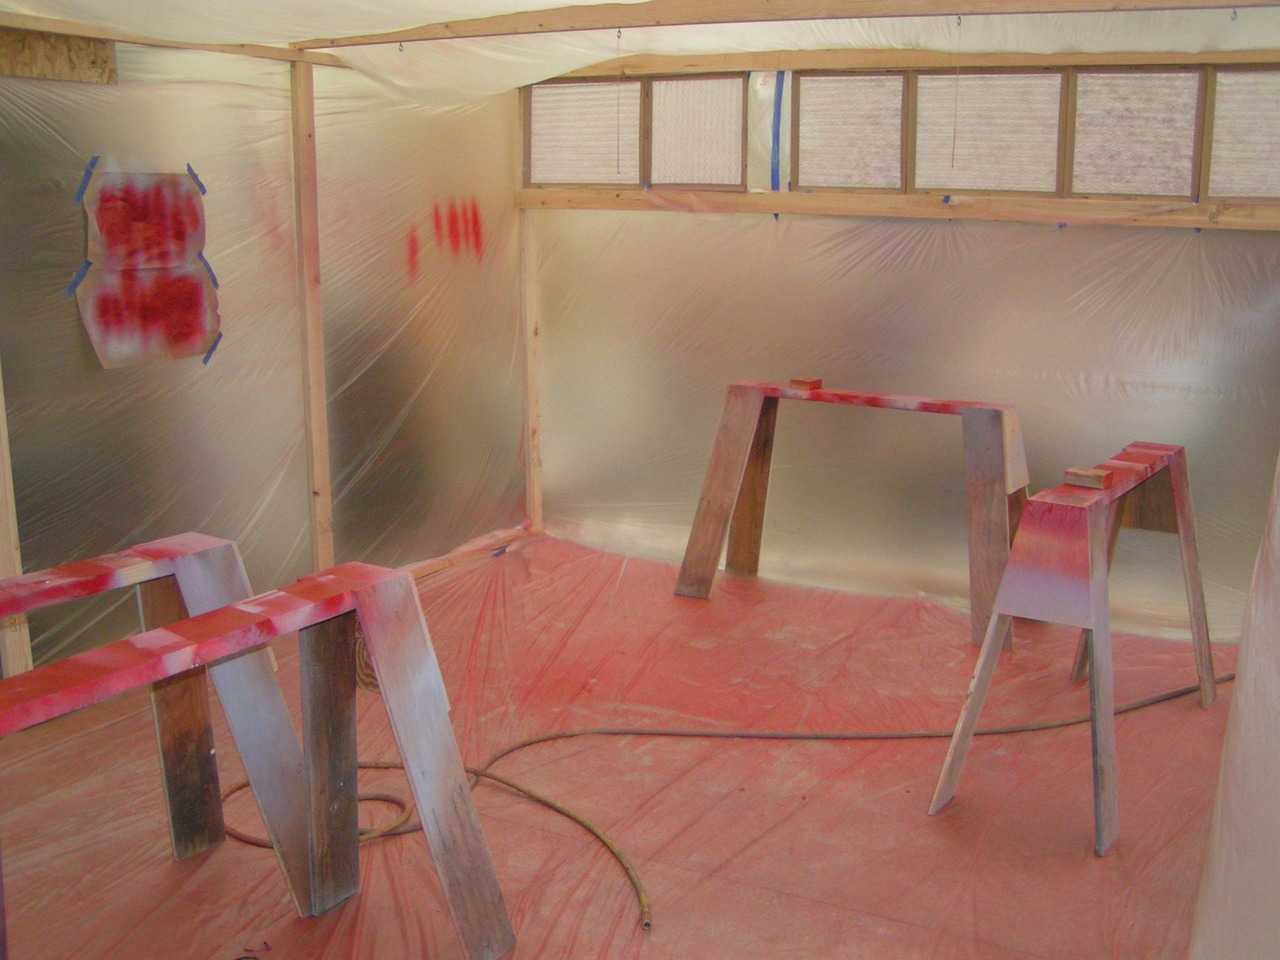
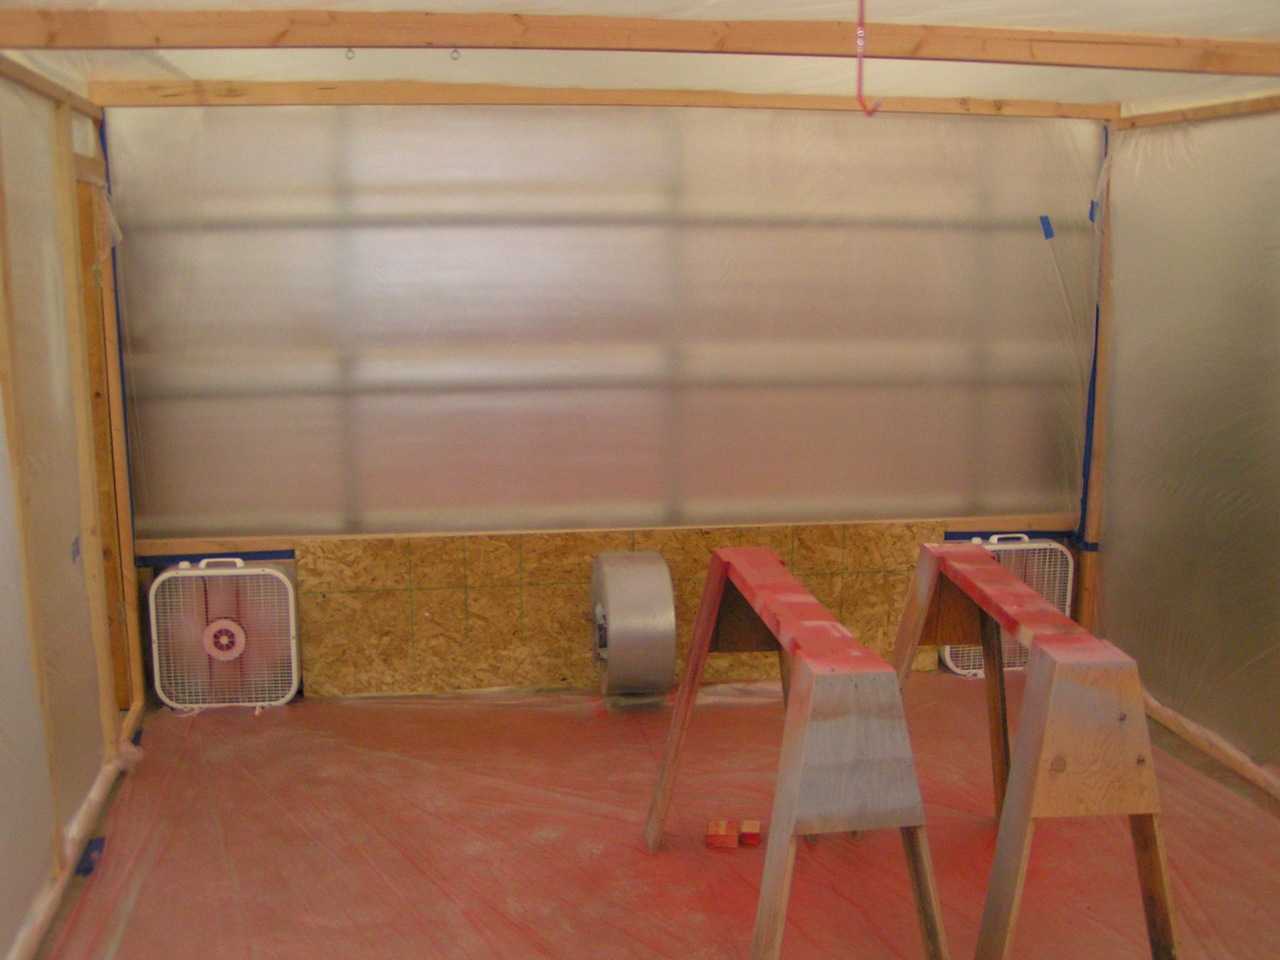
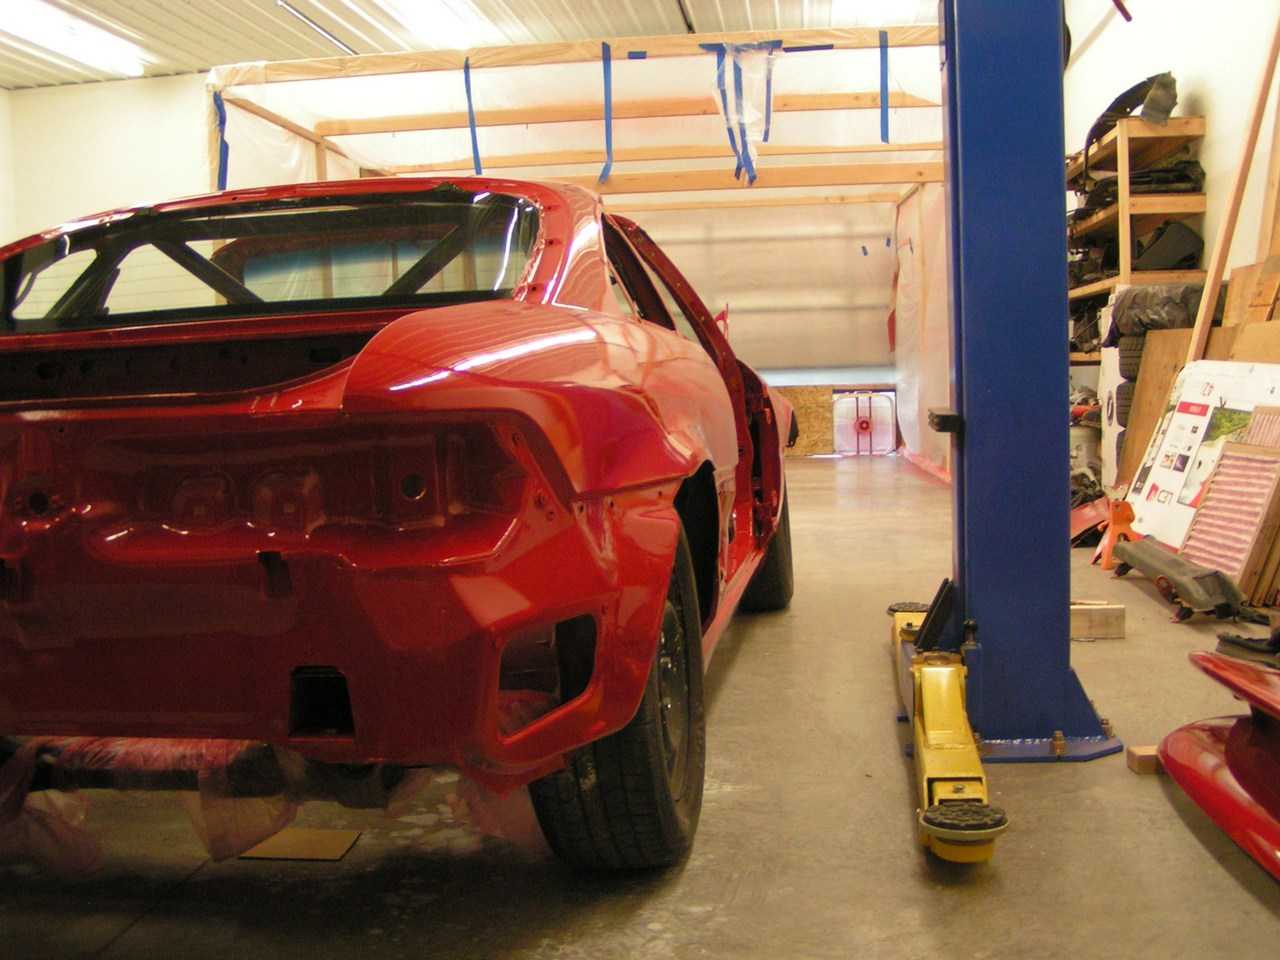
Almost there... Built a simple paint booth in my shop.
A few 2x4's, some plastic sheeting, a couple fans, and some furnace filters...
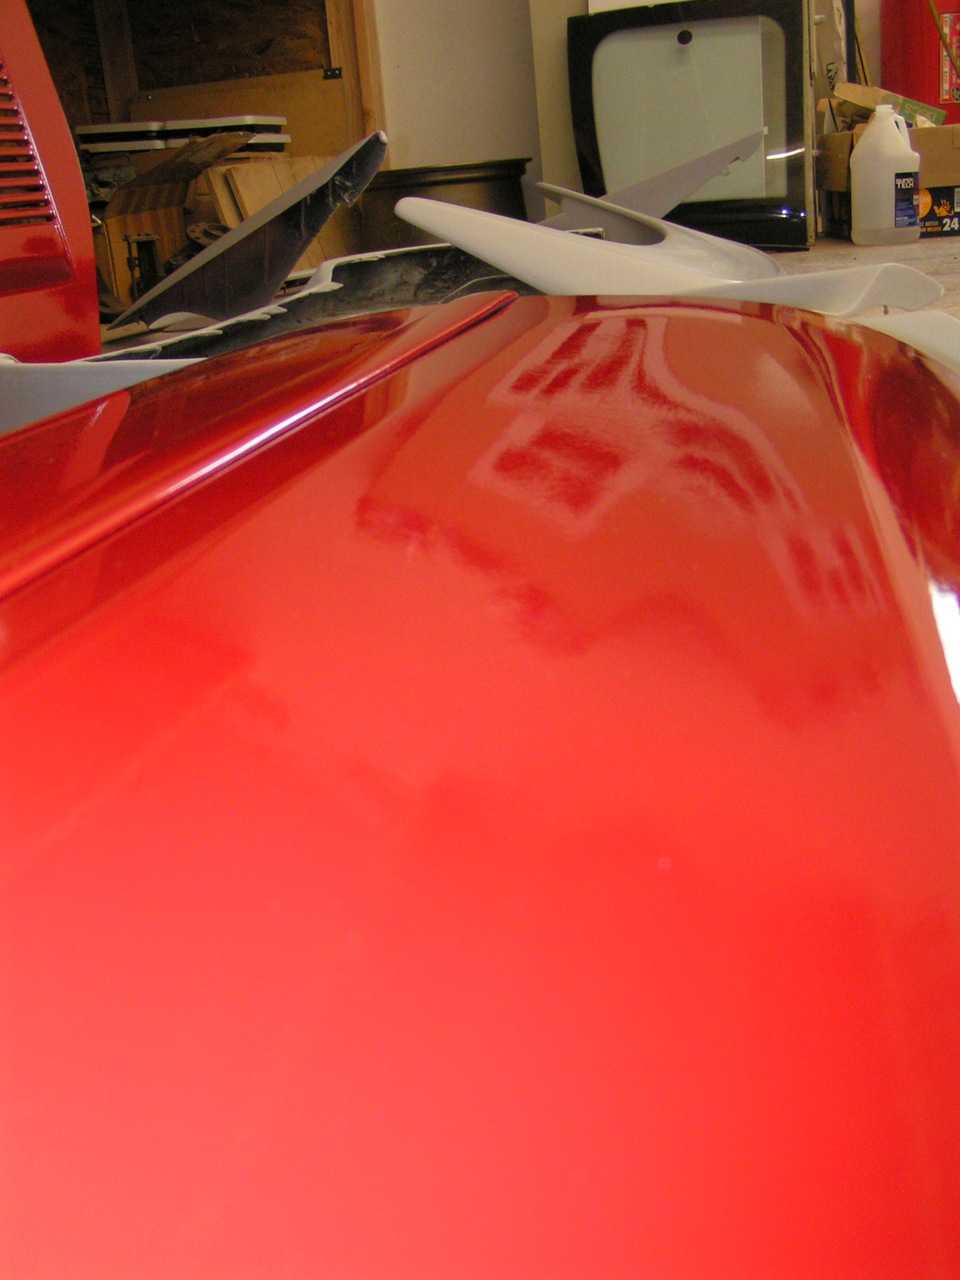
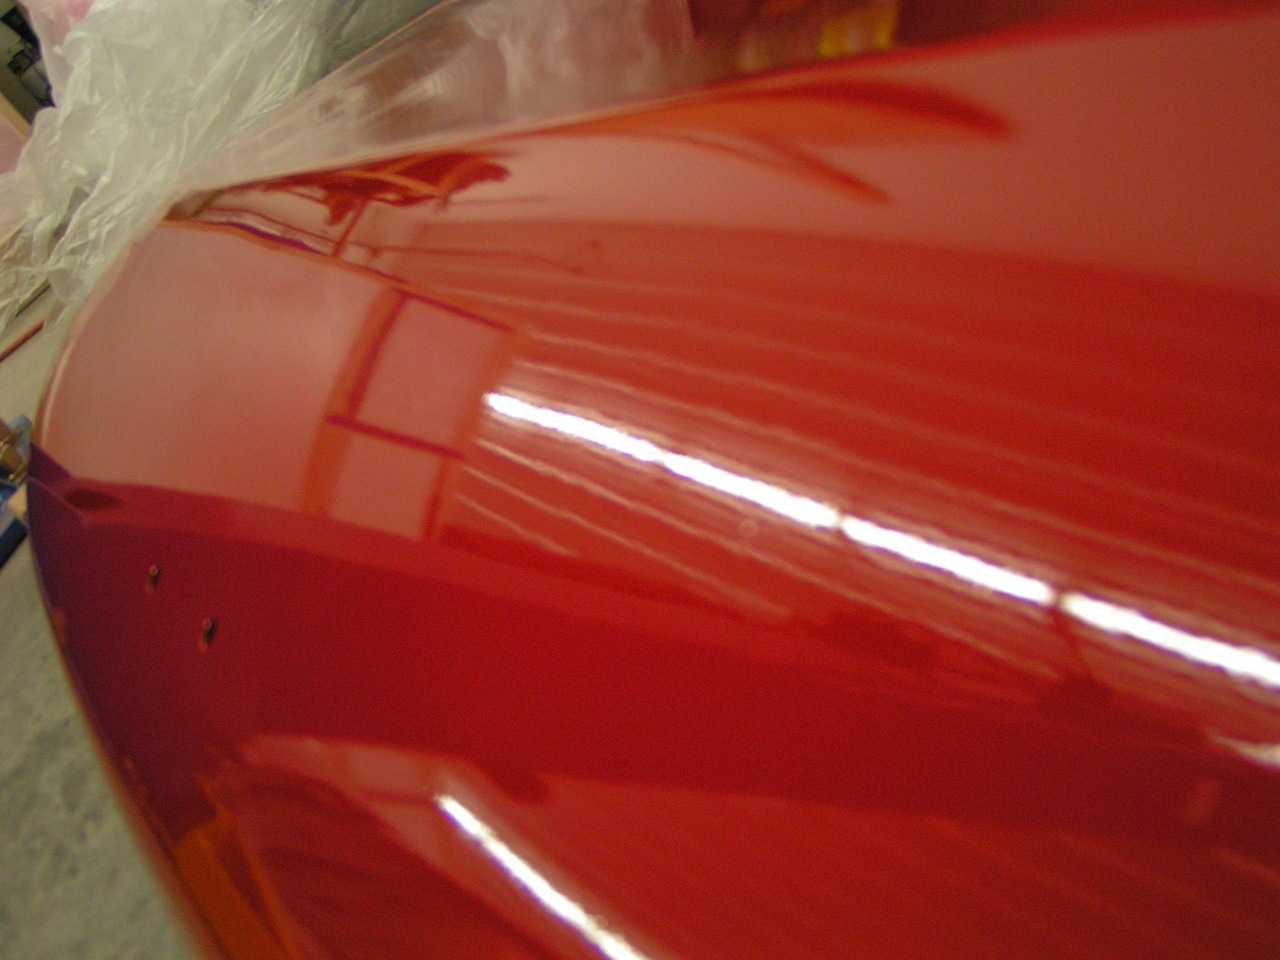
Finally!
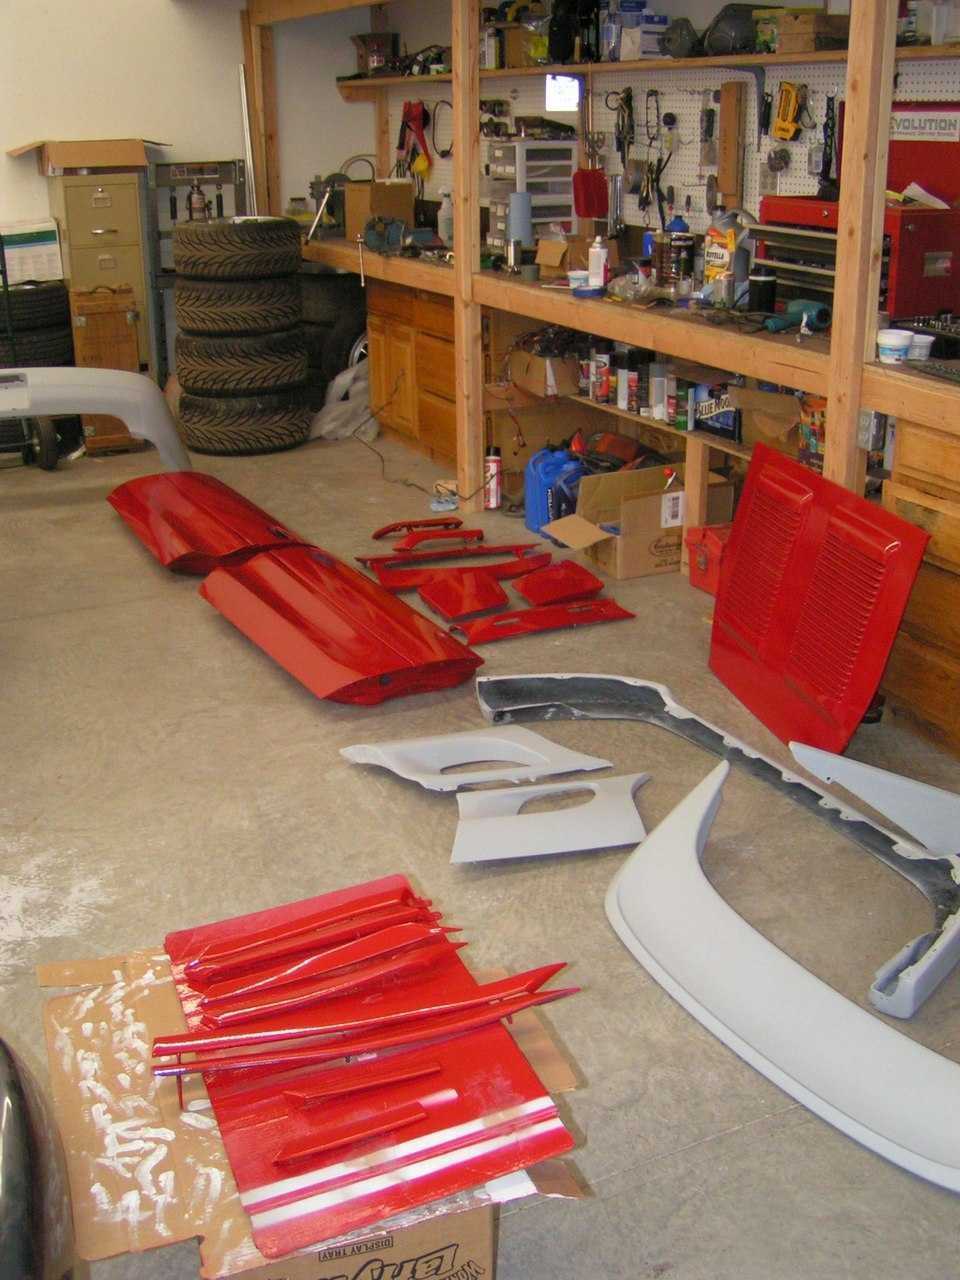
A little orange peel, but not too bad. It's a track car, it doesn't need to be perfect!
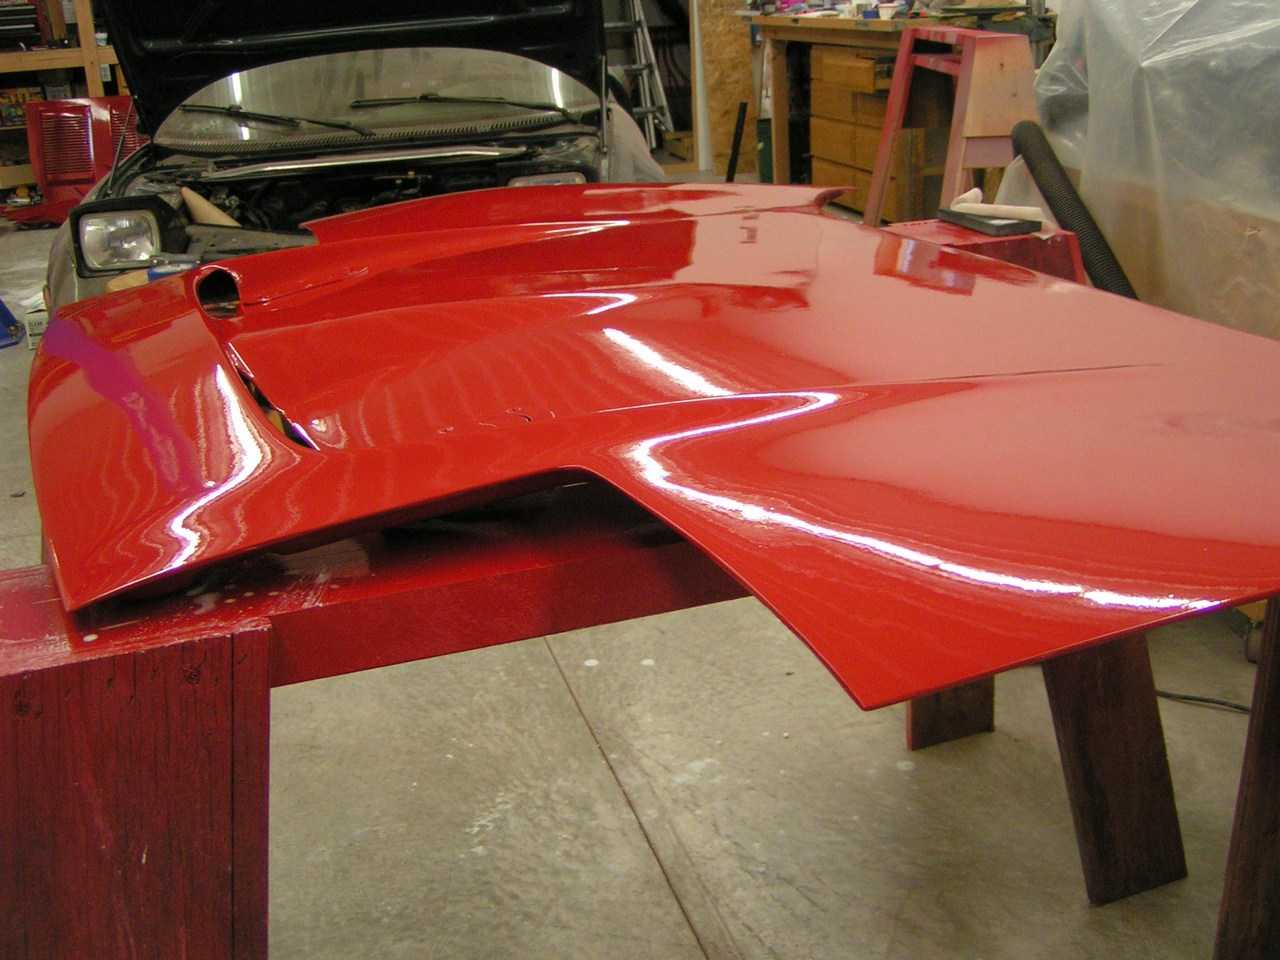
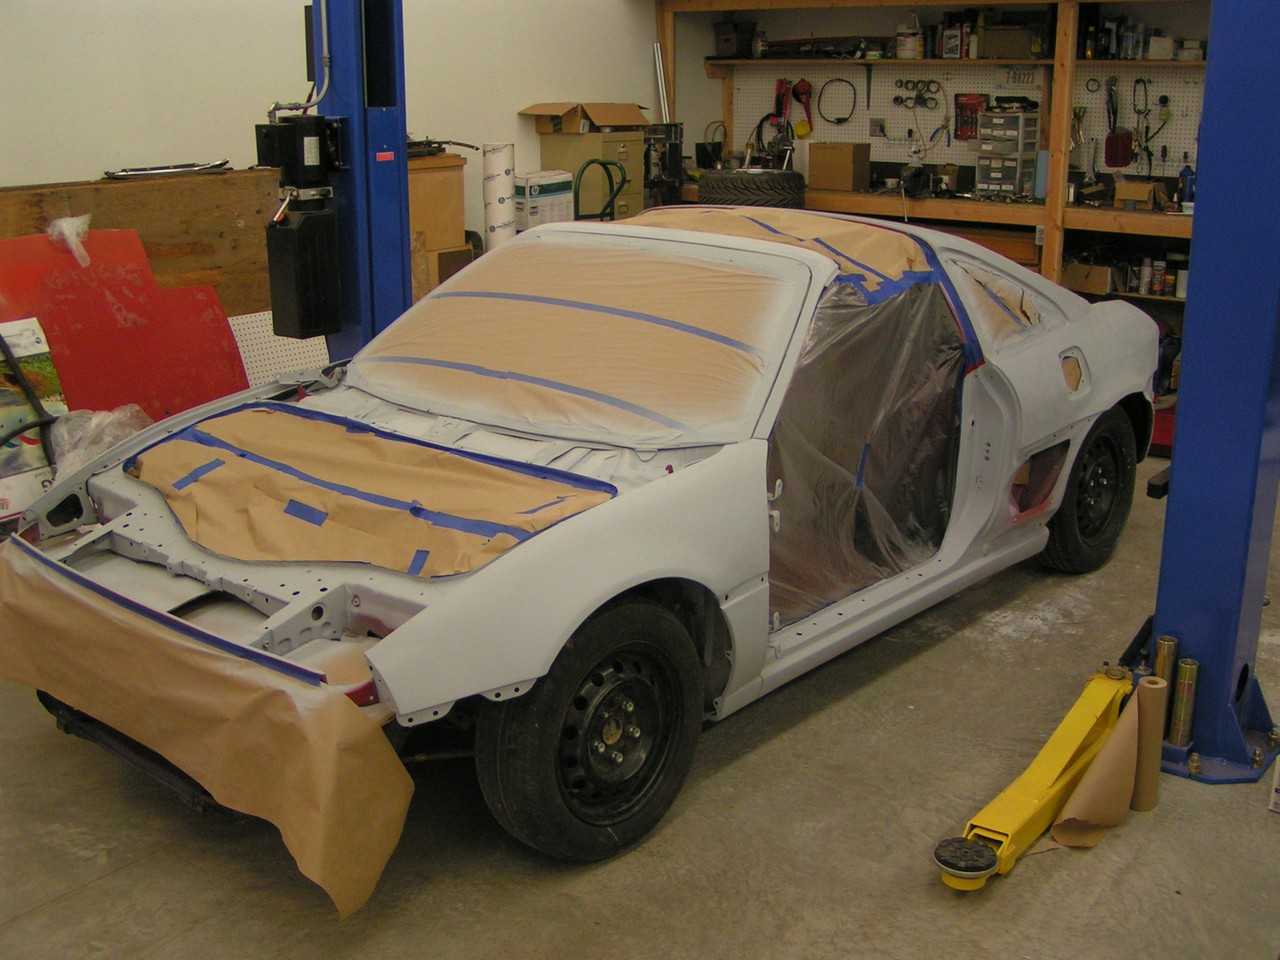
Enough spraying little pieces, time for the big one!
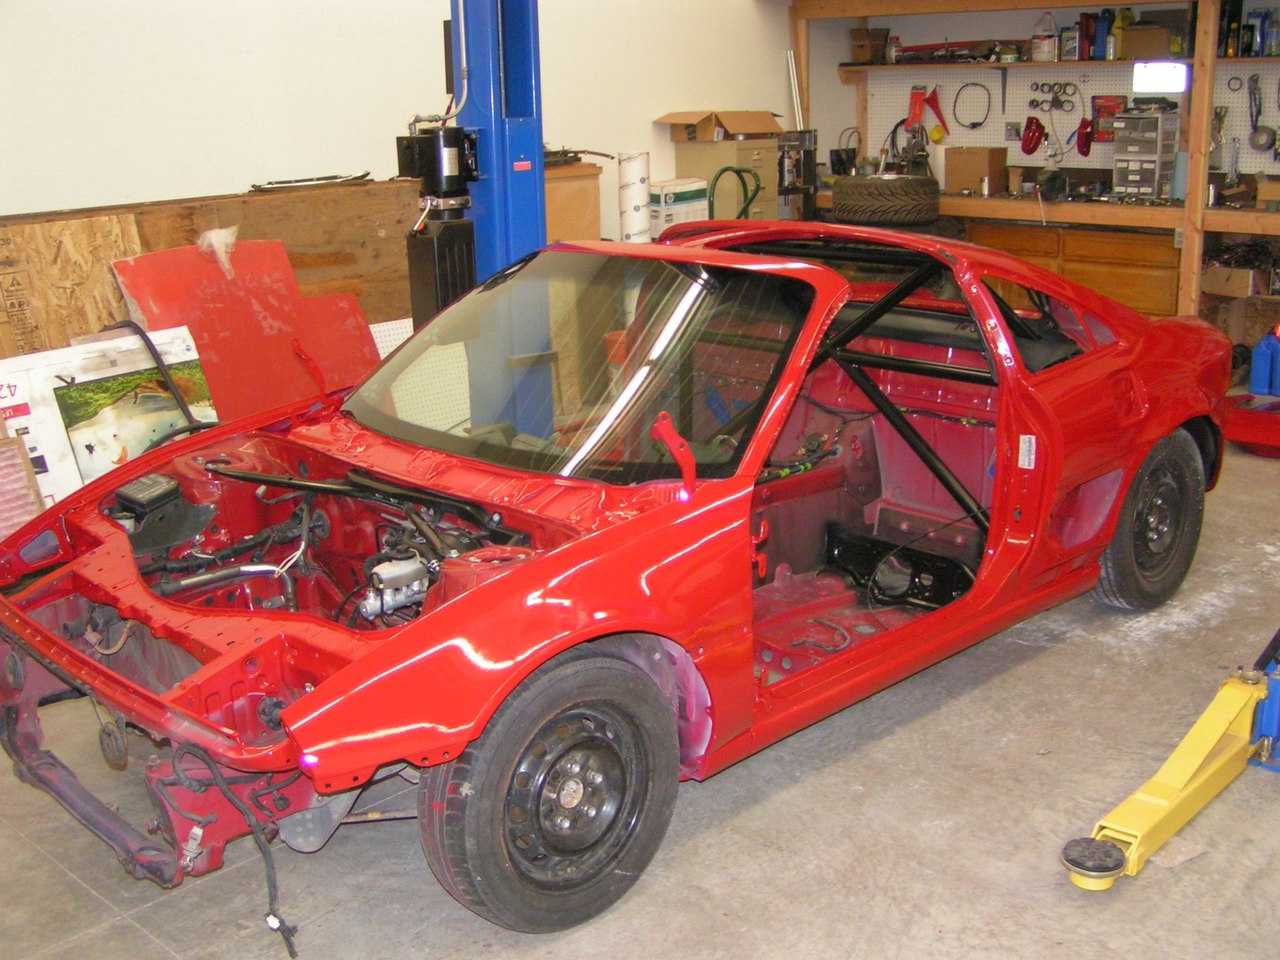
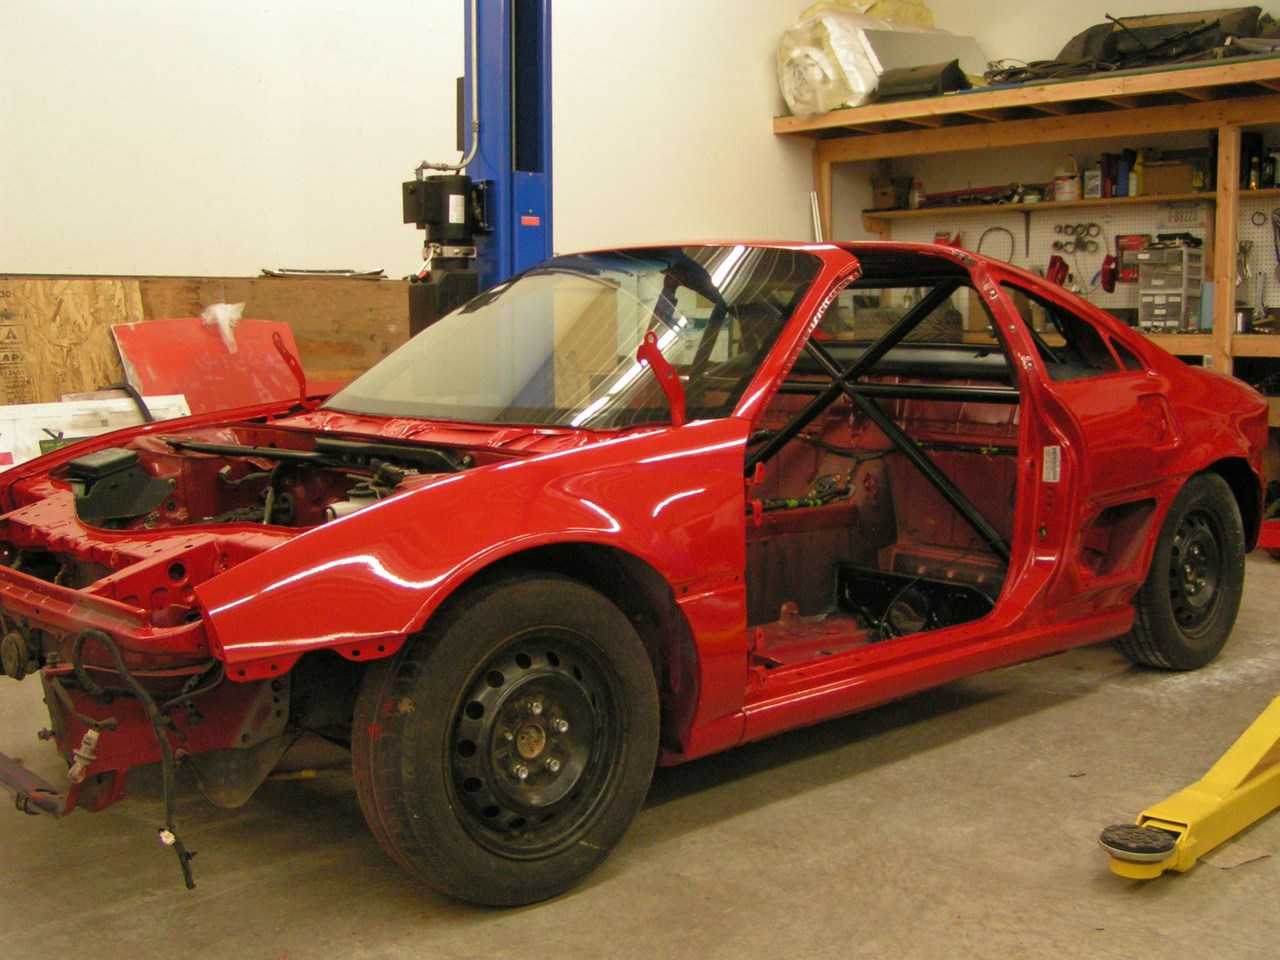
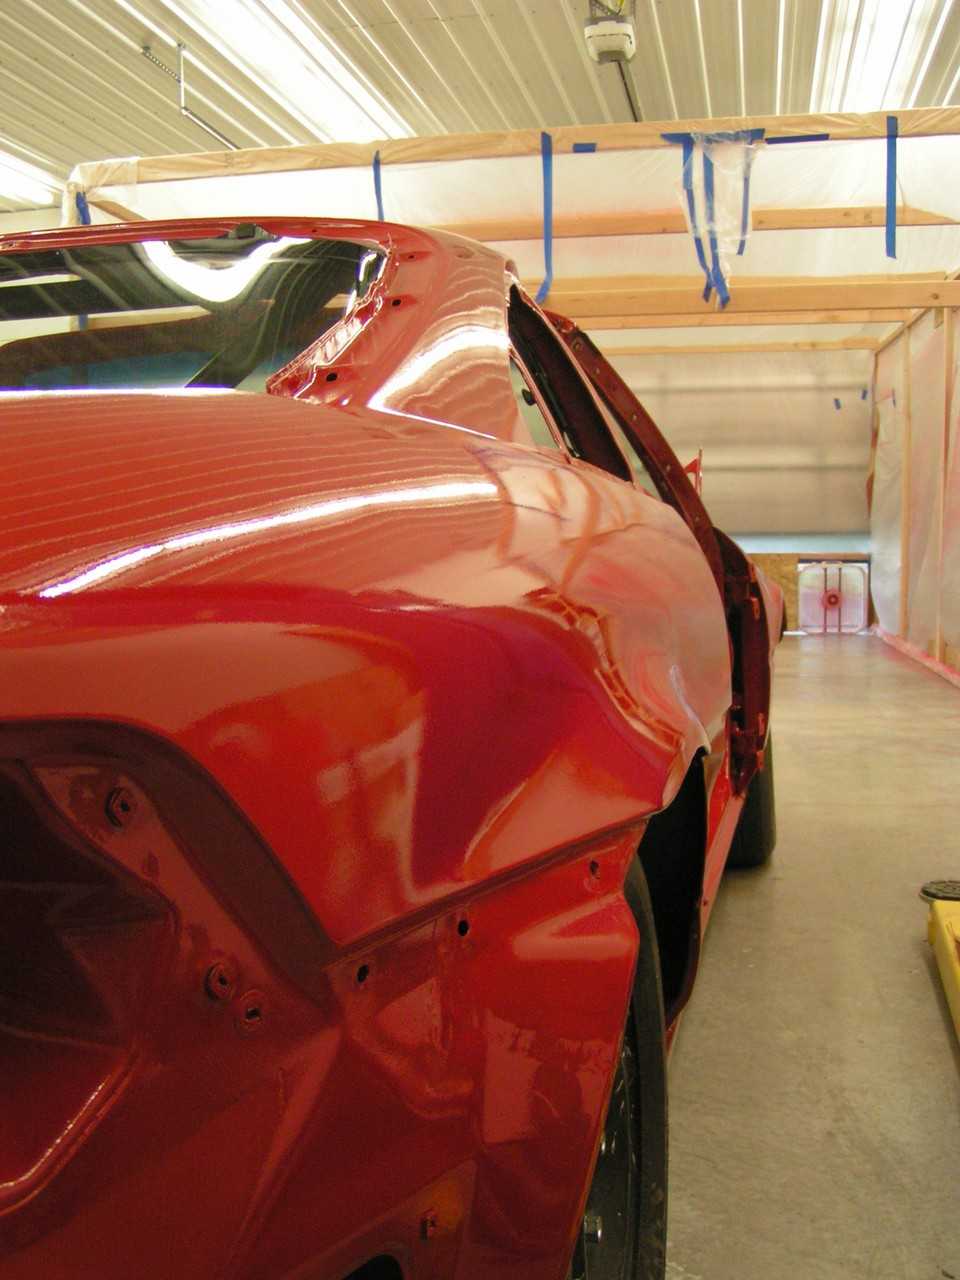
All in all, I'm pretty happy with how it turned out,
especially considering it was my first time undertaking any project of this type and magnitude. Unfortunately, I failed to document the process of putting it all back together. I had set myself a goal of making it to a local autocross which at this point was four weeks away. And the car had no engine, no suspension, etc. I made it (barely), though the car had no interior beyond the essentials, no windows, and a lot of other little things were left un-done. But, it was running!