While building a set of my custom coilover housings recently, I thought that maybe people would like to see what the process of taking these from a pile of parts to a finished set of housings looks like. So here we go!
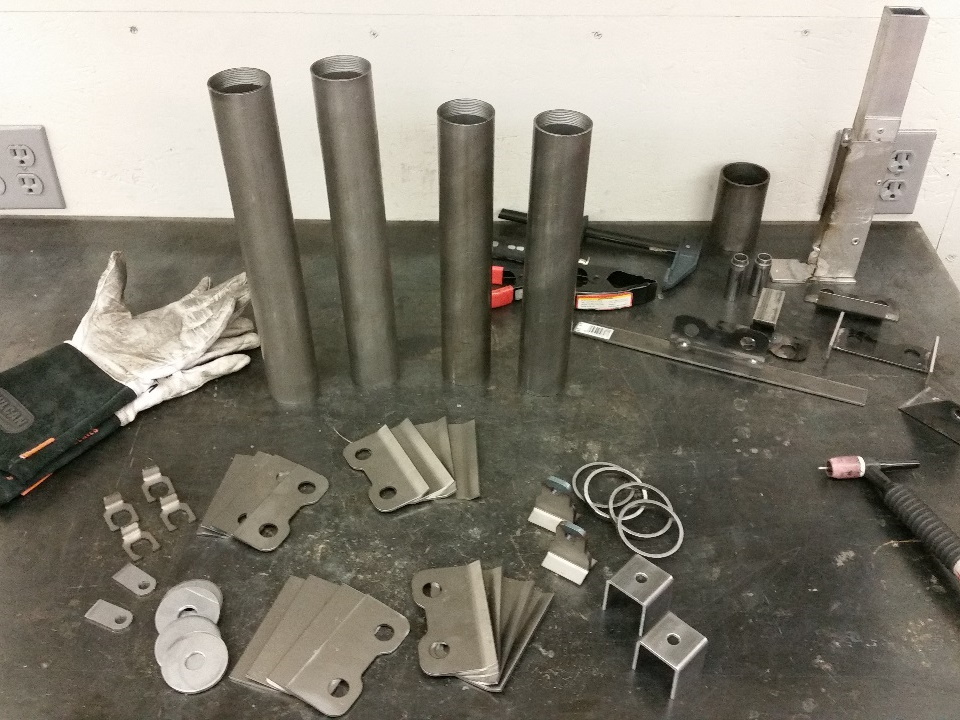
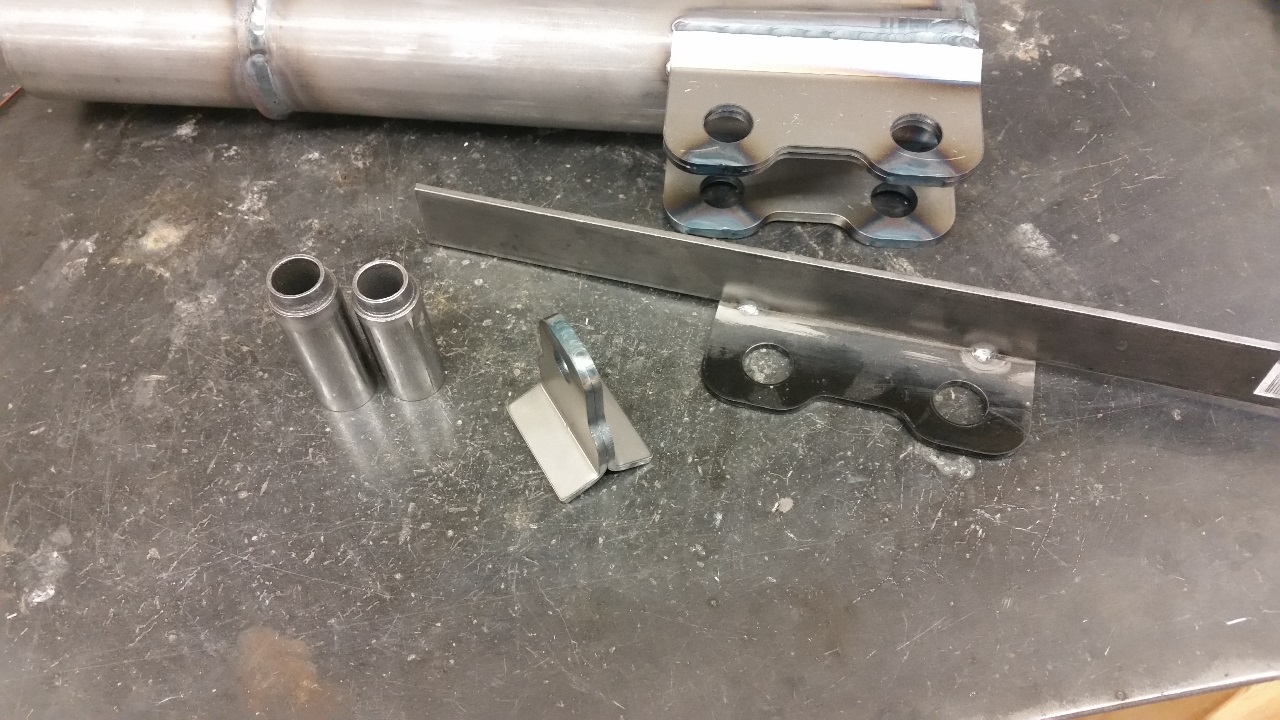
We start with four tubes that I had previously cut to length on the band saw and threaded on the lathe, plus all of the brackets and tabs laser cut and bent by a local sheet metal shop. In the background are all of the custom jigs and clamps that I use to assist in welding these together.
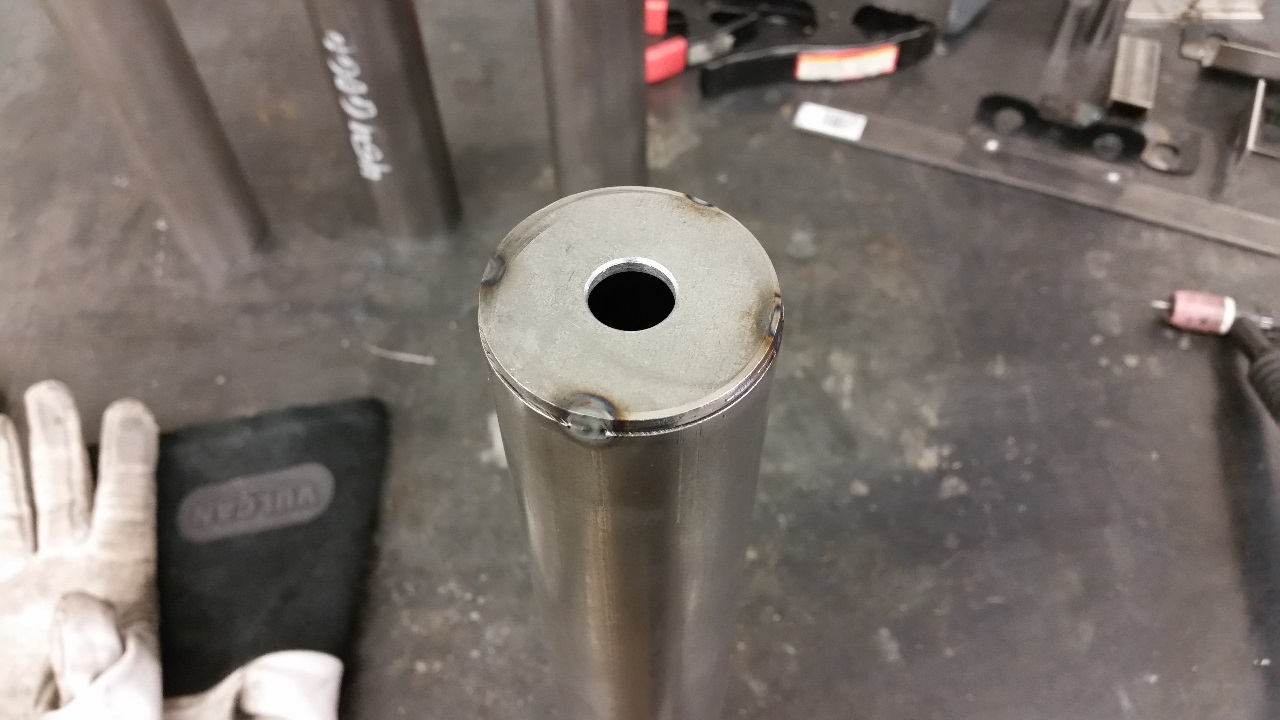
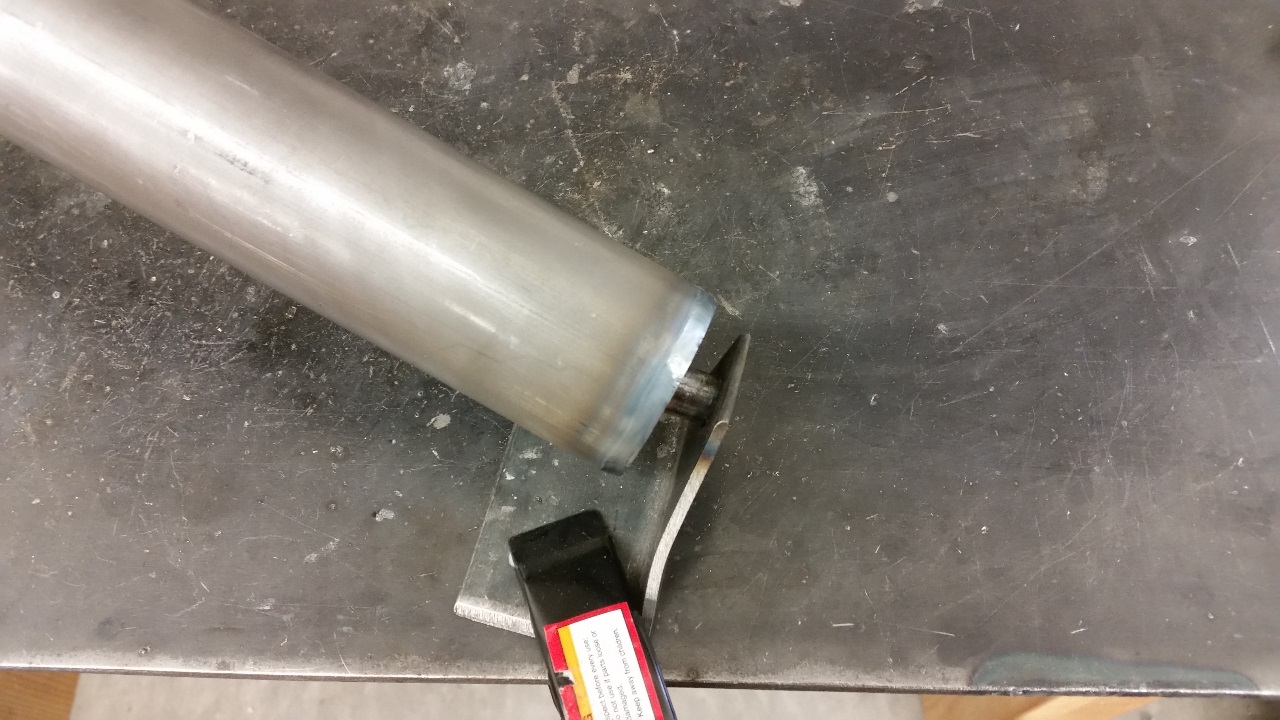
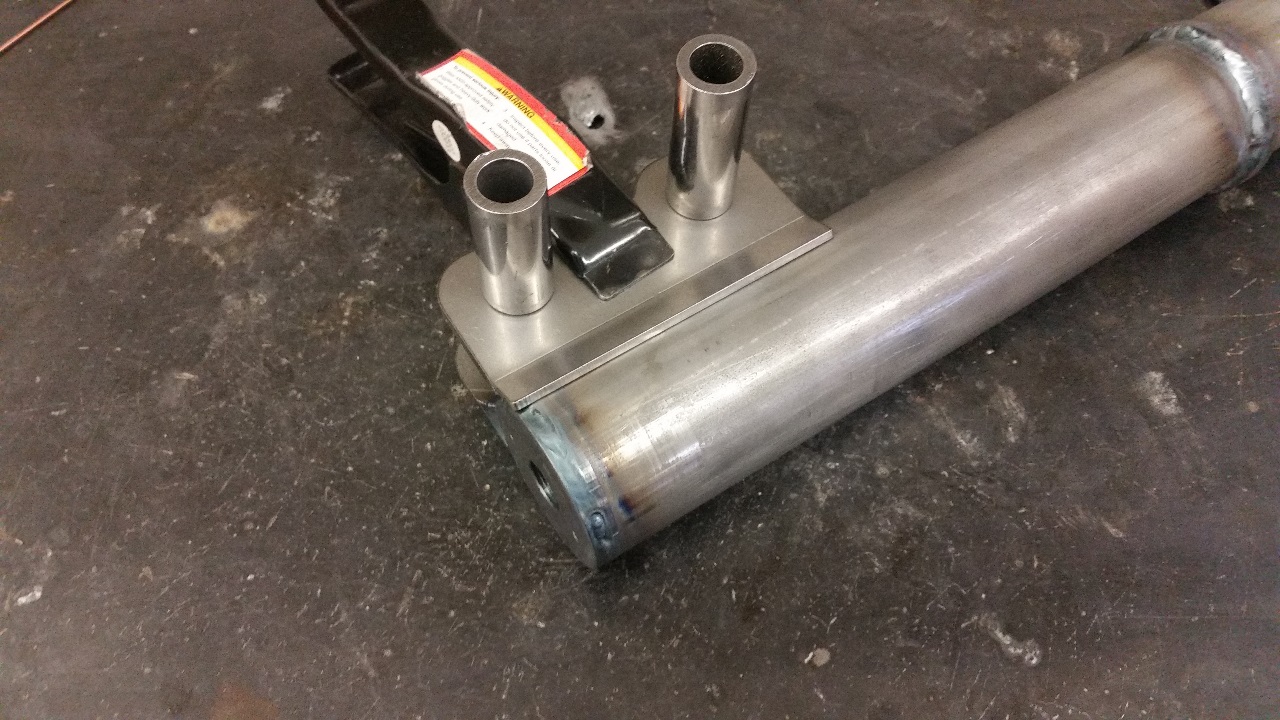
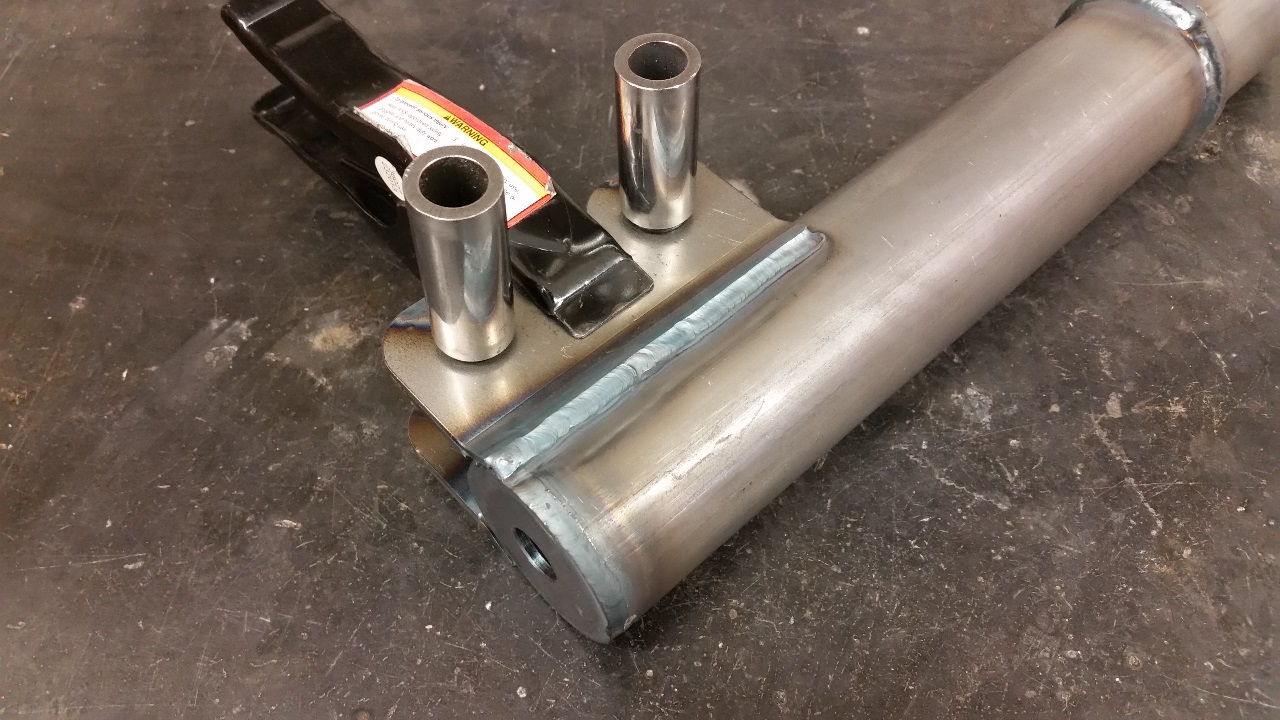
First step is welding on the bottom end cap. First I tack it in a few places, then use this little holder to support it while I simply rotate the tube under the torch.
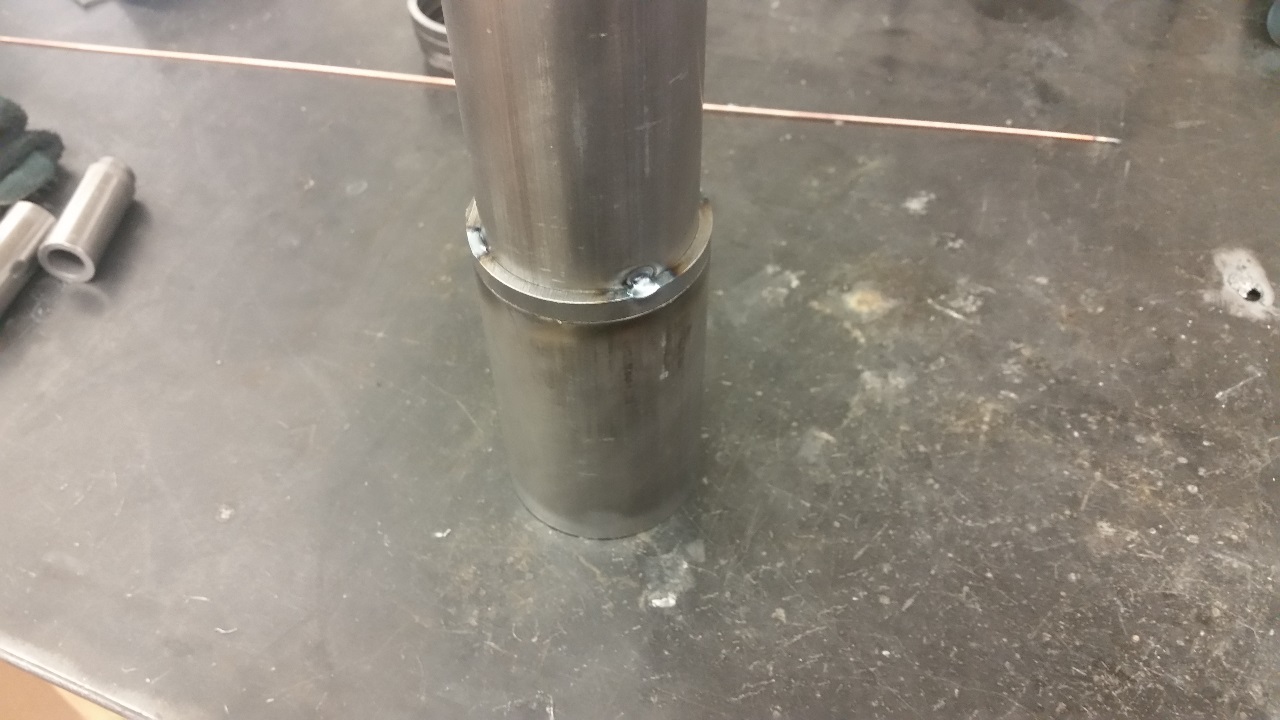
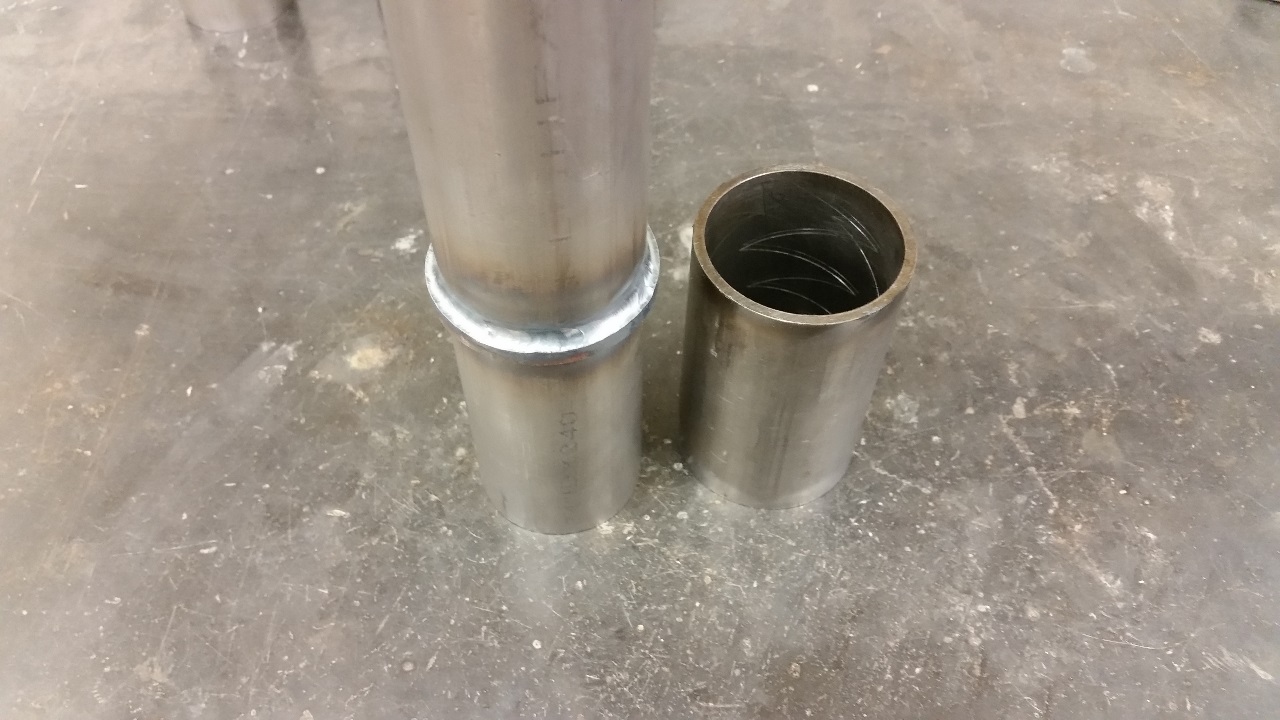
Next, the rings that will support the threaded coilover sleeves get tacked in place. A piece of the same tubing that the rings are cut from serves as a jig to ensure that the rings end up square to the tube, and at the proper height. Then they are fully welded.
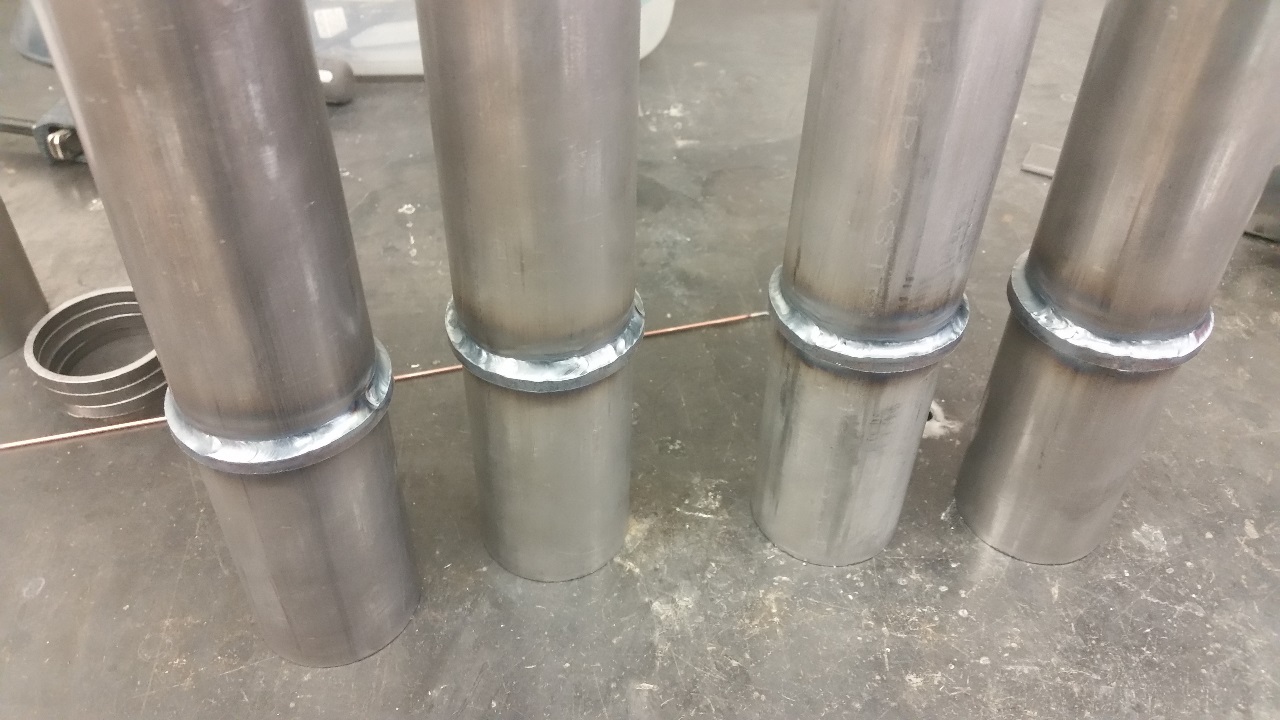
Repeat three more times.
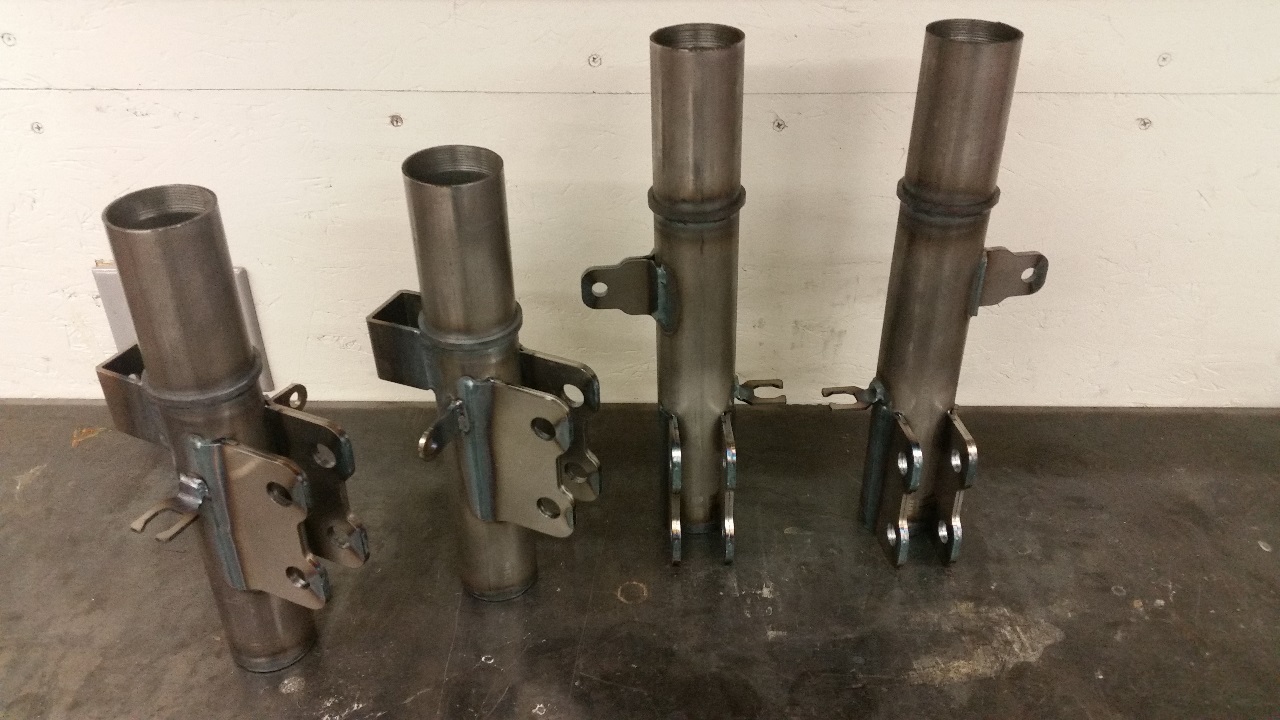
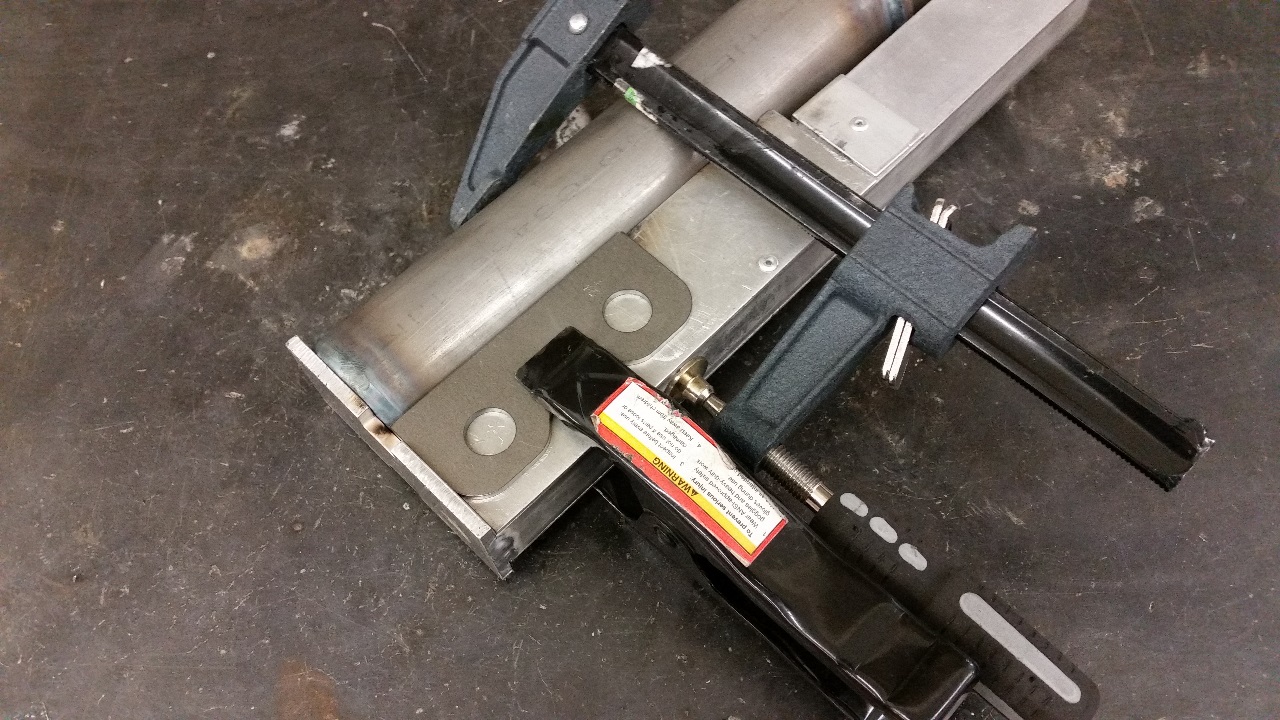
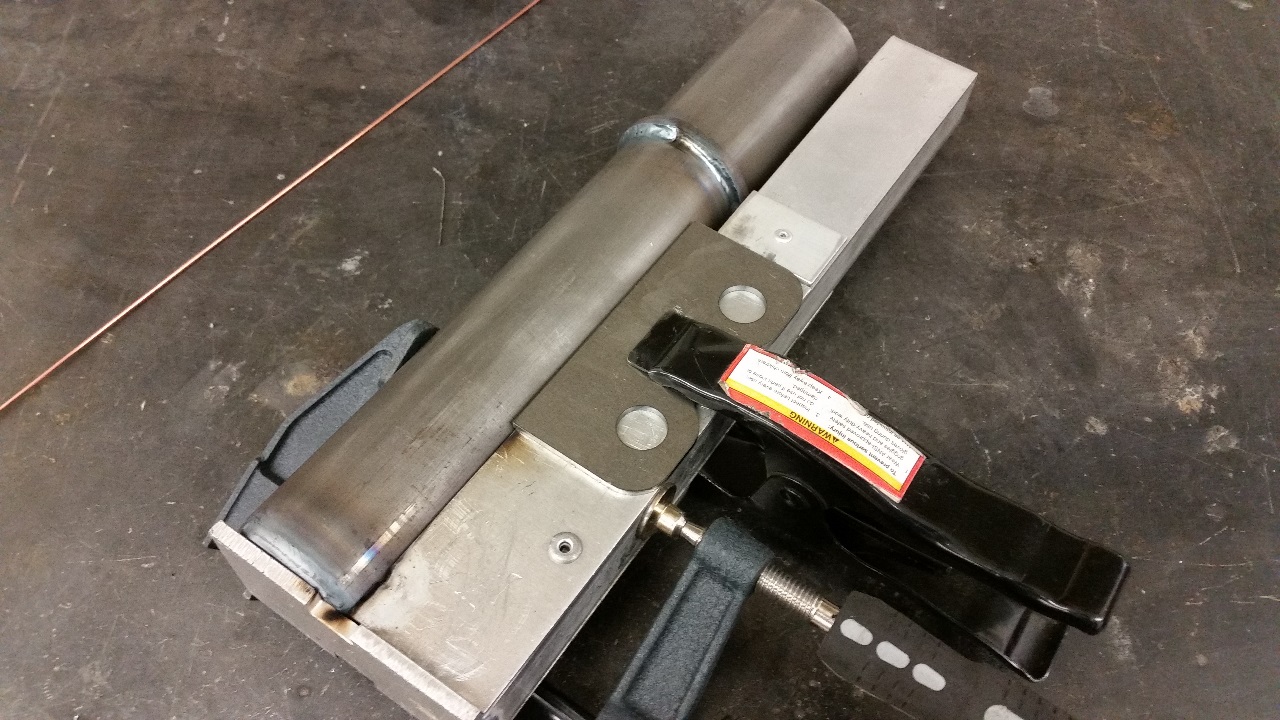
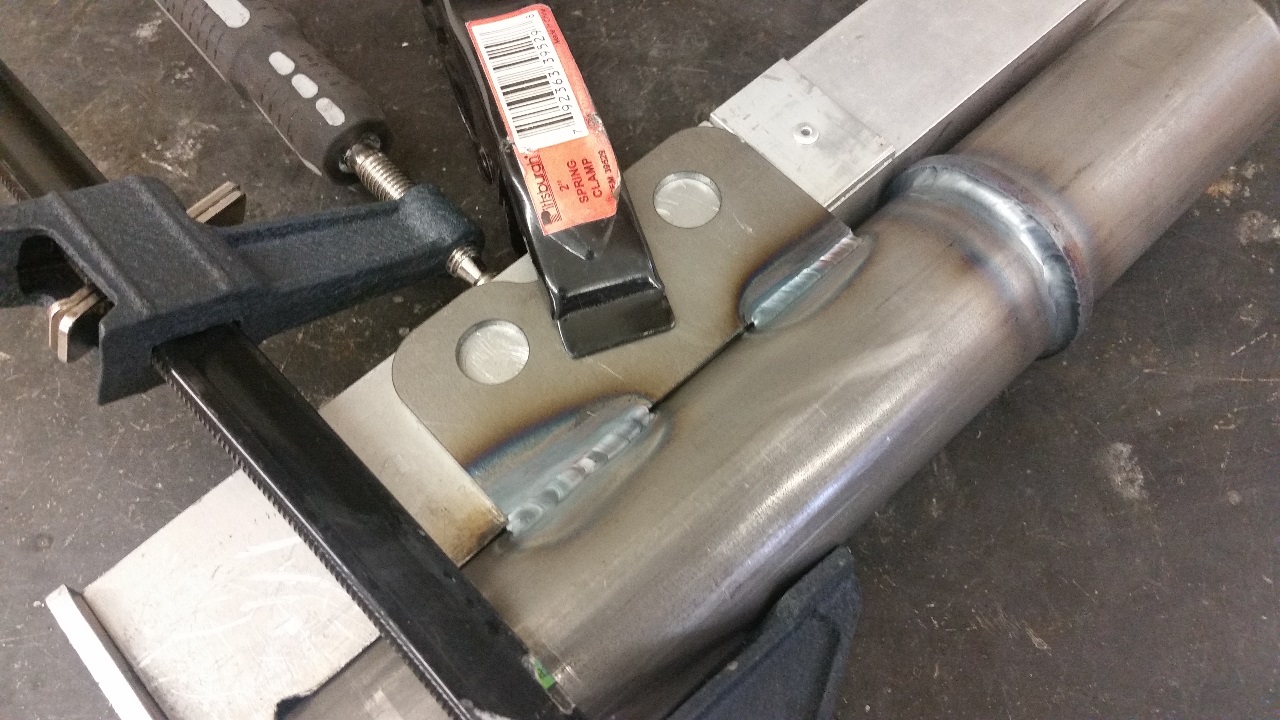
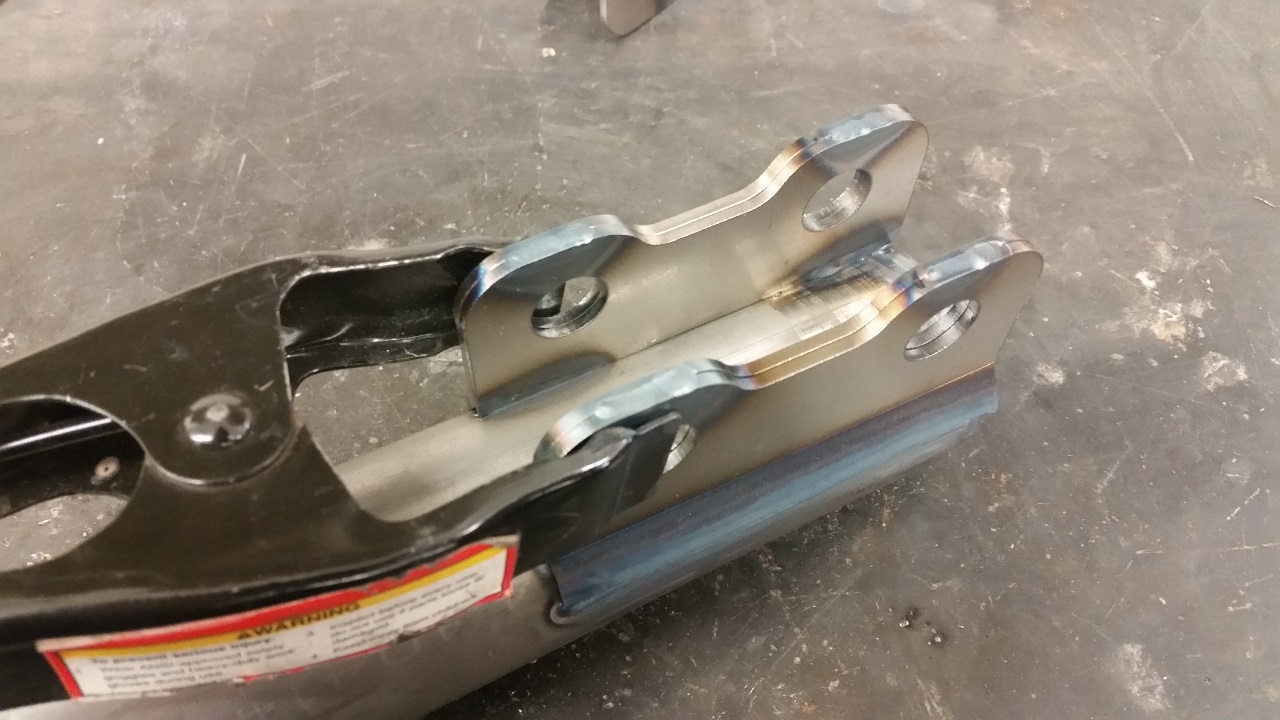
This aluminum jig locates the main brackets that attach the strut to the knuckle. My housings use a double layer bracket to help spread the load out into the tube. First the inner tab is located and welded in place.
For the front, the same jig is used, but the tabs are positioned at the other end against a stop, and then welded in place just like the rears.
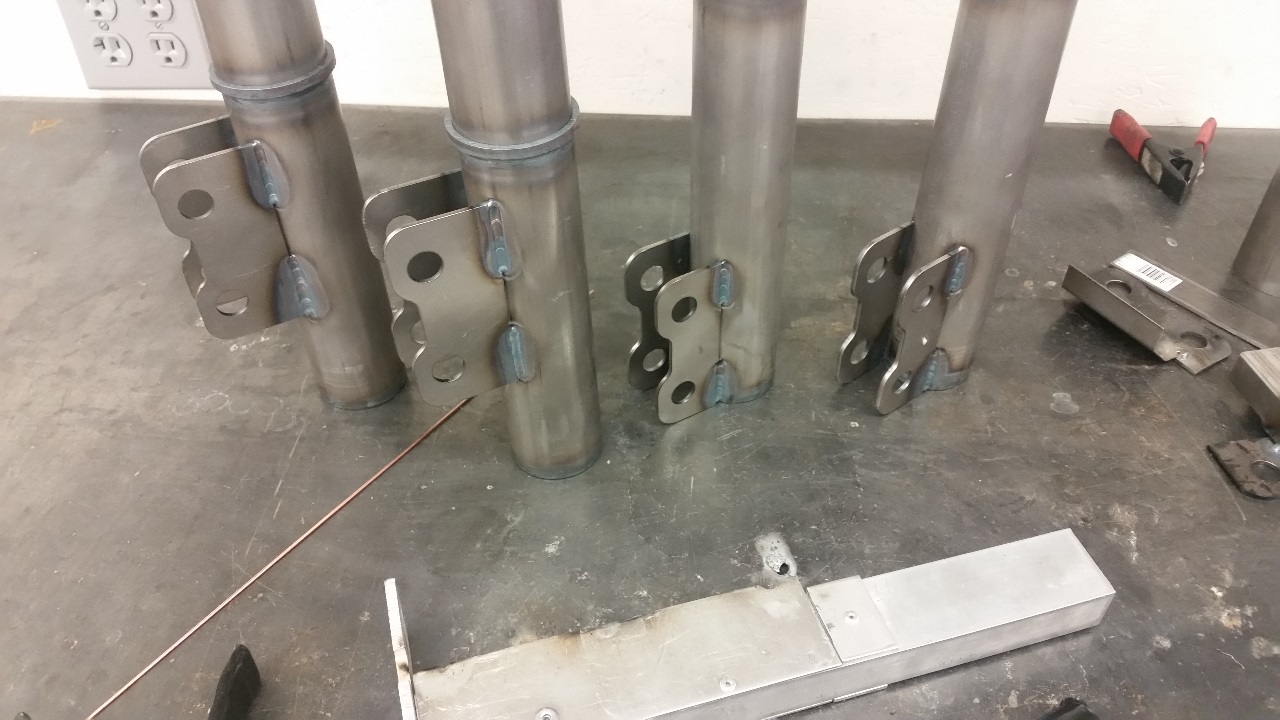
Repeat for the rest of the housings.
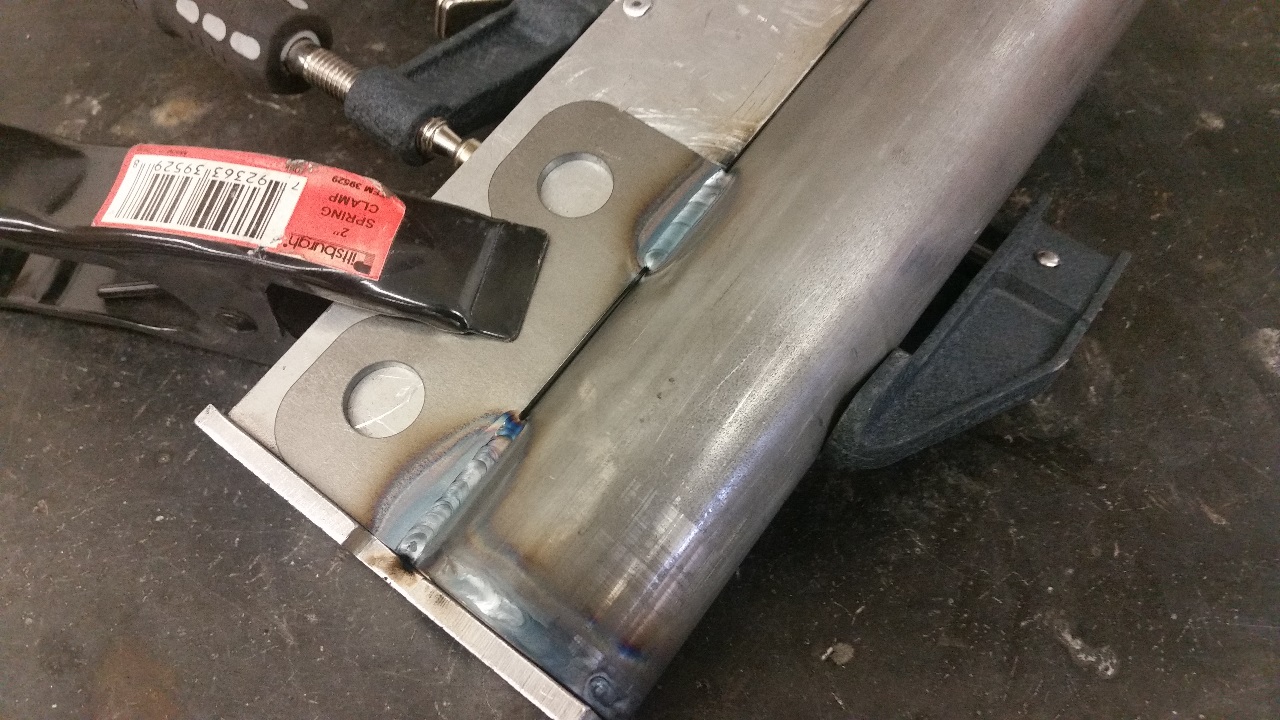
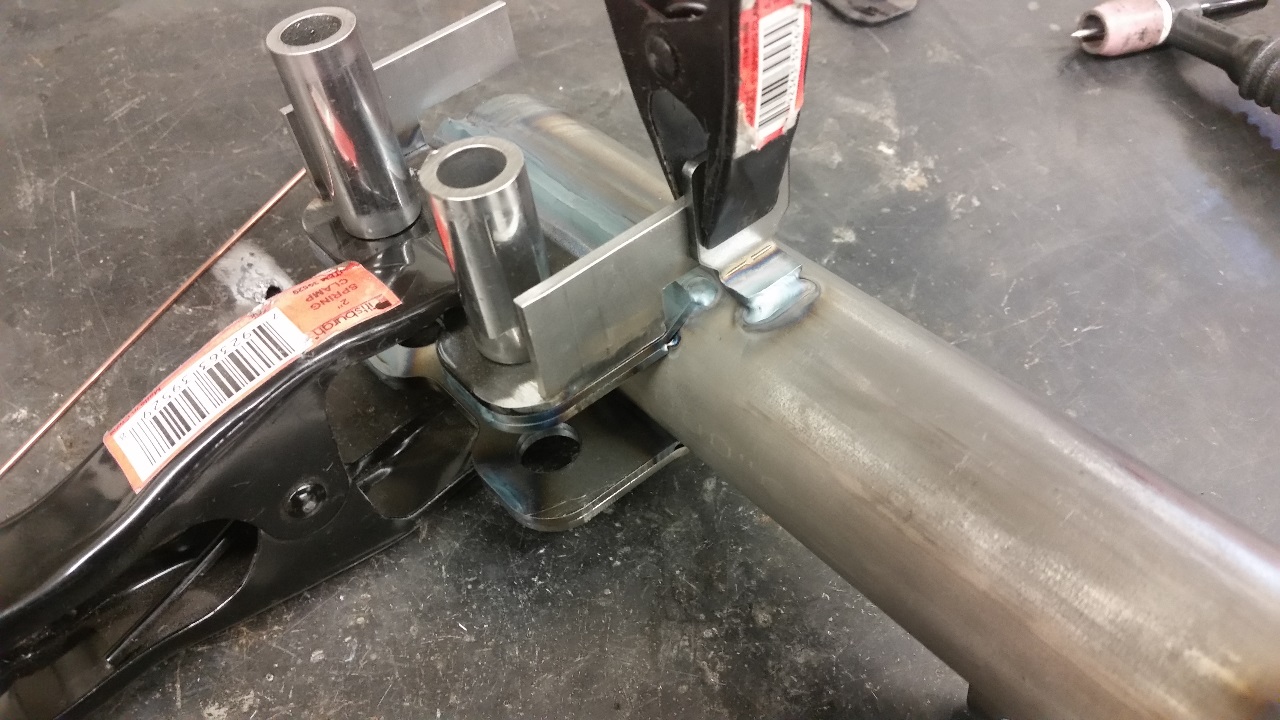
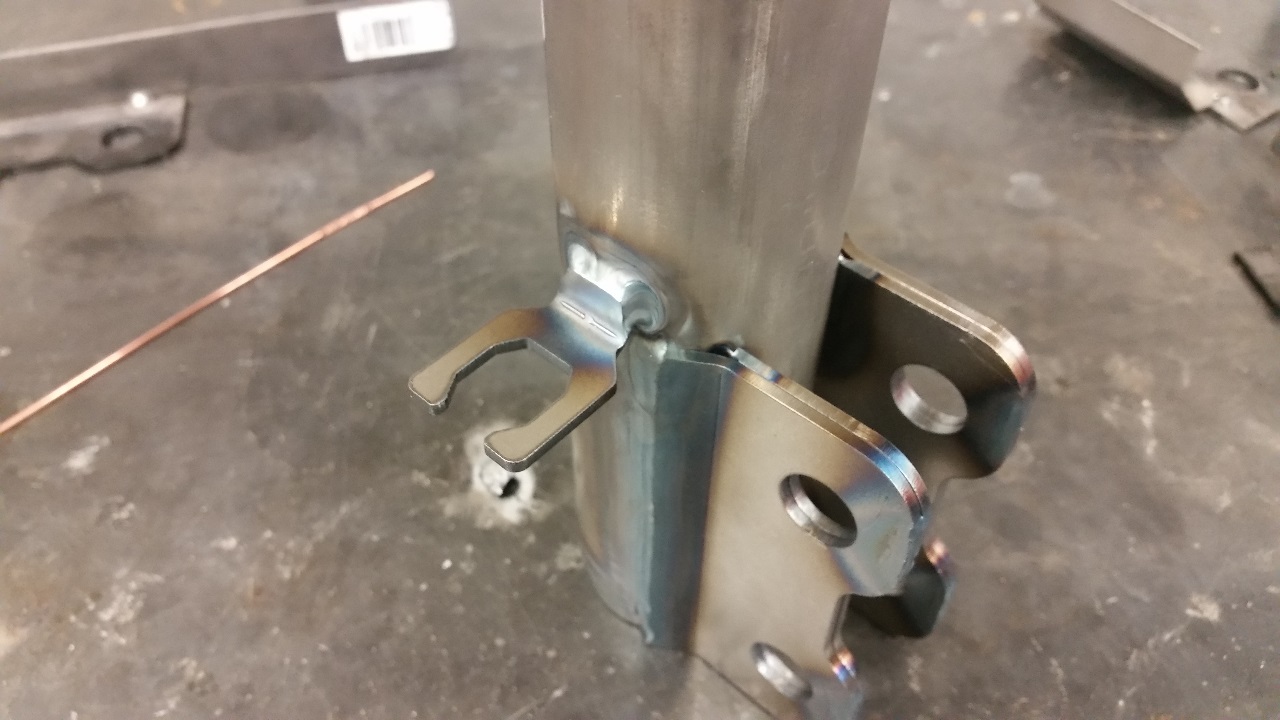
The outer tabs are indexed to the inner tabs using these stepped pins.
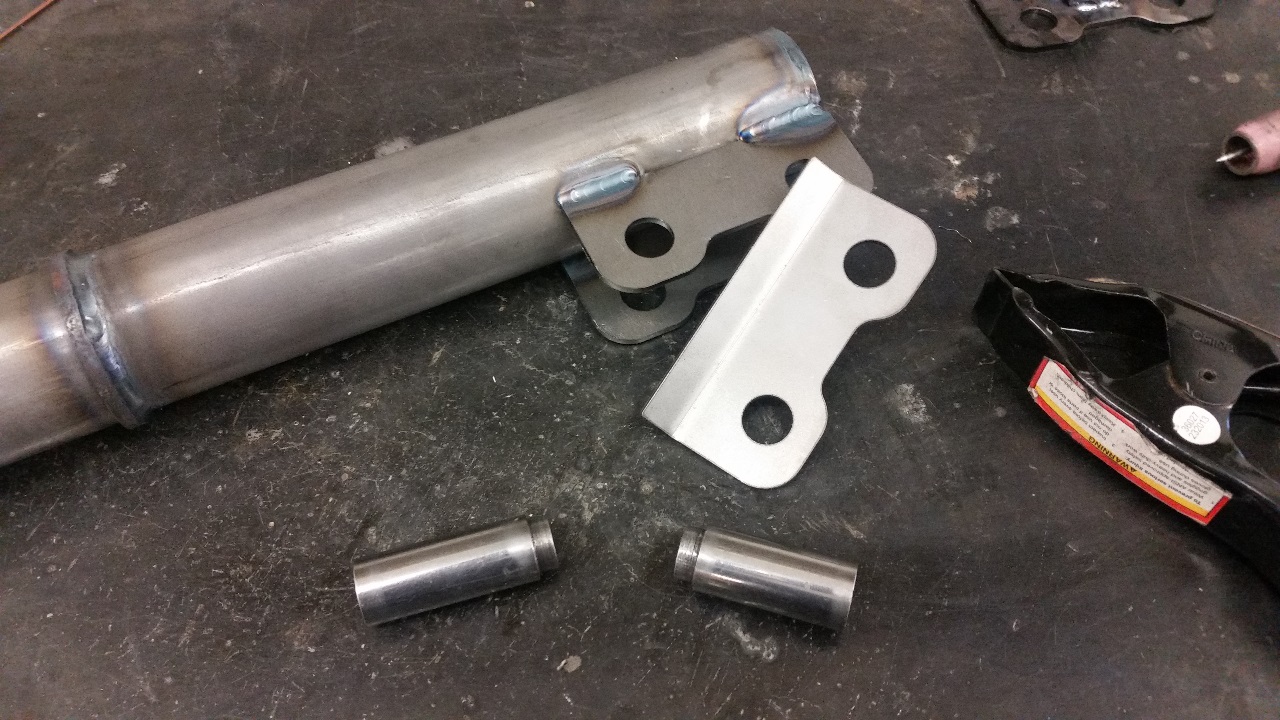
And then welded to the tube. Four short welds on the edge tie the inner and outer tabs together.
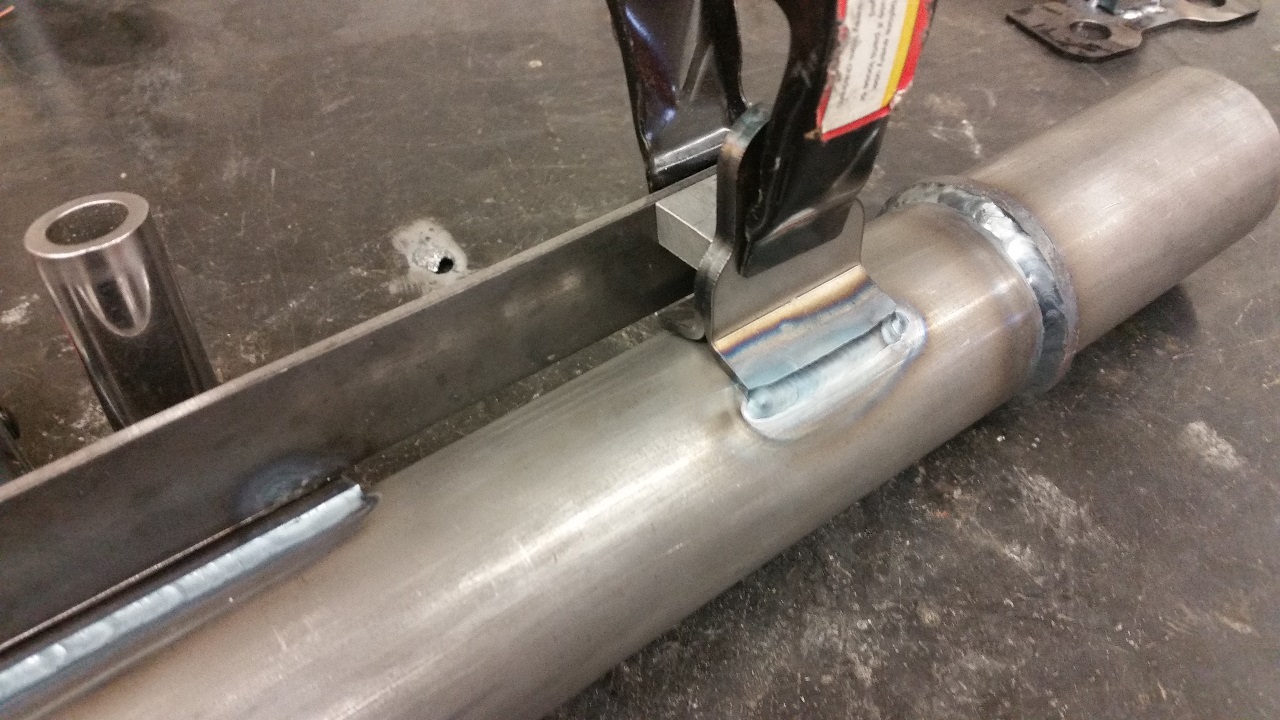
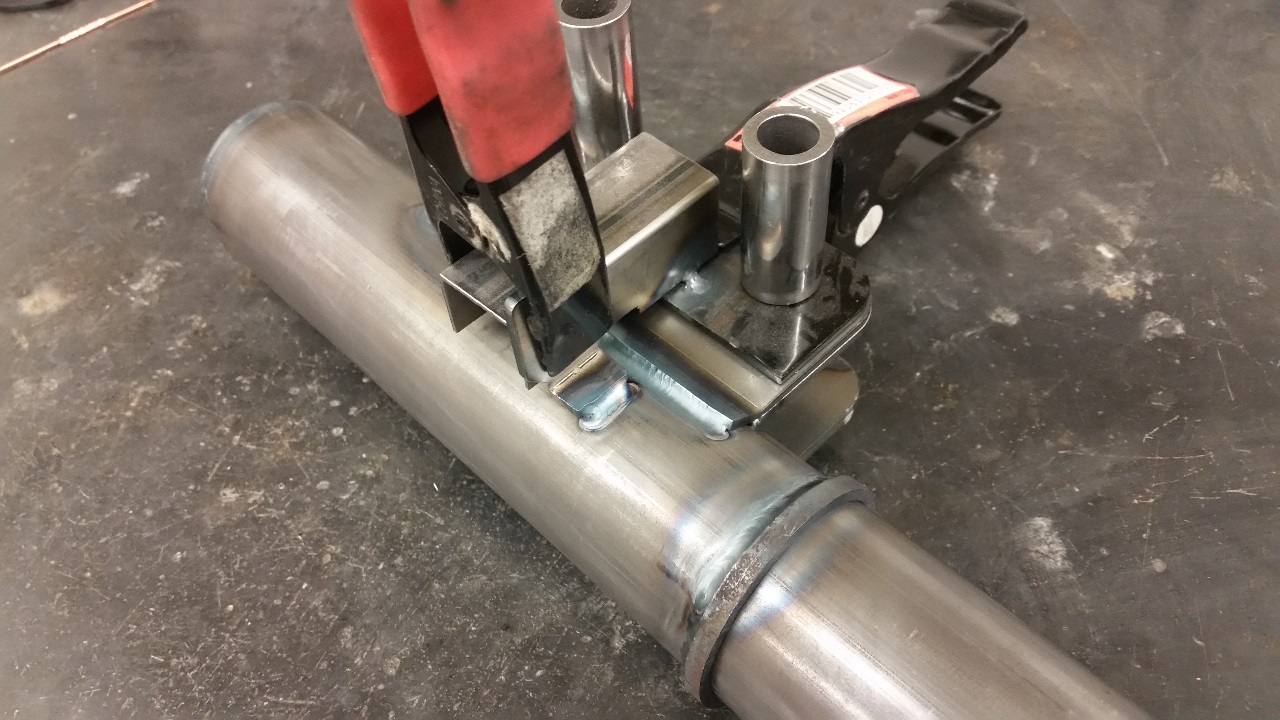
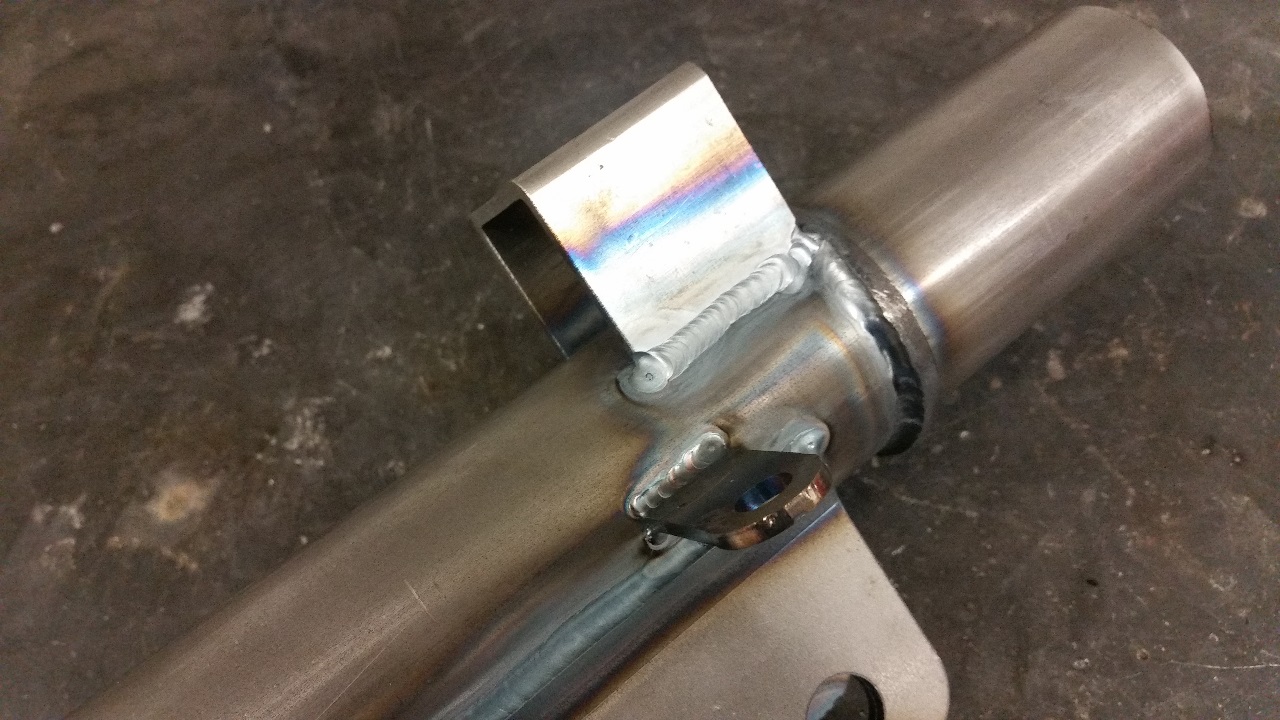
Next step is the rear sway bar tab. These come from the sheet metal shop as two pieces, which are welded together on their edge, similar to the main knuckle tabs. The same alignment pins from before, plus a simple jig, locate the sway bar tab.
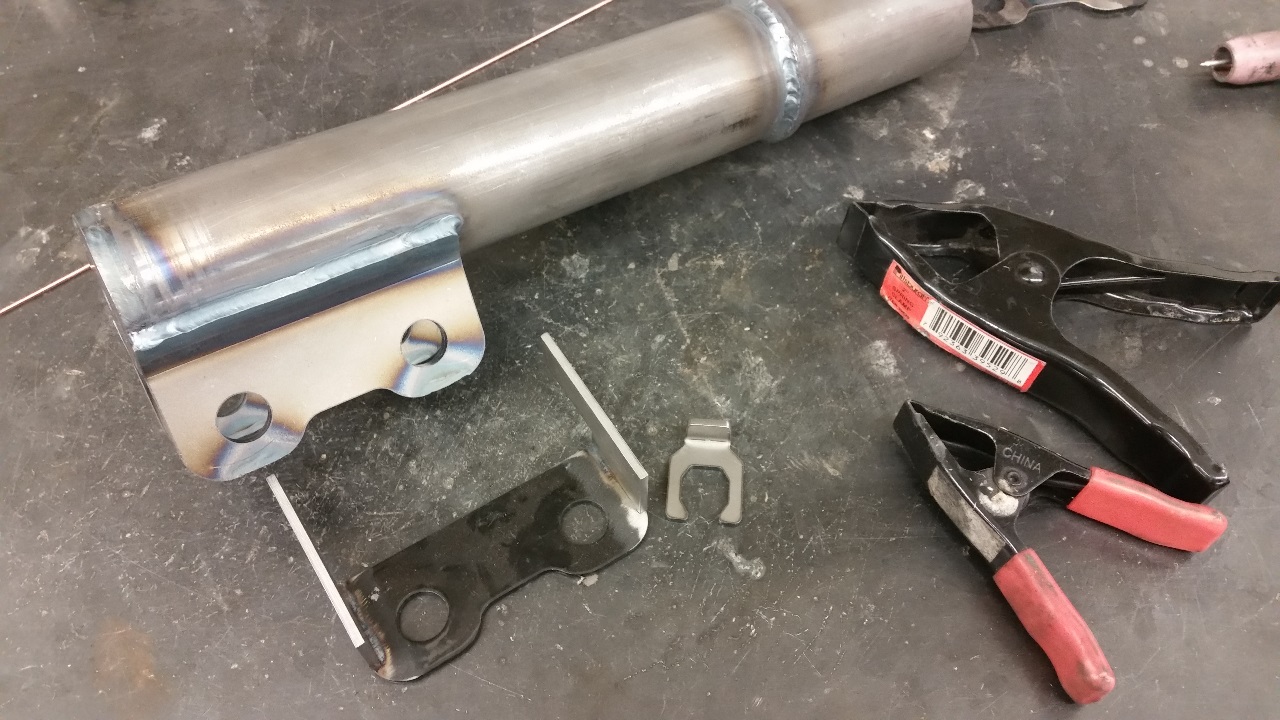
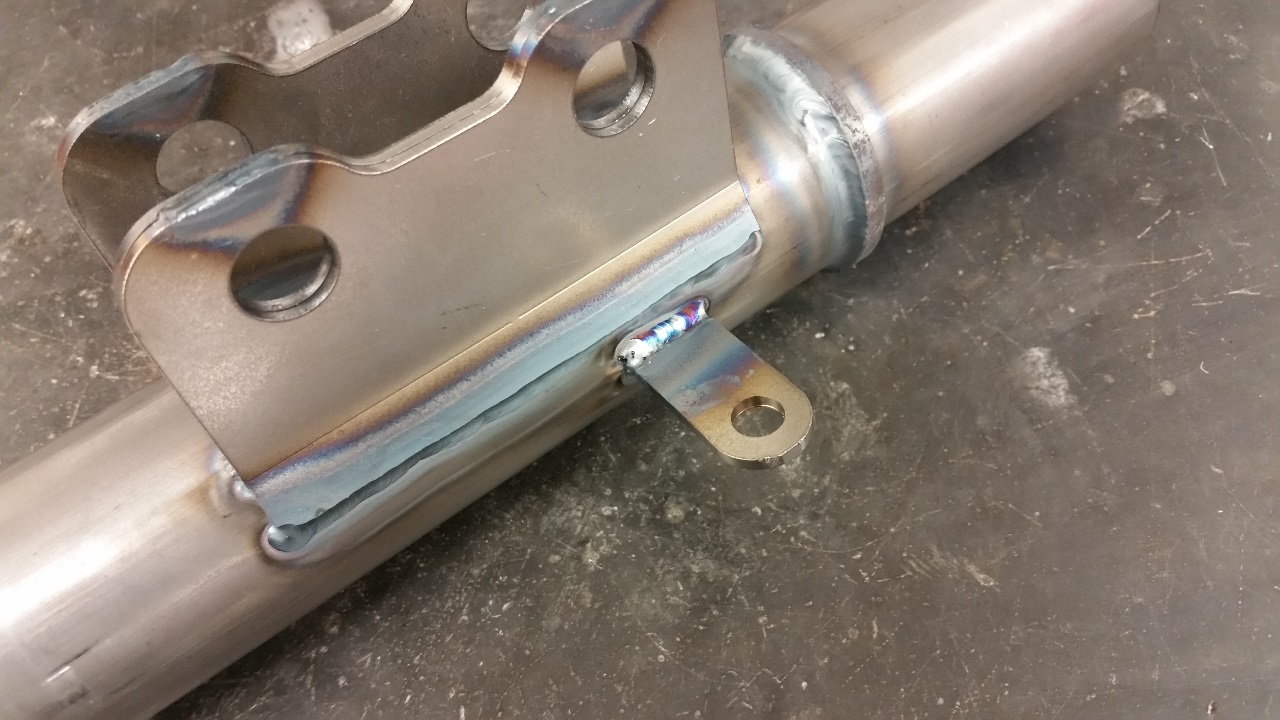
Another jig locates the rear brake line tab.
Next we move the front housings, where two more jigs locate the brake line tab and the tab for the ABS wire.
 |
 |
Finally, the front sway bar brackets are welded on.
 |
 |
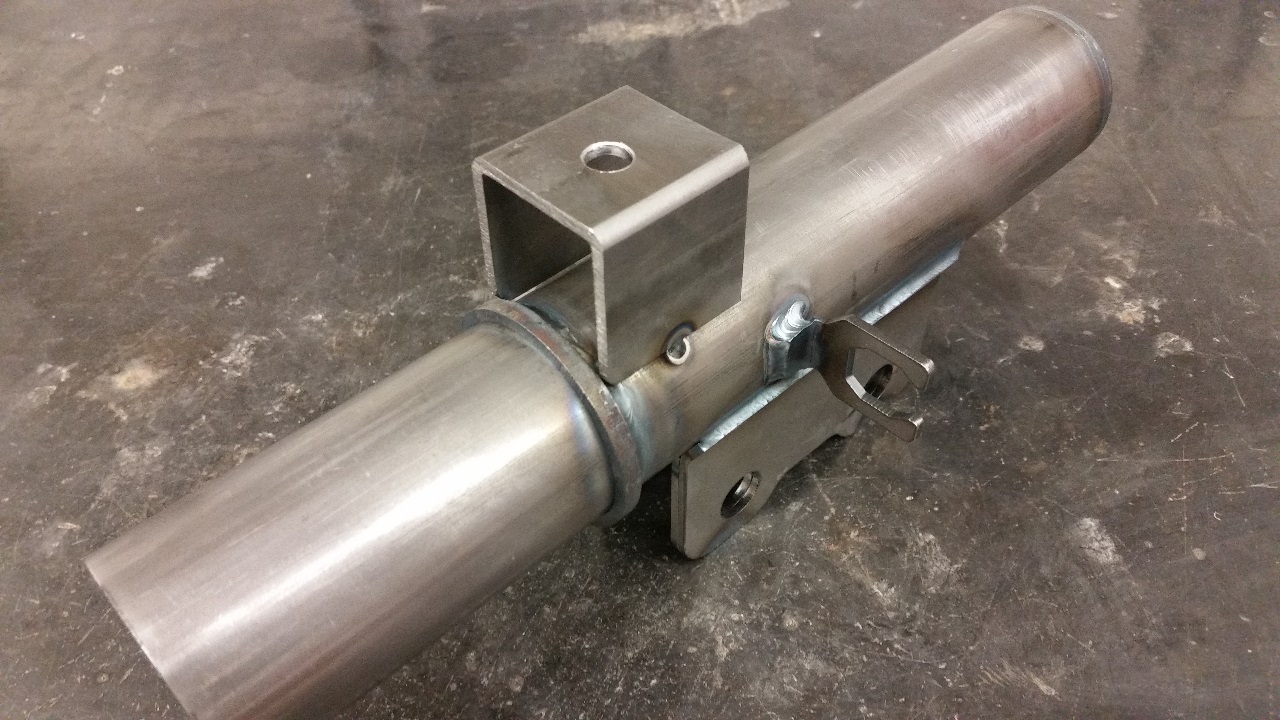
And there you have it, a full set of housings ready to go to powder coating, and then to be assembled into Koni Race coilovers.