Bleeding the cooling system, every MR2 owner's favorite task, right? Not really... it's finicky, time consuming, and air left in the cooling system is a common cause of cooling problems. There has to be a better way!
The MR2 cooling system also suffers from a lack of sufficient expansion room to prevent the pressure relief cap from constantly opening, dumping coolant (and the pressure which helps prevent boiling) into the overflow tank. While not a problem in normal use, under heavy (track) use, the loss of pressure could lead to local boiling in the motor, leading to overheating problems. In my opinion it's better to keep the system under a more stable pressure, and if I can simplify the bleeding process as well, that's a nice bonus.
Expansion Tank
The solution to both of these is an expansion tank, but the first question is, how big does it need to be. Not enough expansion volume and it won't be able to handle the expansion of the coolant when heated without exceeding the pressure cap rating. The answer can be calculated by using the coefficient of expansion of a water / coolant mix, the expected average temperature of the coolant in the system, and the ideal gas law to calculate the change in pressure of the air in the expansion tank. To that end, I built a spreadsheet (of course), into which I can input my ratio of coolant to water, the volume of the system, the temperature, and the proposed dimensions of the expansion tank. Note that the only important thing here is the volume of air in the tank, the total tank volume doesn't really matter much. It just needs to be greater than the required air volume so that it isn't completely empty when cold. Also the cold level in the tank should be at least equal to the next highest point in the system. If you want to read more about this, we discussed it at length in this thread on the MR2oc Forum.
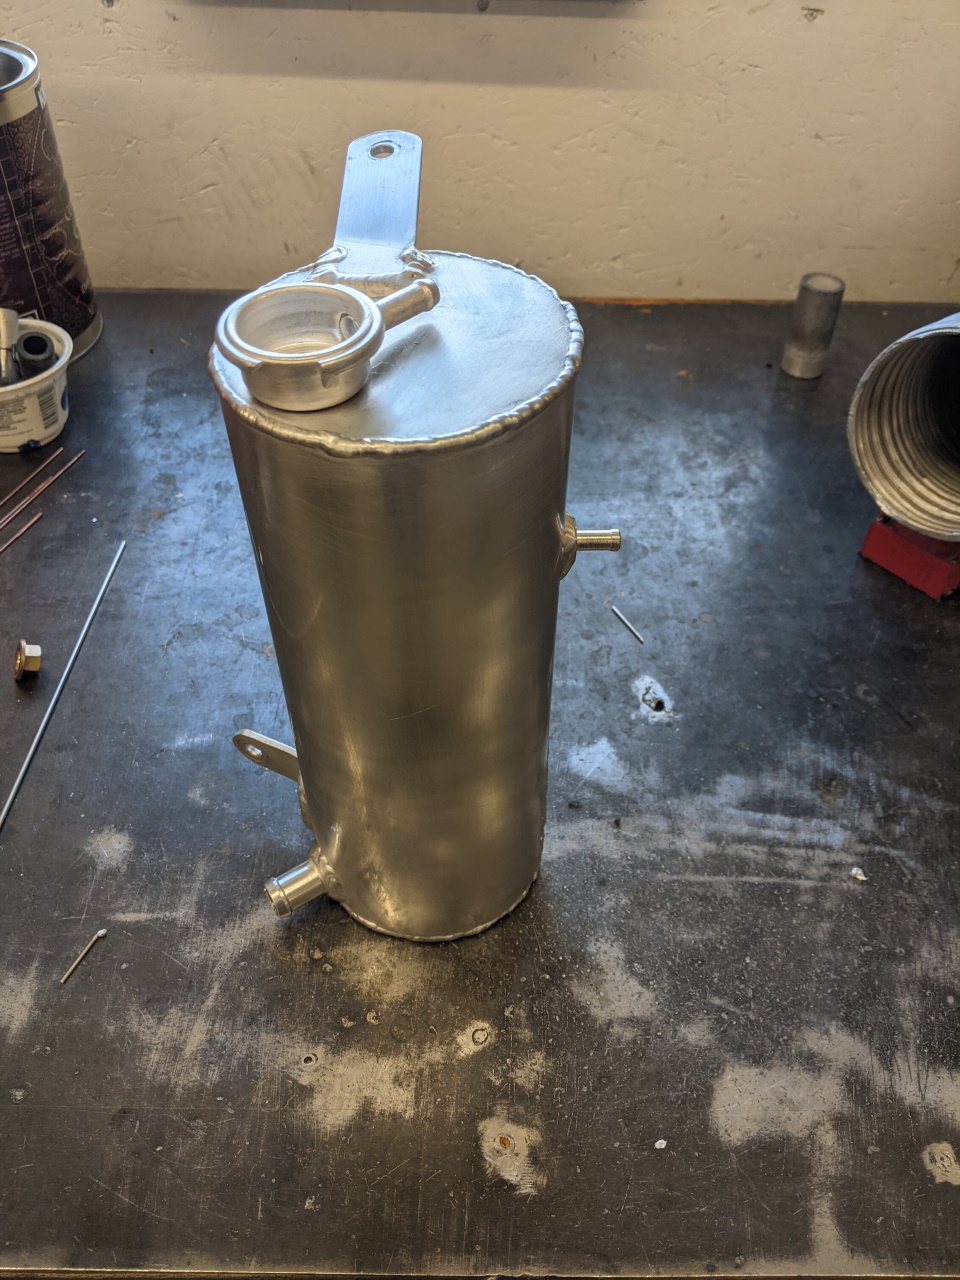
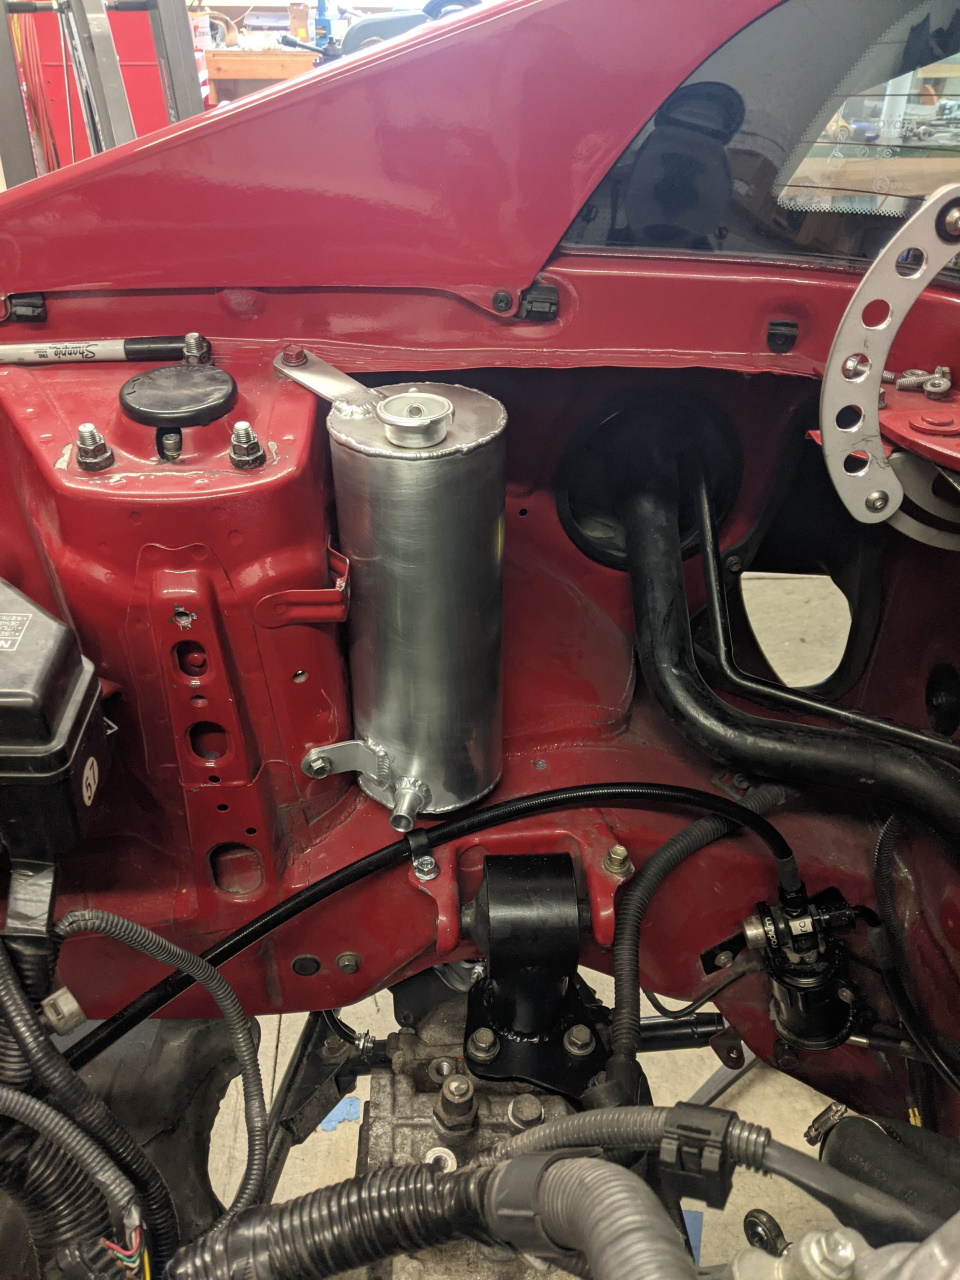
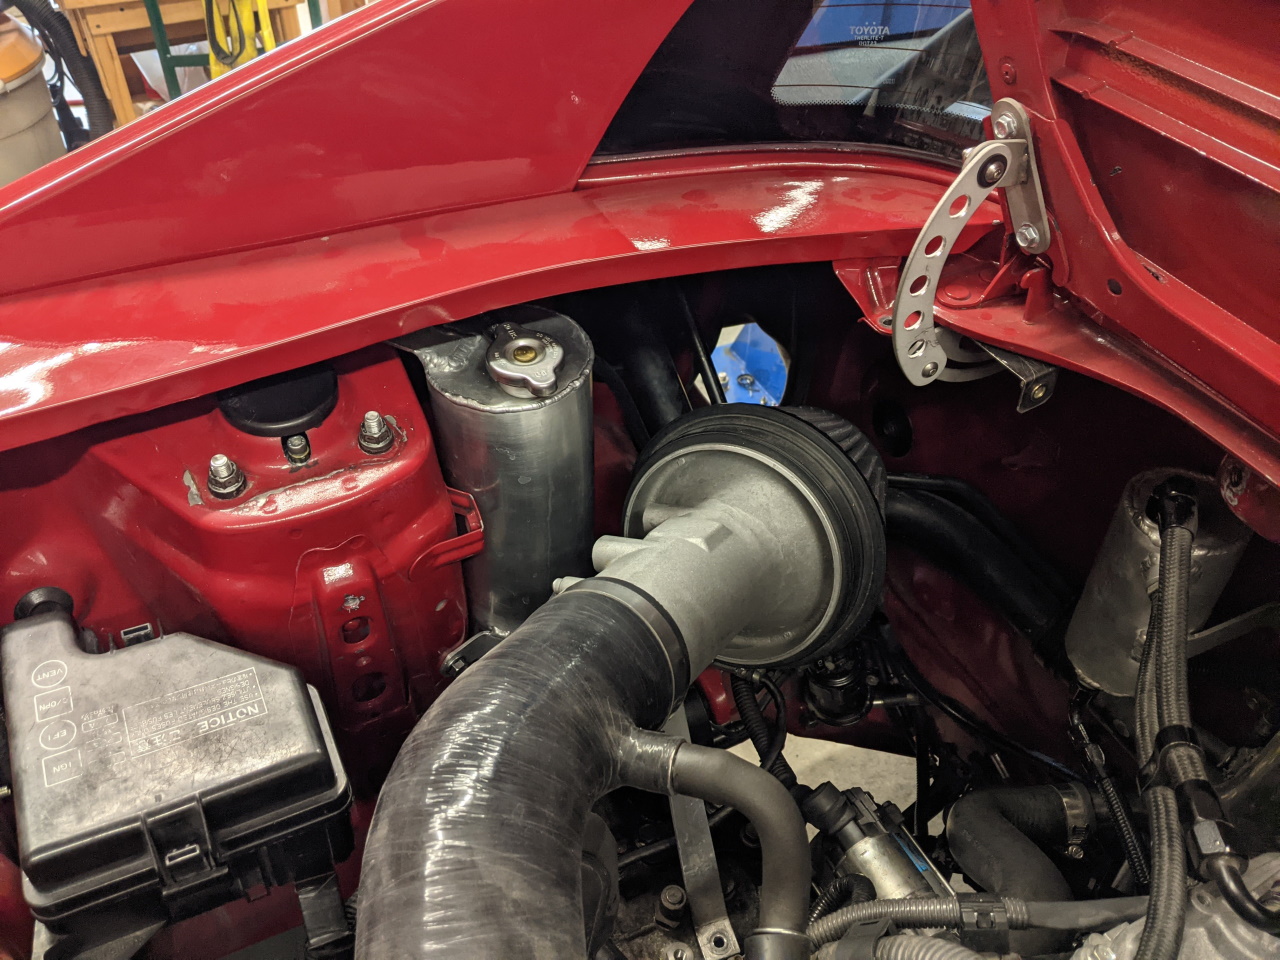
My calculator indicated that in order to not exceed my 20psi cap rating at an average temperature of 200f, I needed either 3.25" of air space on a 4" diameter tank, or 4.3" of air space on a 3.5" diameter tank. 3" diameter might be possible to make work, but the air space would need to be 6" tall and that wasn't going to fit very well in the space I had. I debated 3.5" vs 4", finally settled on 3.5, ordered the pipe, and when it arrived found they had sent me 4" by mistake... Oh well, I'll take it as a sign from the universe and go with 4". I can always rebuild the tank if I don't like it. I ended up with this, designed to mount to the front of the left side strut tower. Note that the important temperature here is the average across the entire system. Even if the water leaving the motor is 210f, the water entering the motor on the cool side of the radiator should be significantly less.
The port at the bottom will connect to the heater core return on the motor. My heater is plumbed into the main coolant pipes, so for me this was a straight shot, but you could accomplish the same with a T fitting if you have normal heater core plumbing. The small port near the top is for the bleed line from the radiator and heater core.
Bleed Lines
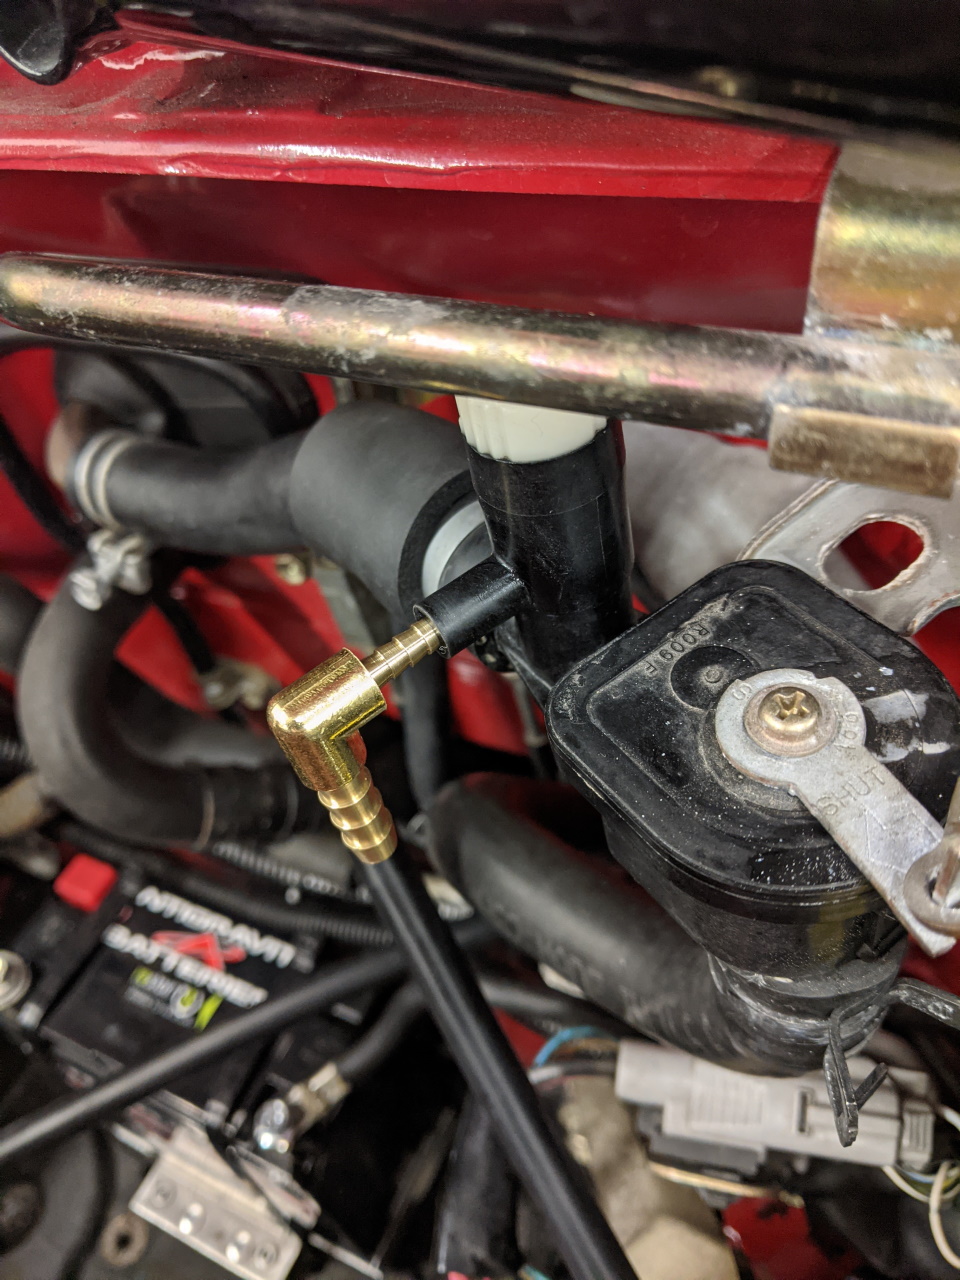
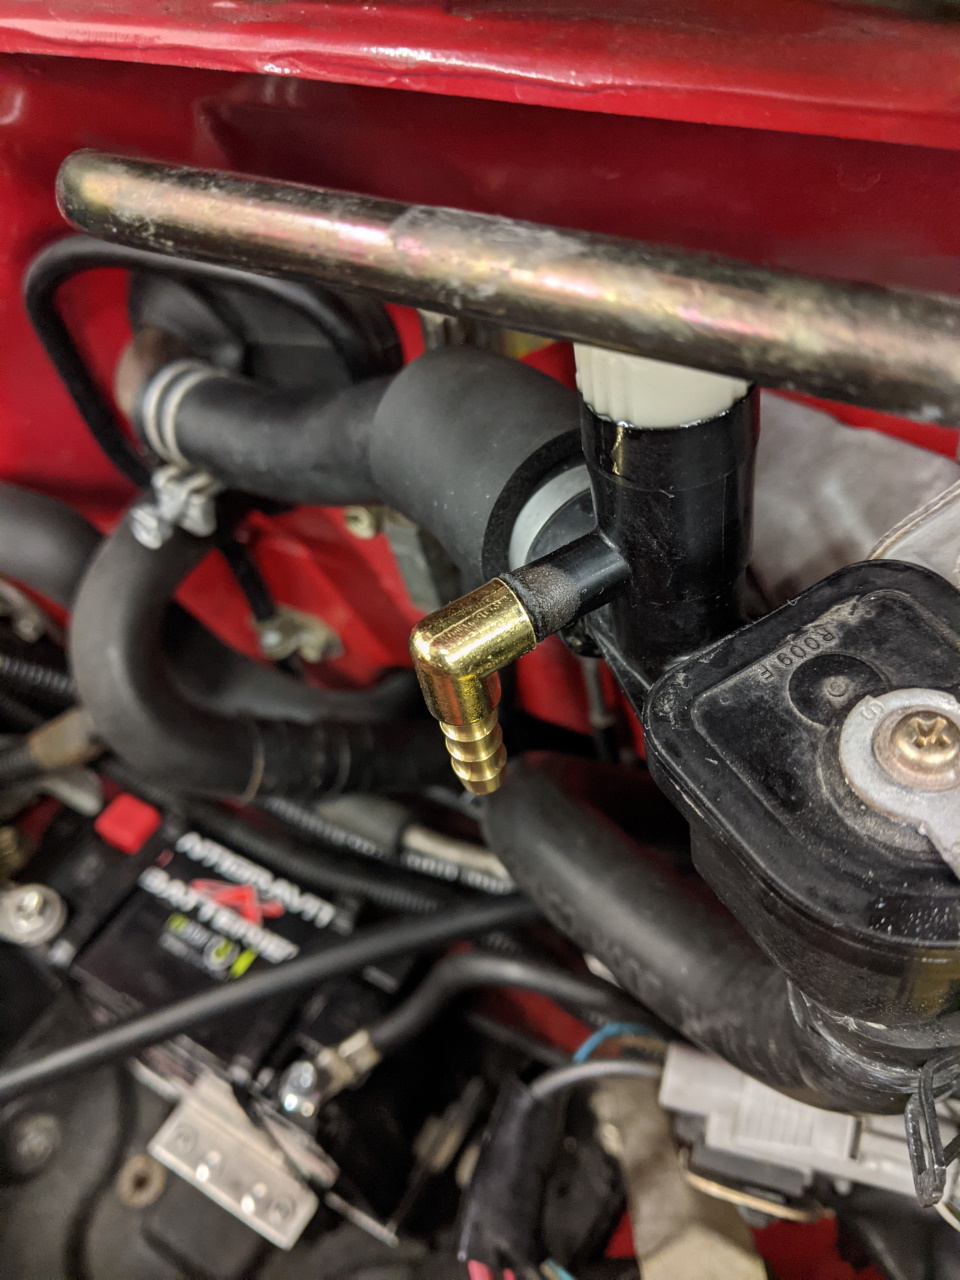
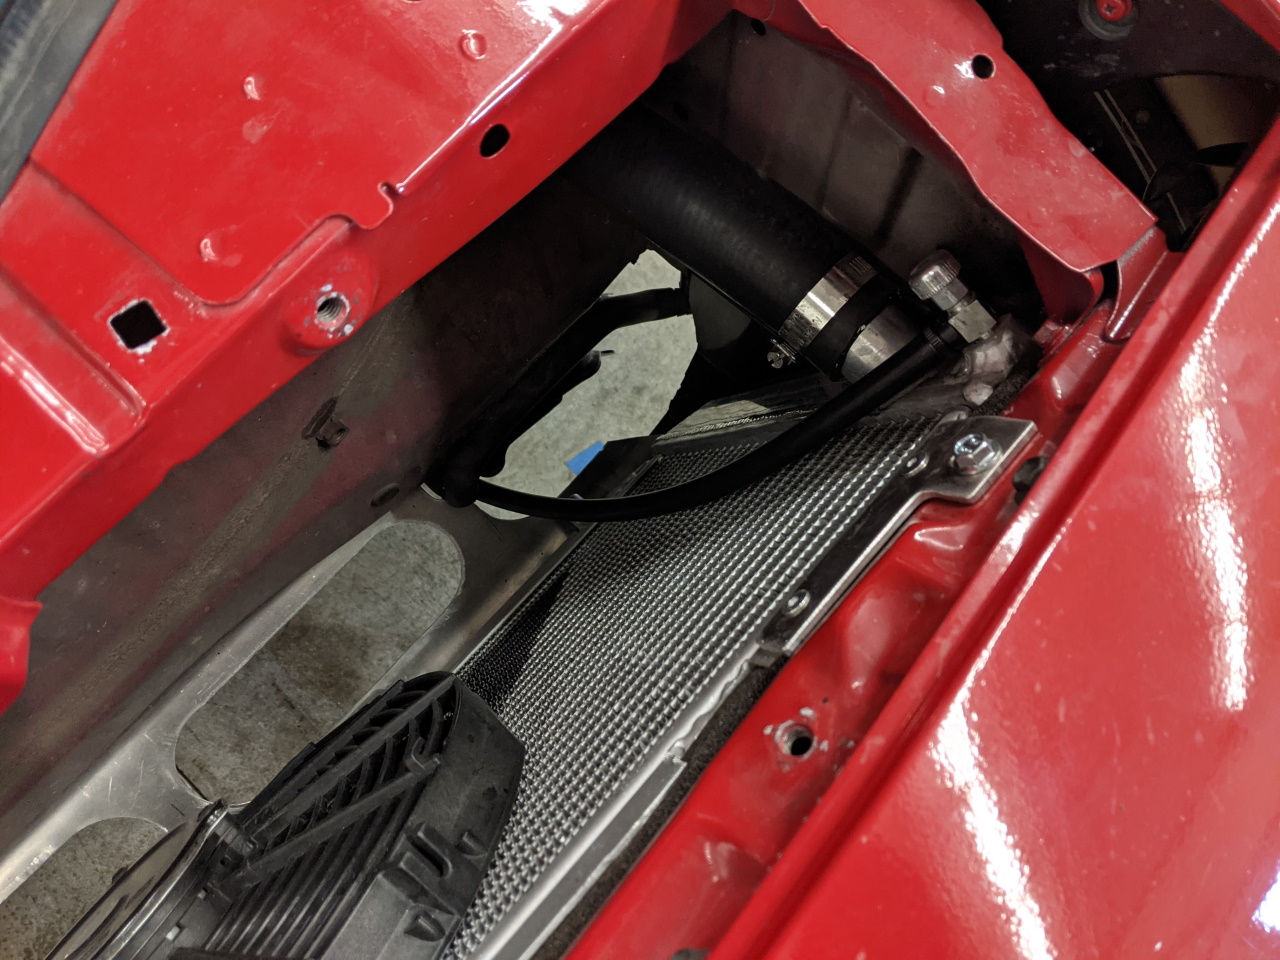
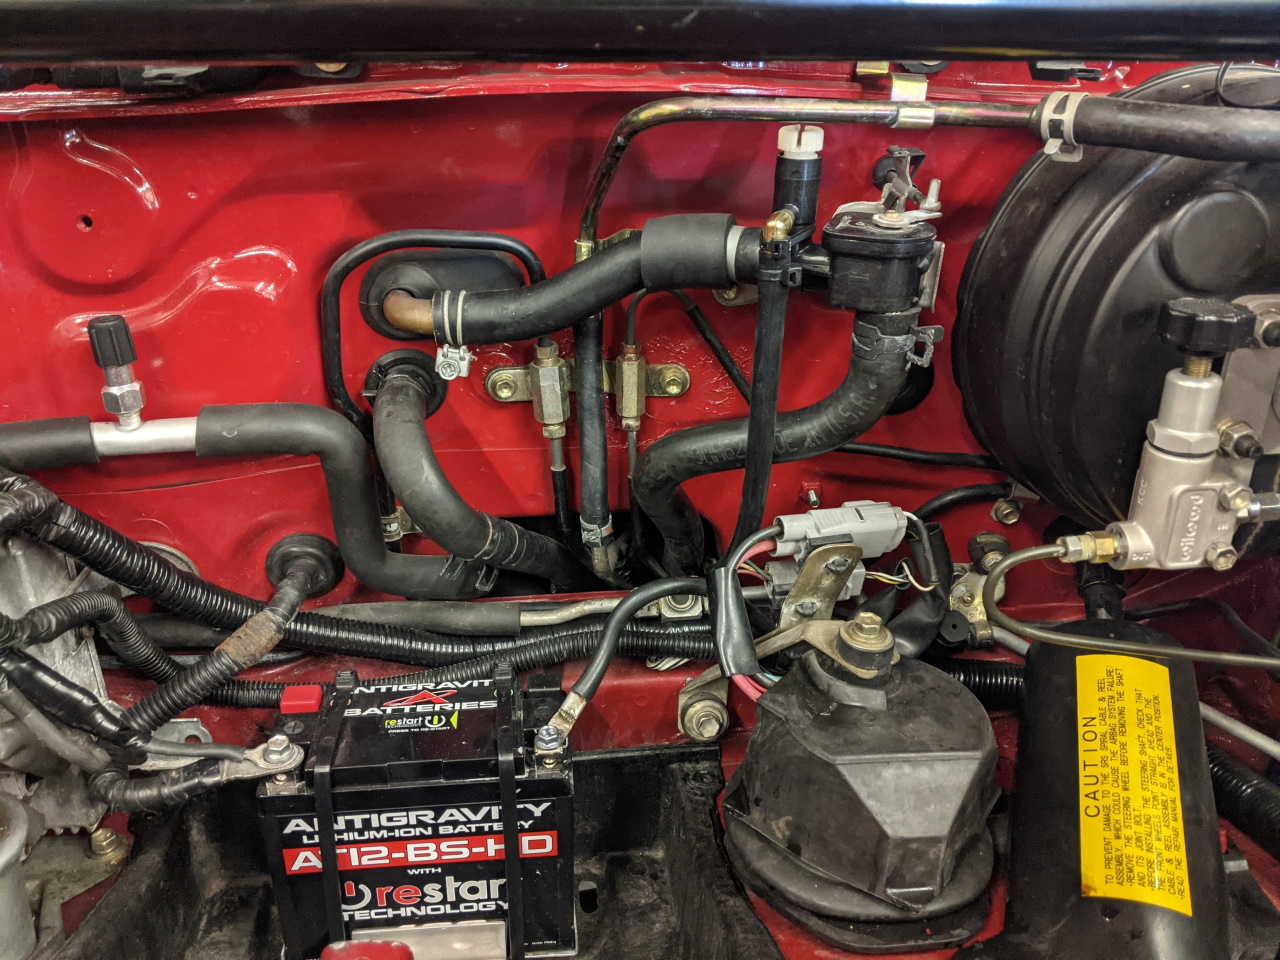
If you look at the cooling system diagram for other (more modern) mid engine cars, such as a Porsche Boxster for example, you will see a bleed line running back from the radiator to the expansion tank. This allows bubbles that collect in the high points to be returned to the expansion tank, preventing any air related issues in the system. 20ft of 1/4" silicone tube left me with a few feet extra. I routed it along the main coolant line under the car, with a T fitting to join in the heater core bleed at the front of the fuel tank. Connecting to the heater core bleed was the most troublesome, as the stock fitting doesn't have any sort of barb on it to help retain a hose under pressure. I ended up with a 1/8" x 1/4" barbed elbow, which I heated and pressed into the plastic valve while hot. The softened plastic conformed to the barbs on the fitting and so far seems to have sealed well and is holding pressure. Further testing to verify reliability will be required. Please note if you intend to do something similar on your car that the heater core bleed I showed here is still unproven!
Before finalizing the installation I set it up temporarily with some sections of clear tube so I could see bubbles move to verify flow direction, and also spent a fair amount of time peering into my expansion tank watching for flow in all of the various conditions (thermostat open / closed, heater core valve open / closed, and each of the bleed valves open / closed). In all cases, I had at least some flow through the bleed line back to the tank. My goal is to leave the bleed valves cracked open most of the time, however this will cause a small amount of warm coolant to flow backwards through the heater core even when the heat valve is shut, so I may find that I need to close the heater core bleed during the summer. Adding a check valve to the heater core return line to prevent this back flow might also be an option.
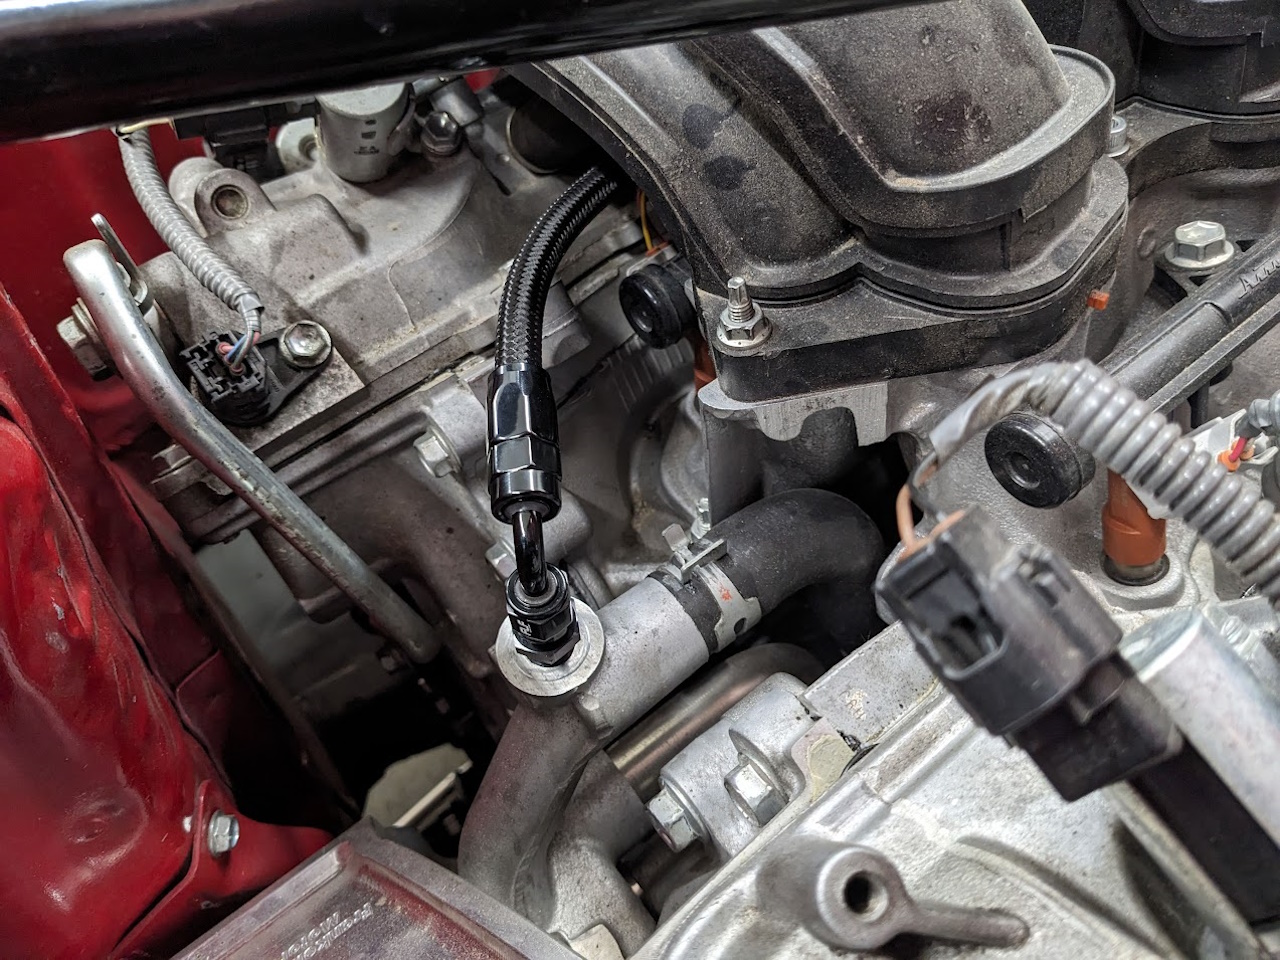
I eventually added a permanent bleed line from the engines bleed point to the expansion tank as well. This requires a 1/4BSP adapter fitting. I used a 1/4BSP to 4AN, and a 90° AN hose end as shown below. I ran the line under the intake manifold and followed the fuel line back to the tank, and connected it to the bleed line with another T fitting. This greatly simplifies the initial fill of coolant and eliminates the last spot where air can collect in the system.
So far, the system is working exactly as intended. I have had the coolant temperature up to 208f (idling with the fan off), with no leaks or pressure released from the radiator cap. And if a small amount of air has been introduced into the system it bleeds out within a few seconds of startup leaving a steady stream of coolant flowing through the bleed line into the expansion tank. On a fill of a completely empty system you do still have to baby-sit it for a while, as it still takes a bit to get all of the air out and the tank only holds so much "extra" coolant to take the place of the air.

