For a number of reasons, I have long resisted the idea of trailering my car to events. But, that doesn't mean I have been content to run street tires on the track or at an out-of-town autocross. The solution, of course, is a tire trailer!
The Trailer
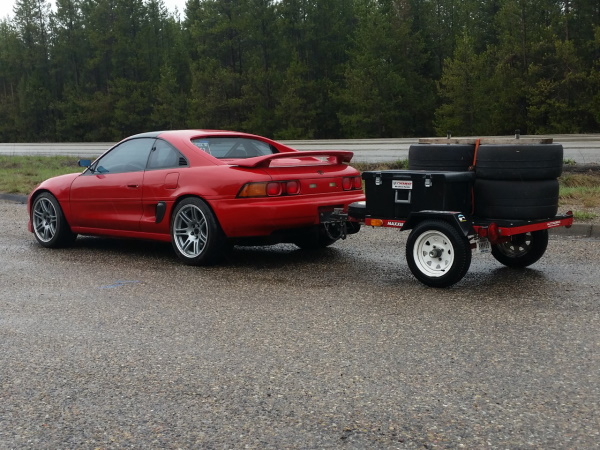
In my case, that tire trailer is a tiny 40"x48" "utility trailer" sold by Harbor Freight, Northern Tool, etc. I purchased mine second hand from a fellow autocrosser who also used it as a tire trailer. Here it is all loaded up:
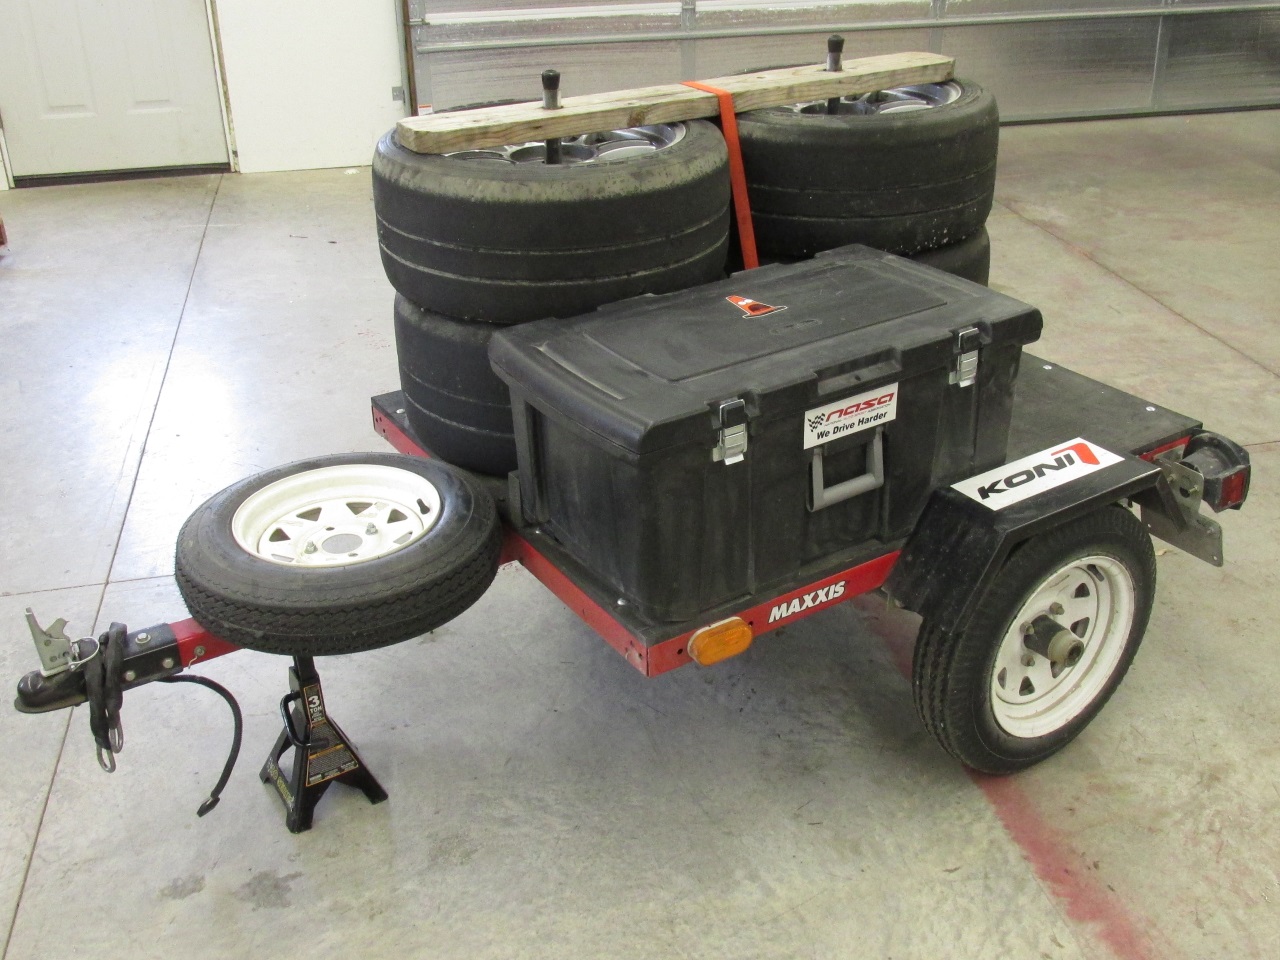
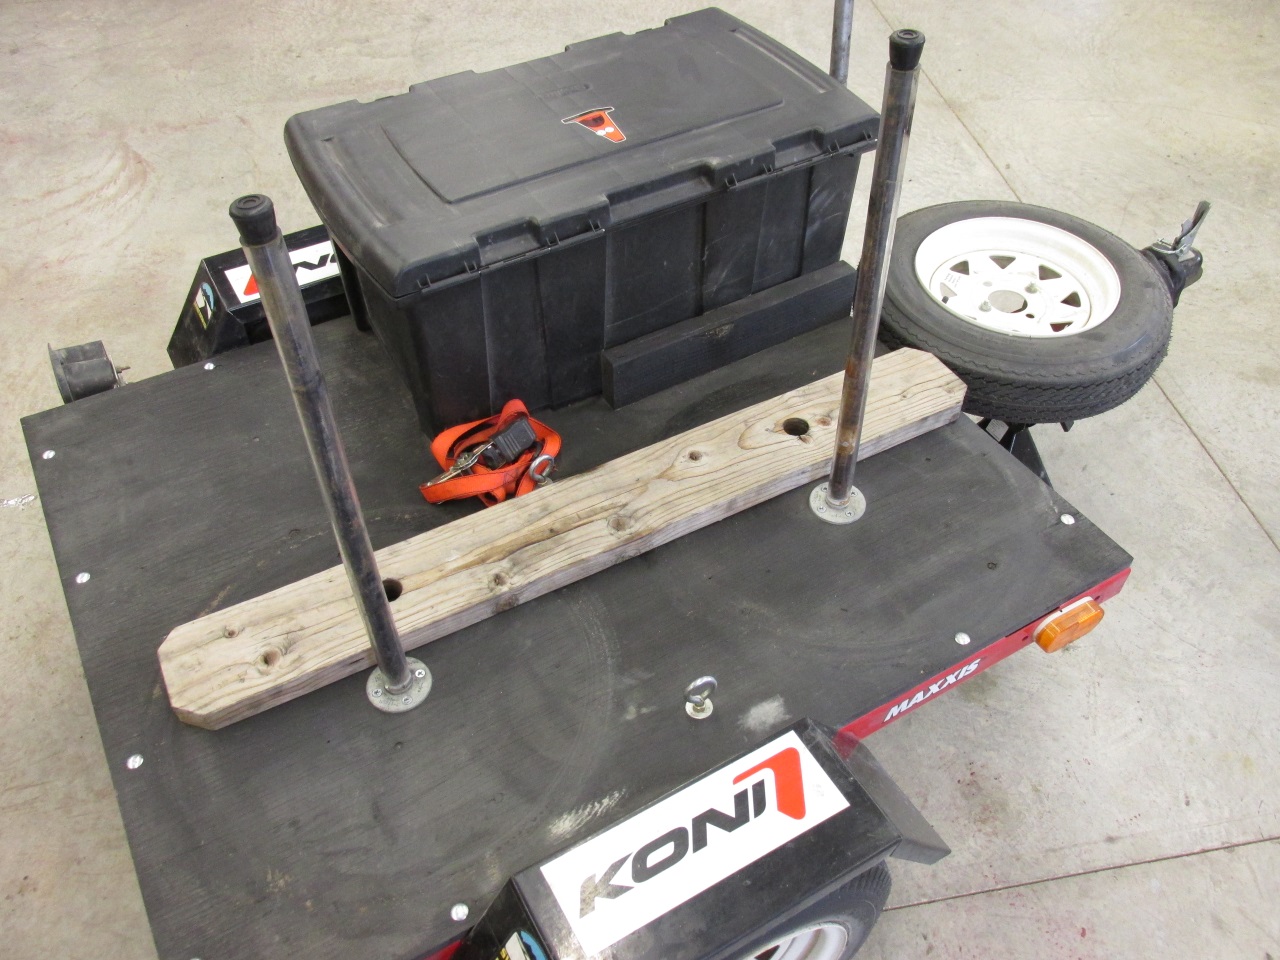
The ingeniously simple tire retention solution came with the trailer from the previous owner. Two pieces of pipe attached to the deck with pipe flanges stand upright through the center of the wheels. Cap that with a 2x6 with two holes drilled for the pipes, and retain the whole stack with a single ratchet strap. Simple, easy, and very quick to load and strap down. The deck is just a piece of 3/4" plywood, sprayed with a couple of coats of rubberized undercoating. The mounting points for the tire posts and tool box all have T-nuts pressed into the wood on the back side, making it very easy to unscrew any of these items if necessary.
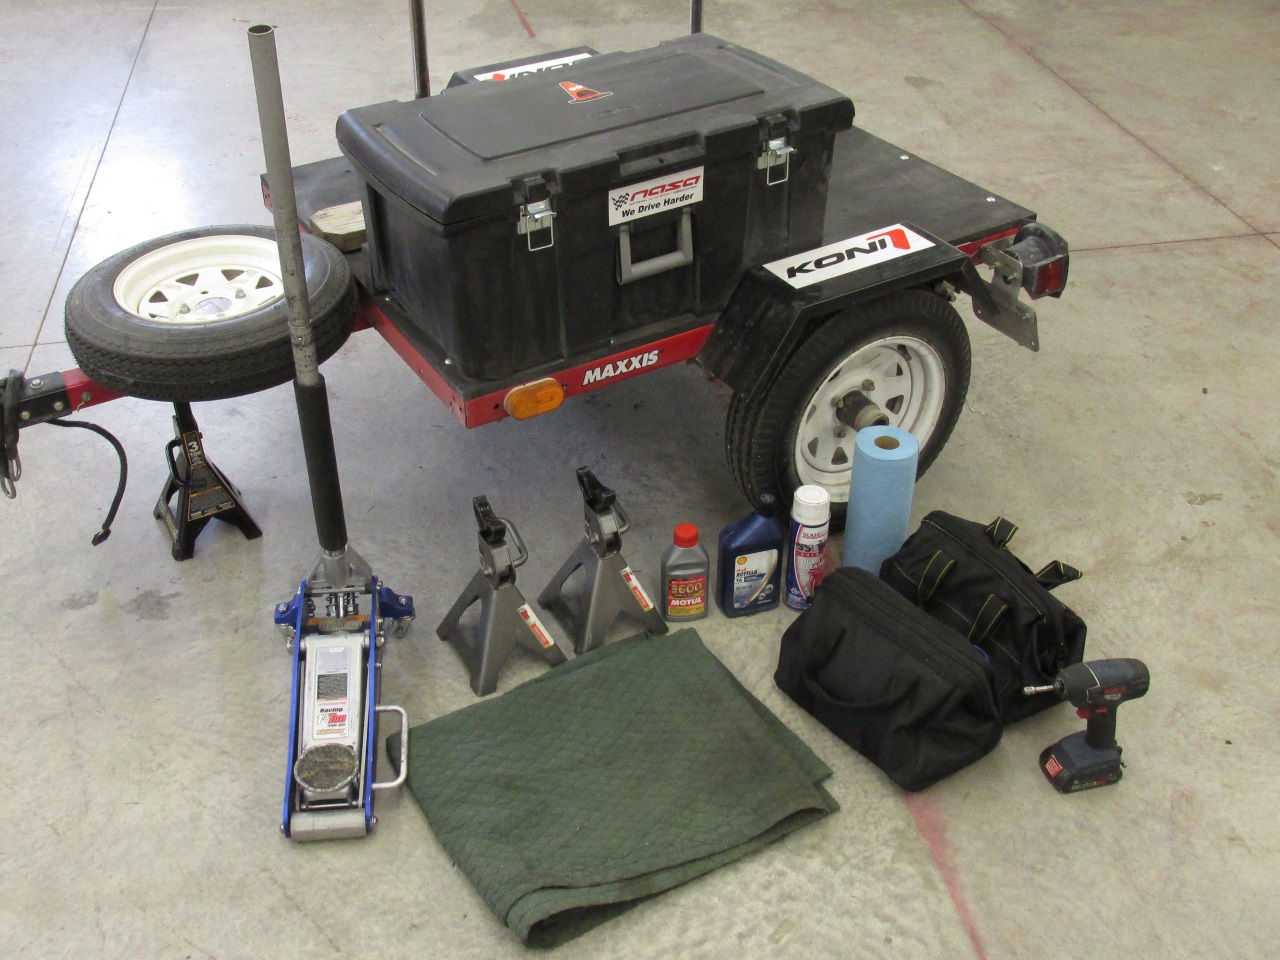
On the other side, a large plastic toolbox bolted to the deck to hold my jack, jack stands, two tool bags, some extra oil and brake fluid, and a moving blanket. This last one may seem odd, but it serves two purposes. One, it helps pack the box so things don't rattle around as much. Two, if I need to work on the car... it beats laying on the ground!
So, that covers the "car stuff", what about "my stuff"? That all goes in the car itself. I usually camp at the track, so the trunk gets filled with sleeping bag, tent, a backpack with spare clothes and other essentials, and an electric kettle to make coffee and oatmeal for breakfast. Since I always seem to forget something, I finally made myself a checklist for track days. In case anyone wants to use it as a basis for their own track day checklist, here it is: Track Day Checklist
The Hitch
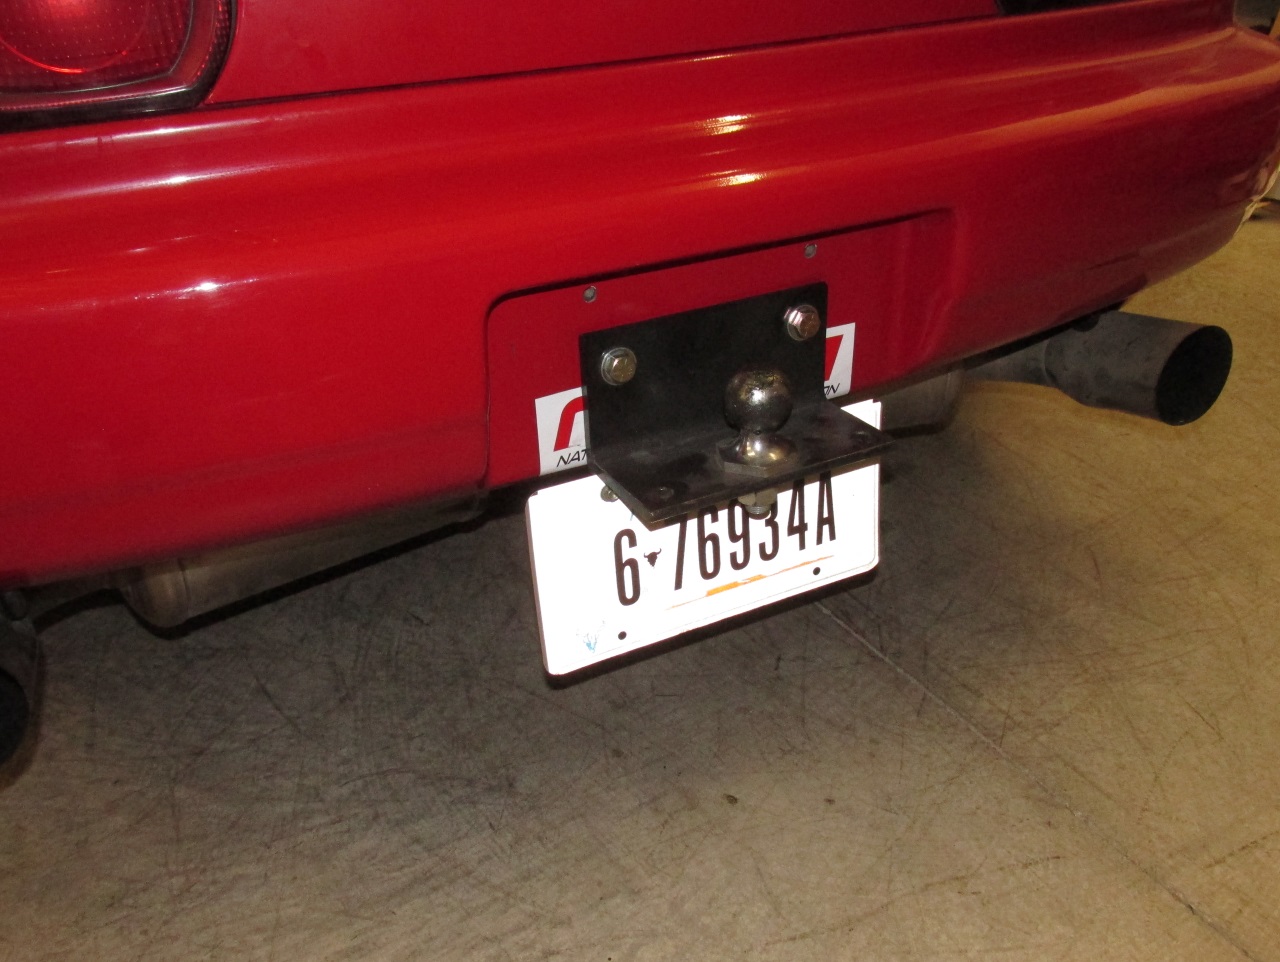
A trailer, of course, requires a hitch. And as with so many other things, I wasn't satisfied with the commercially available offerings in that department, so I made my own. Borrowing an idea from yet another local autocrosser, I mounted my hitch to the bumper using the space where the license plate normally mounts. To accomplish this, I welded two nuts to a steel plate, which I bolted to the back of the bumper as shown below. Total weight added to the car by this plate is only a couple of pounds.
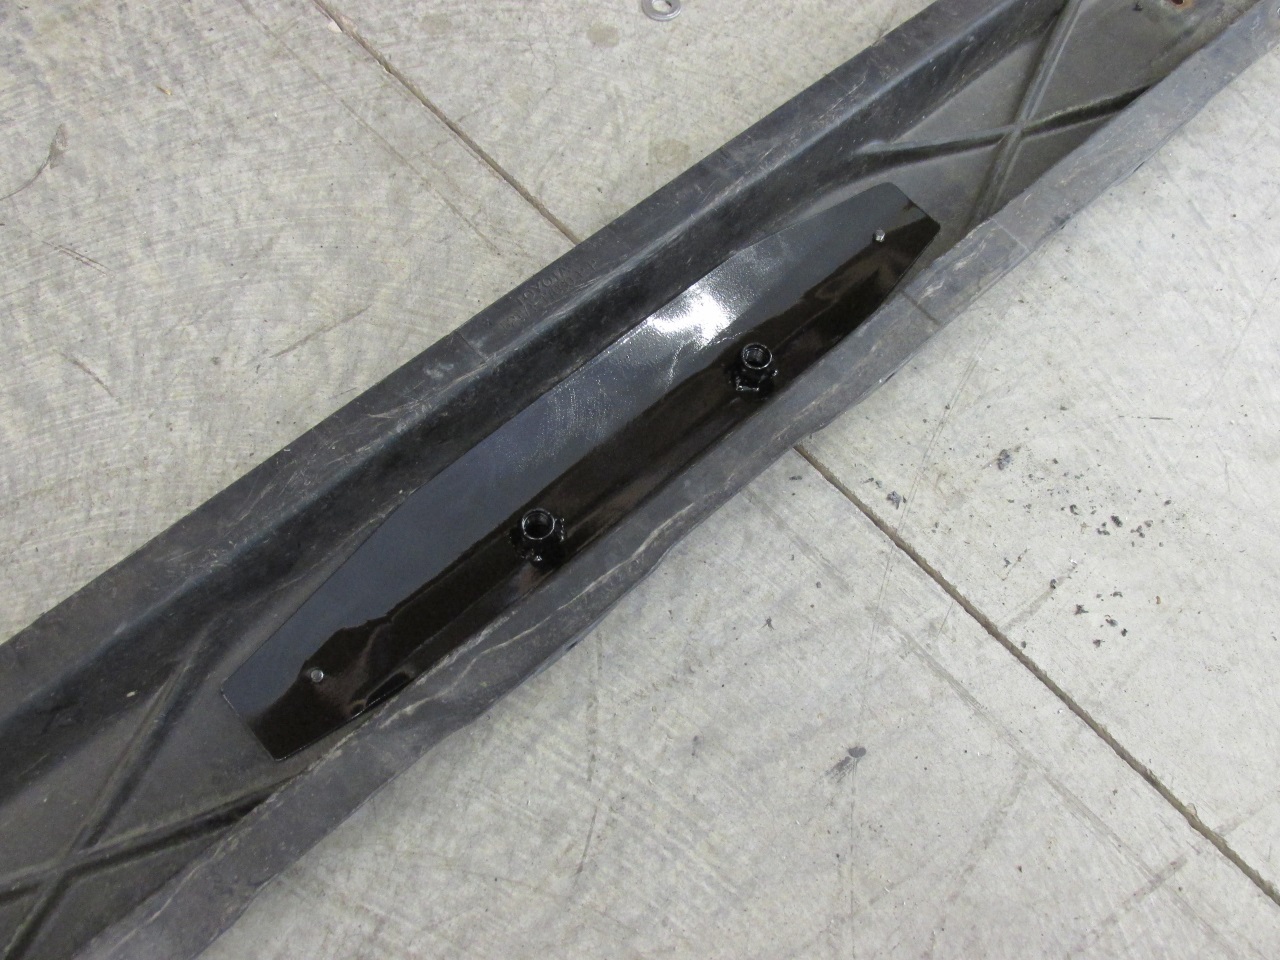
The hitch itself consists of a piece of angle iron (4x4x3/8 if I remember right, about 8" long). A few holes drilled for mounting, safety chains, and the hitch ball, and a pair of tabs with rivnuts welded to the bottom for the displaced license plate and it's done.
A trailer lighting converter box like this one spliced into the taillight wiring and mounted inside the trunk provides the proper 2-wire signal to run the combined brake light / turn signals found on the trailer. The wiring runs out through a hole in the body behind the bumper.
To date I have put a little over 8000 miles on this setup with zero issues. You barely know the trailer is there, and I typically get 24-26mpg while towing it. It's been a long time since I made a long trip without it to compare, but I estimate it costs me a couple MPG at most.
One thing I will say regarding this hitch setup is I wouldn't recommend it for a heavier trailer. My tire trailer weighs about 500lb, with about 50lb of tongue weight. For that, it works perfectly. But if you want to tow a larger trailer for some reason I would recommend a more traditional hitch setup.
Update: Turns out, hanging the license plate down like that causes it to eventually fatigue and crack due to the air flow.
Keeping Cool
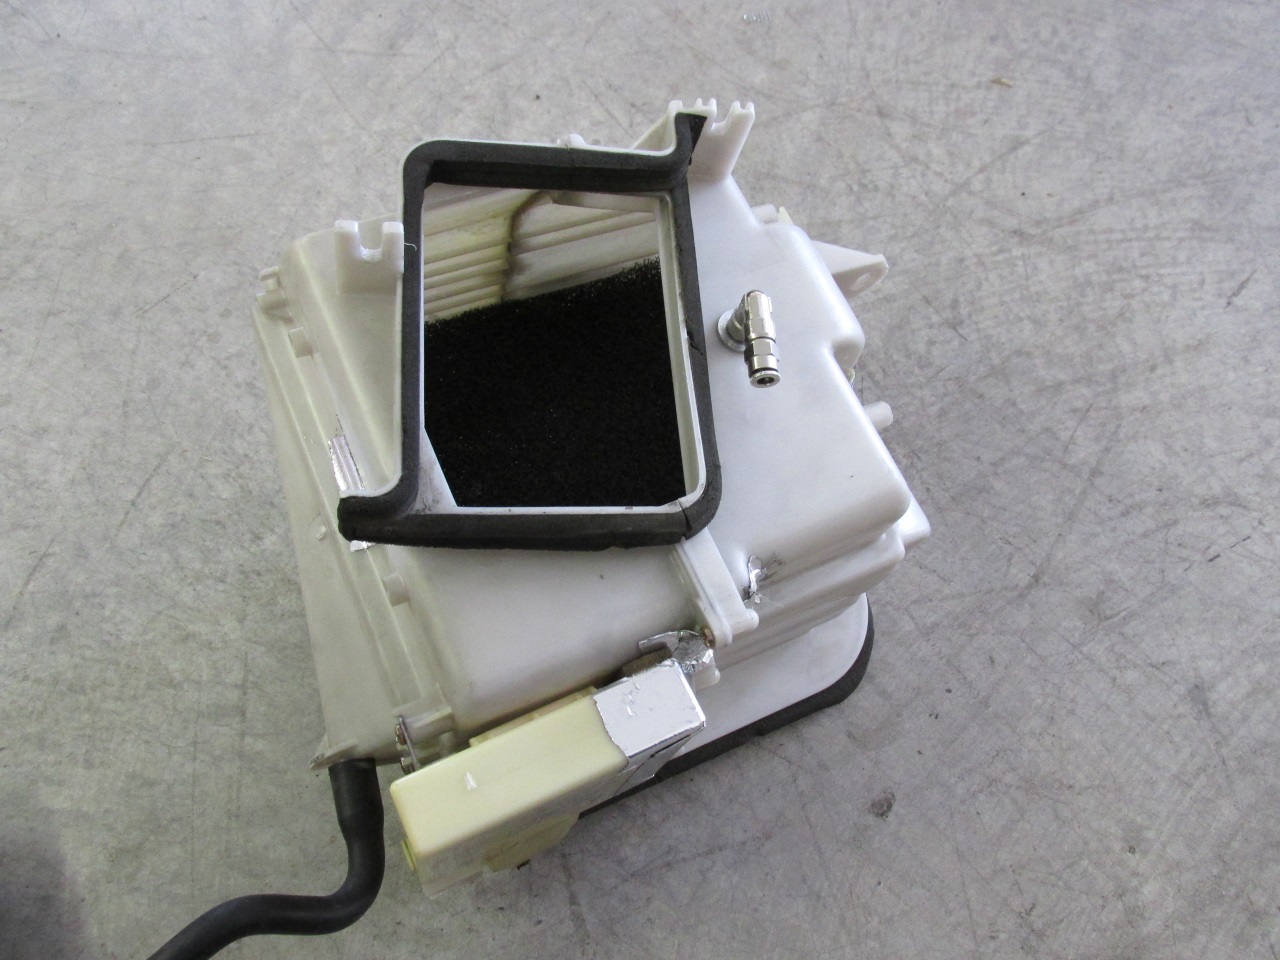
What can I say, I like weight reduction. And the A/C system weighs like 50lb! That said, driving for 7 hours in July when it's 95°F without A/C is, I will admit, a bit unpleasant. At least it's a dry heat... Hmm, hot and dry. The perfect environment for an evaporative cooler (aka, a swamp cooler). You can read all about them on the Wikipedia page if you like, but the bottom line is that at 90°F and 15% humidity, an evaporative cooler has the potential to cool the air to 61°F. Not quite air conditioner cold... but not bad either.
My setup consists of some old water injection parts installed in the gutted A/C condenser housing from under the dash, plumbed to the stock windshield washer pump and reservoir (I don't have any windshield sprayers installed). A piece of foam air filter material retained by a piece of hardware cloth provides something for the water to cling to and evaporate from.
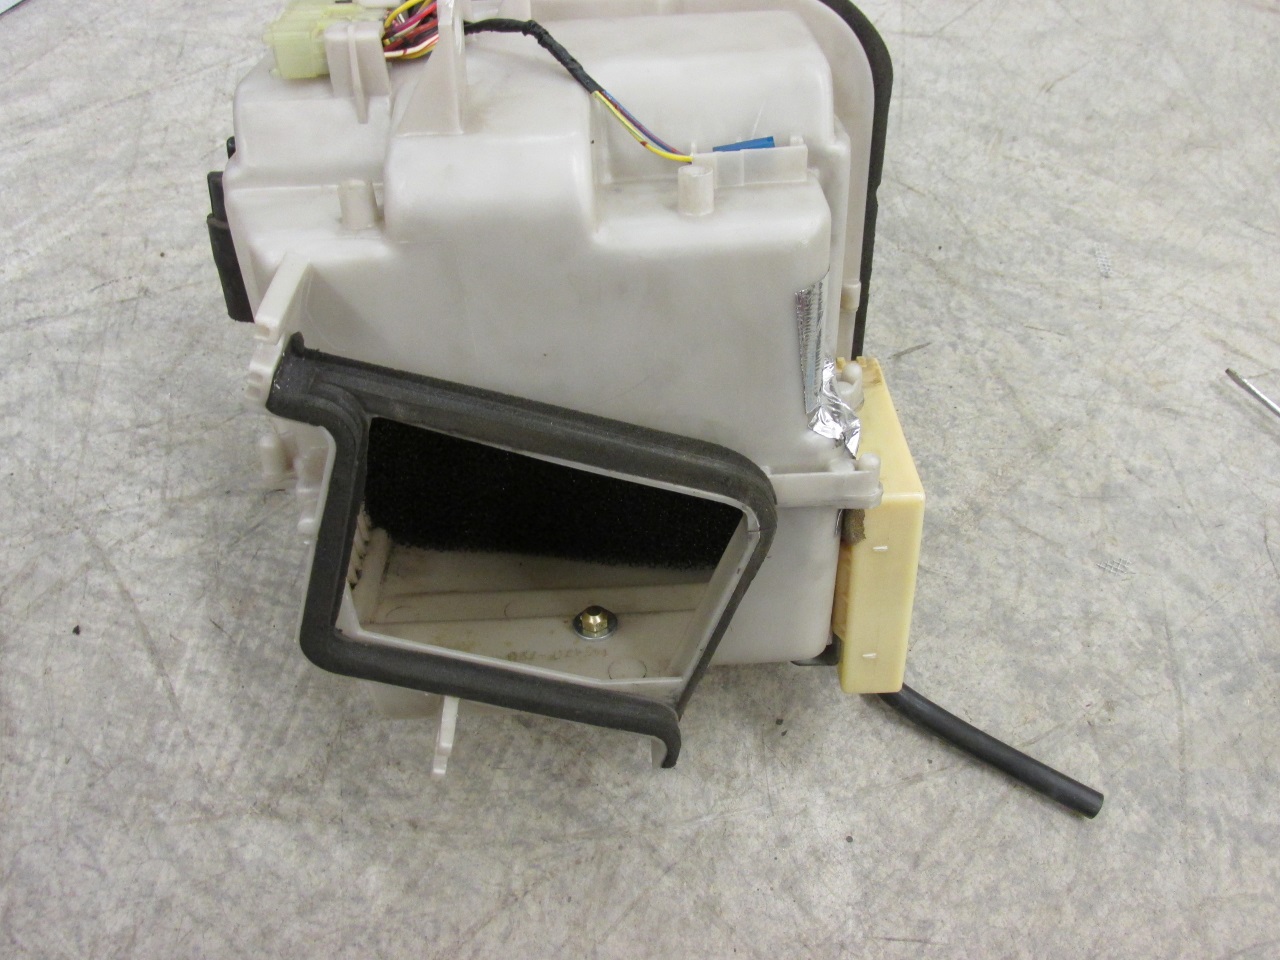
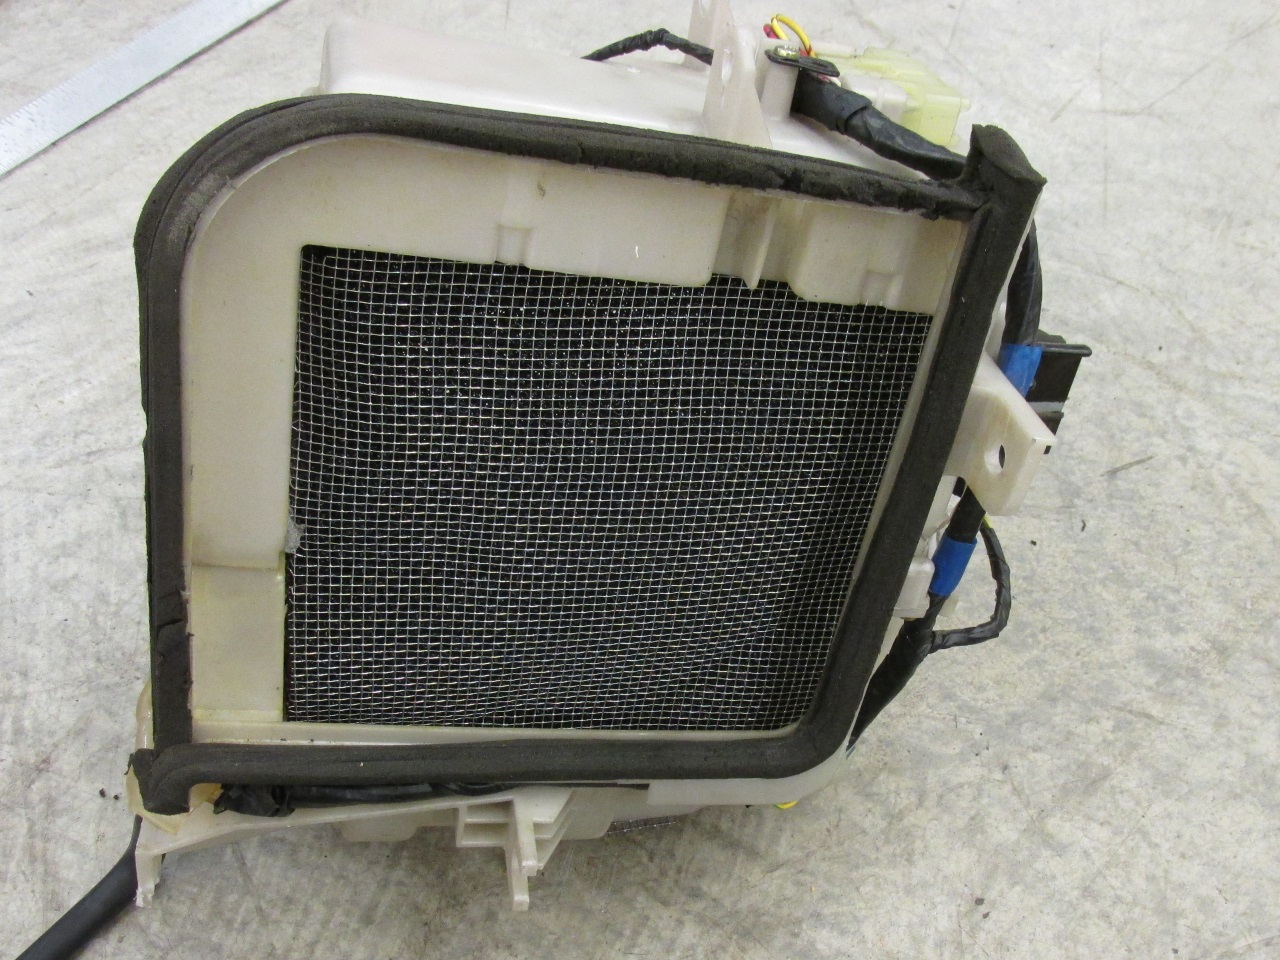
I tapped into wires under the dash to connect the A/C button on the climate control to the windshield washer pump via an adjustable interval timer like this one. This serves as both a relay and a means to tune the system by adjusting the pulse time / pause time (AKA, duty cycle) of the pump. It also has the advantage that the output from the A/C button requires that the HVAC fan be on, so if the fan isn't running the water sprayer won't spray. And, it's just cool to use the stock button for an unintended purpose. Overall, the system works pretty well. It's not air conditioner cold, but it is way WAY better than nothing! The biggest downside at this point is the amount of water it uses. At the moment it's using about a gallon per hour, and the washer fluid tank only holds a little over a gallon. So, I have to stop every hour to refill the tank, and I have to carry 7 gallons of water in jugs to last a 7 hour drive. I'm hoping I can improve the efficiency by repositioning the sprayer so it sprays directly at the filter, and replacing the filter with a piece of actual swamp cooler media. Worth a try anyway.
Update: While this was better than nothing, I did eventually admit defeat and put the actual A/C back in the car. So worth it on a long drive!
Driving a "Race Car" on the Road
OK, so it's not really a race car. But it has race car seats, race car suspension, race car brakes. So, what's it like to drive 7 hours in that? Surprisingly, not all that bad. When adjusted all the way soft, the Koni Race dampers do a pretty amazing job of producing a reasonably good ride from 400lb/550lb springs. No, it's not Cadillac soft, but it's not overly harsh either. The seats (Corbeau FK1 Pro's) are, in my opinion, more comfortable than a lot of factory seats. Sometimes I swap brake pads at the track. But when I can't be bothered, the Porterfield R4 race pads do squeal like crazy, especially at low speeds. But it's mostly a highway drive, so those moments of annoyance are relatively few. If I do feel like swapping pads at the track, it's a pretty quick, simple process thanks to the top-loaded 4-piston calipers on all four corners. But more often than not, I just leave the track pads on.
There may come a time when I get tired of all of this and break down and buy a trailer and tow vehicle. But for now, I'm content to drive my track car to the track and back. Plus, I figure that for everyone else on the road it has to be about the strangest thing they have seen that day, and that amuses me.